Experimental production of stone tools

Tag: Glass (Page 2 of 2)

The Blue Handaxe part two: an unsuccessful melting experiment

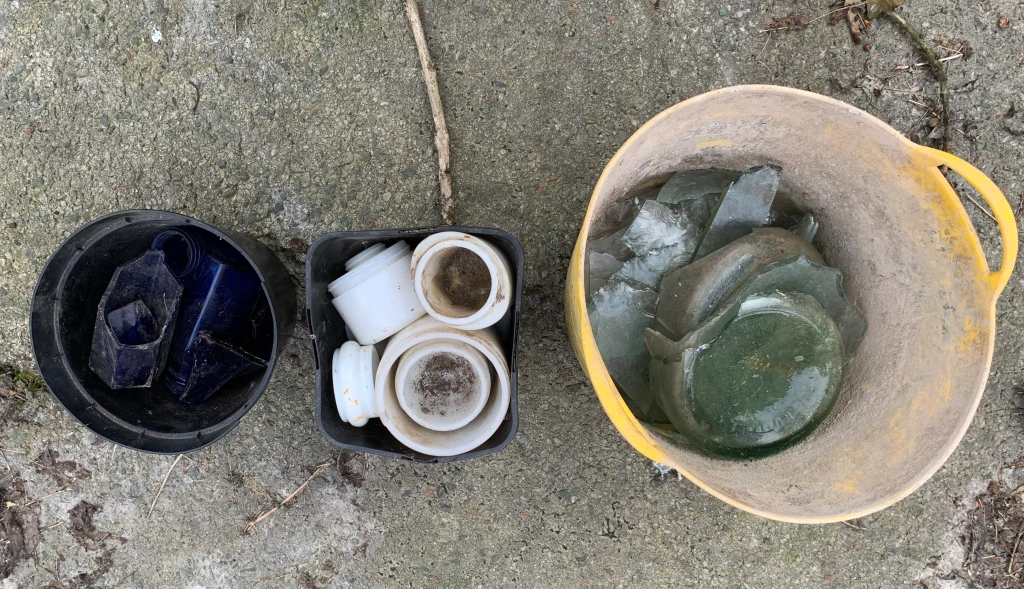
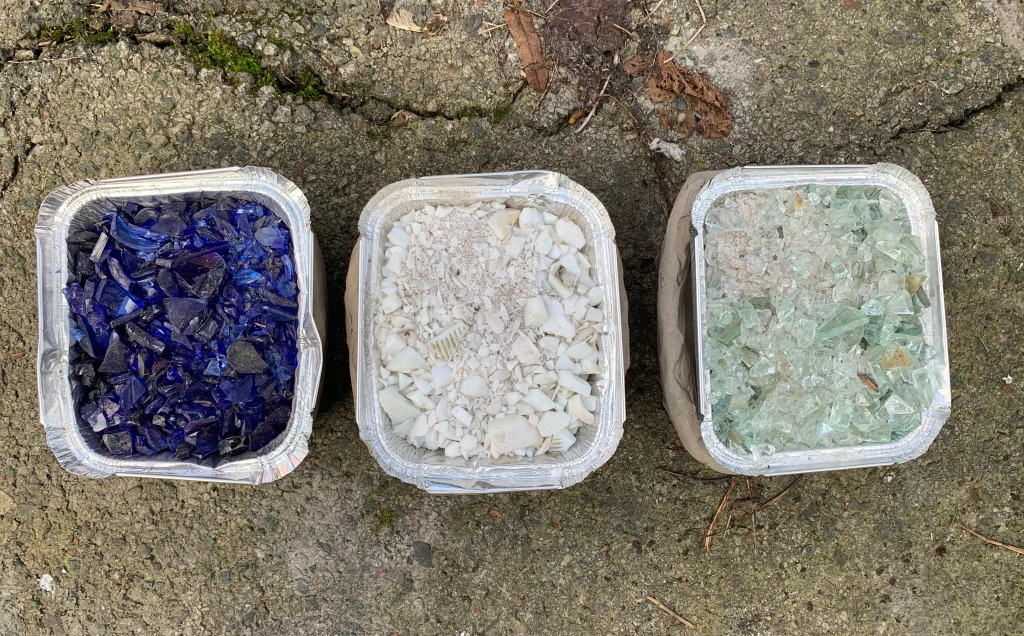
Last week Nacho, Howard and Jex made some time to record the smashing and melting processes for the glass collected from the bottle tip. Above you can see a birds eye view of Nacho’s home made kiln that we were using for the experiment.

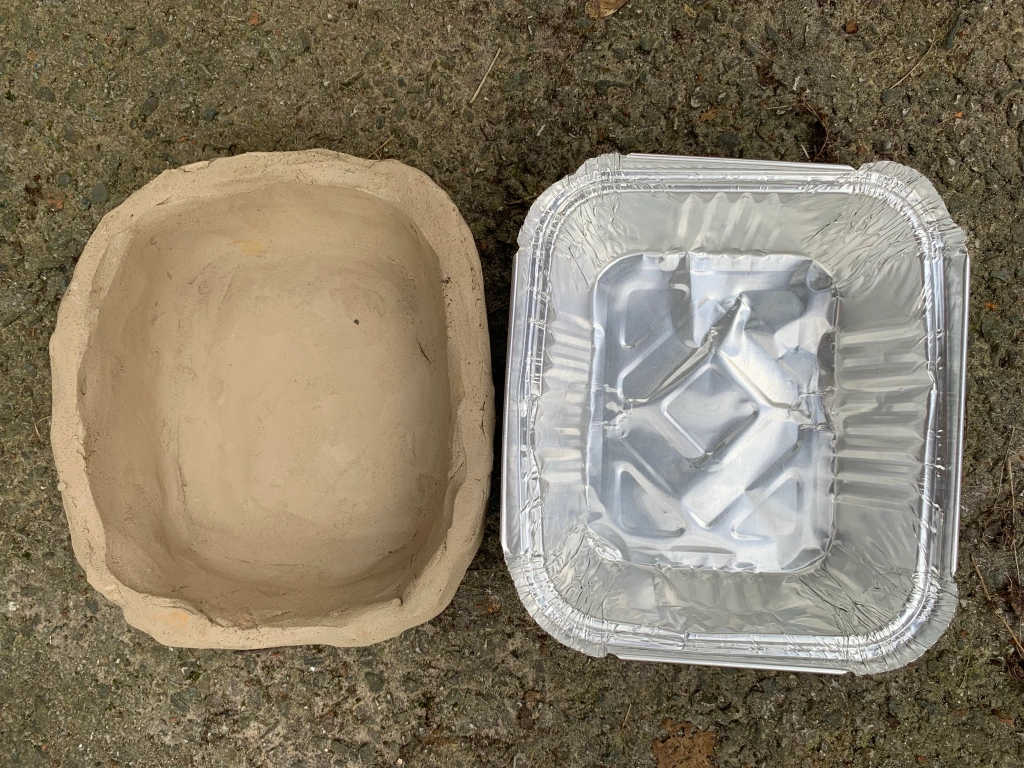
In total we had six clay moulds lined with aluminium takeaway containers. The take away containers function was to stop the melting glass adhering to the clay mould. In relation to the kiln we had an upper and lower section, and were interested to know if location within the kiln was going to be a factor. As you can see, we also had glass of different colours and Nacho thought the milk glass, based upon its density, would be the most difficult to melt.

The above photograph shows the kiln just as it reached 1000 degrees. I was told in Spain that glass melts at around 850 degrees, and so in theory 1000 degrees would be more than enough. However, it was possible to see into the kiln, and although the glass had adopted a sheen, it clearly had not yet liquified. So we carried on upping the temperature.

Above is the sample Nacho had made so that we could pull it out and see how things were progressing. When he pulled this out the glass was red hot, however, as it cooled it became apparent that the clear glass fragments had liquified whilst those of milk glass were still recognisable as fragments. The differing colours were indeed behaving differently.
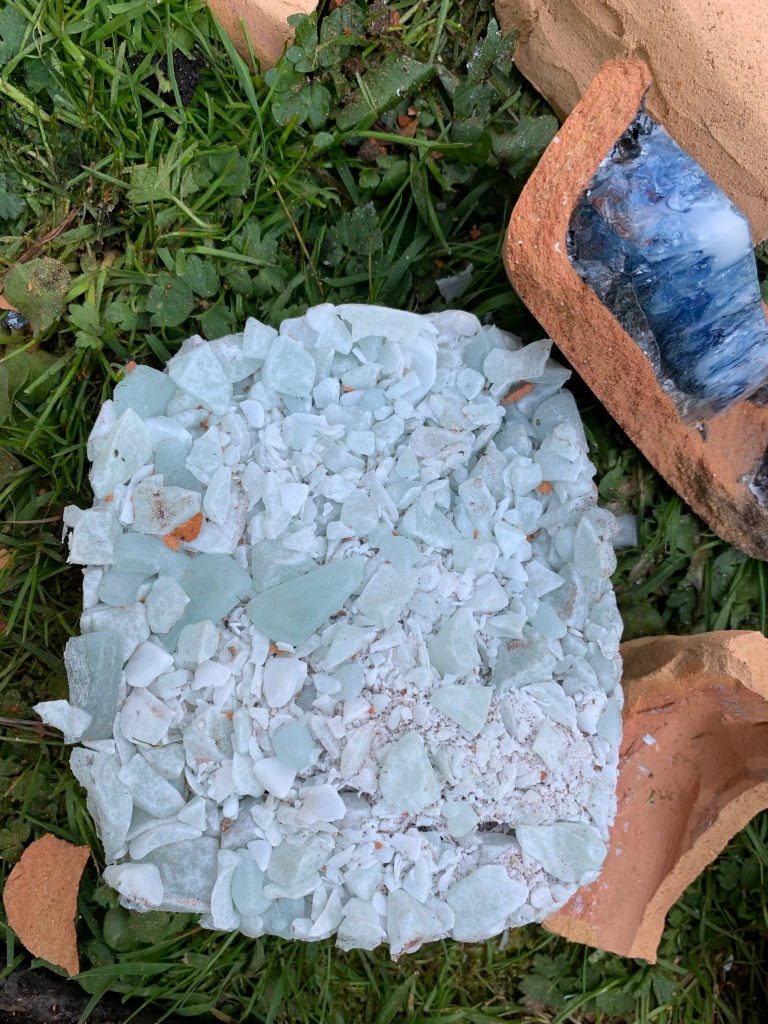
I had to be in university by 5pm and so at 4pm Nacho switched off the heat source and allowed the kiln to start the cooling process naturally. We could see that some of the glass had indeed melted, whilst other glass hadn’t. The mix above of clear and milk glass had the texture of a rice cake, rather than the smooth and solid block we were looking for. On the plus side, it did release from the clay mould easily, in spite of the fact that the aluminium tray had melted.

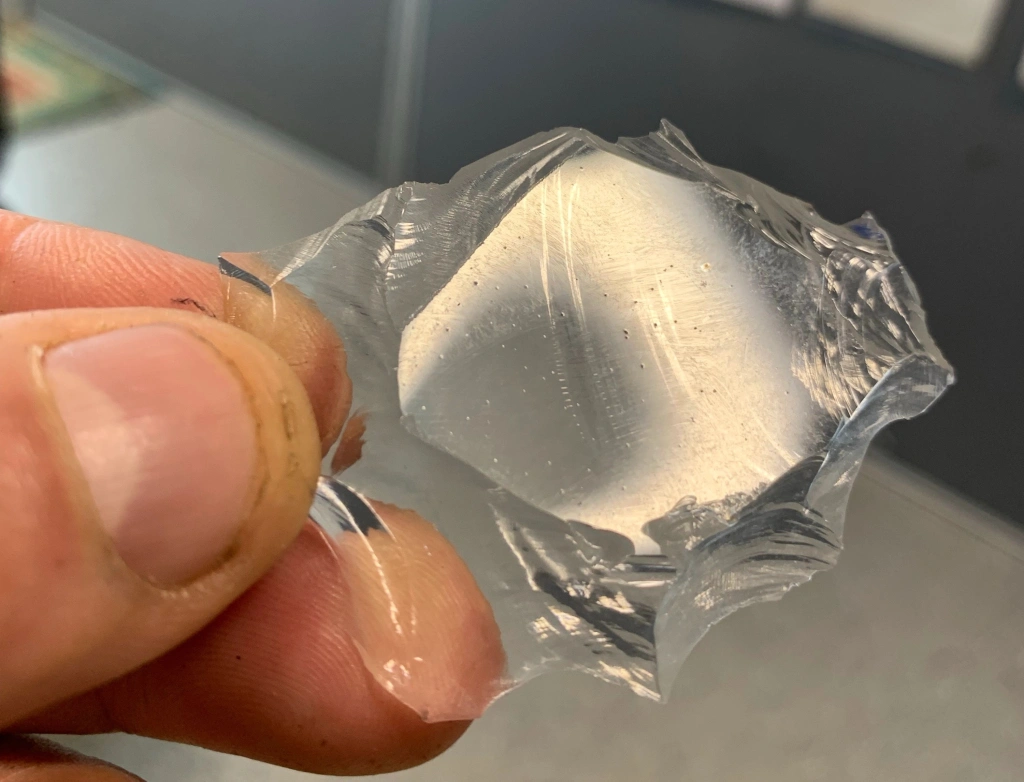
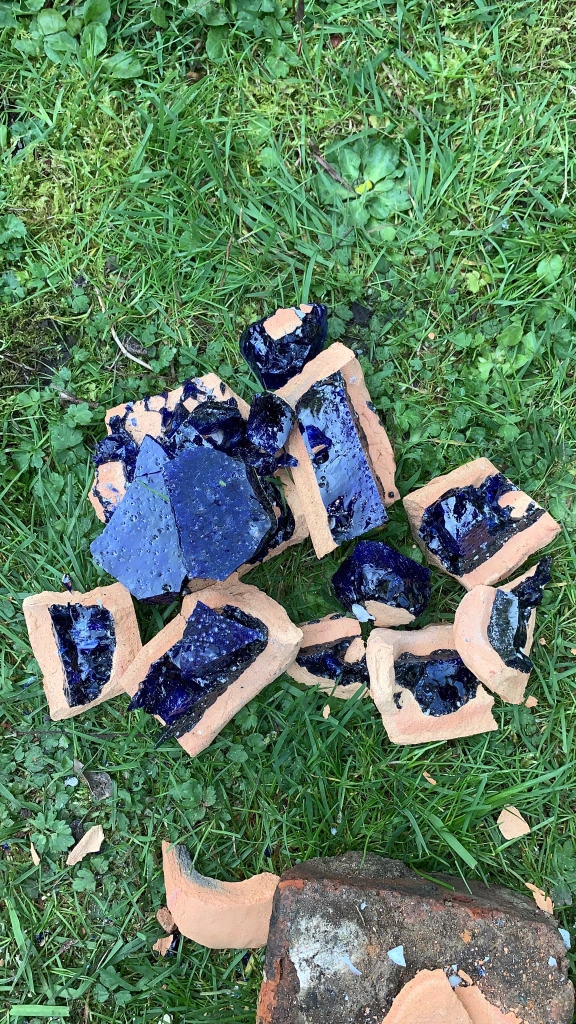
This blue example was perhaps exactly the opposite. It seemed to have melted well, although upon close inspection a crack could be see running diagonally across the block.

Because this looked like a promising candidate we tried to release it from the clay mould, but this one had attached itself to the clay, and you can see the results of our attempts.

This blackcurrant glass also looked promising, but the thing to note here is the bubbles. This must have cooled very (too) rapidly to capture the bubbles like this. Perhaps, if we don’t want bubbles then the heat should be turned down rather than turned off in order to make the cooling process more gradual.

This second blue one looked similar to the blackcurrant glass on the surface, however, when I tried to release it from the mould the internal structure was revealed, and that also contained bubbles. None of the six slabs were suitable for Knapping, so what did we do wrong?

I think we should have kept increasing the temperature to above the maximum of 1018 degrees that we got to on the day, in order to identify when the most difficult milk glass will melt. A second thing is to slow the cooling process so that bubbles have the chance to settle before the glass starts to solidify. We also need to consider alternative mould methods, as the aluminium takeaways, whilst not the main issue, didn’t help by melting.

We didn’t get what we wanted, but we did get plenty to think about!

Saturday night’s alright for knapping

I have said before I don’t like destroying things to make my stone tools. Well, I am not really sticking to my principles.

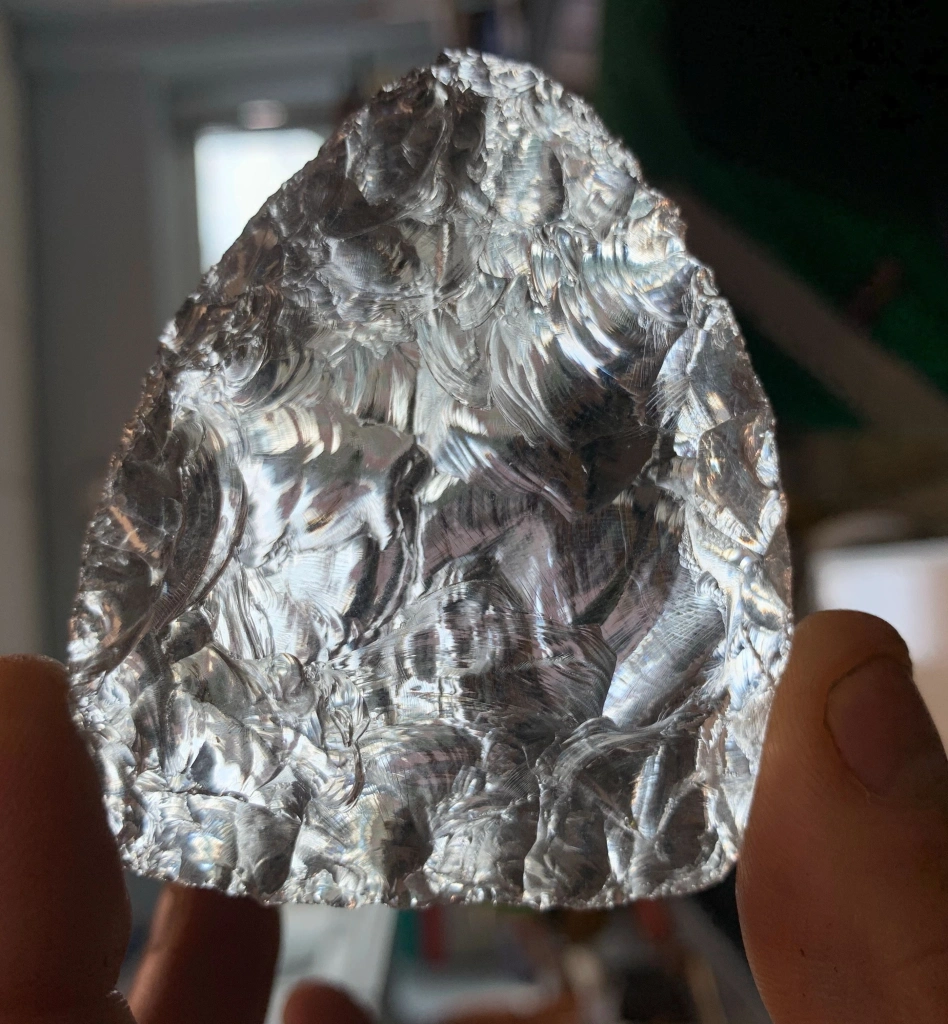
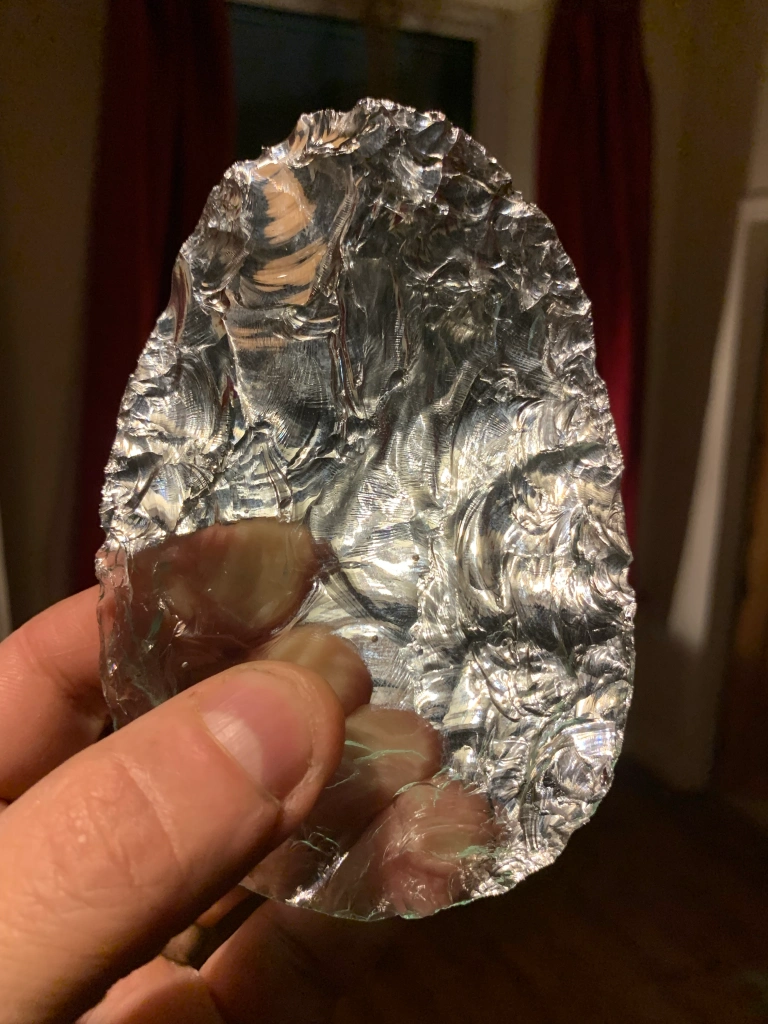
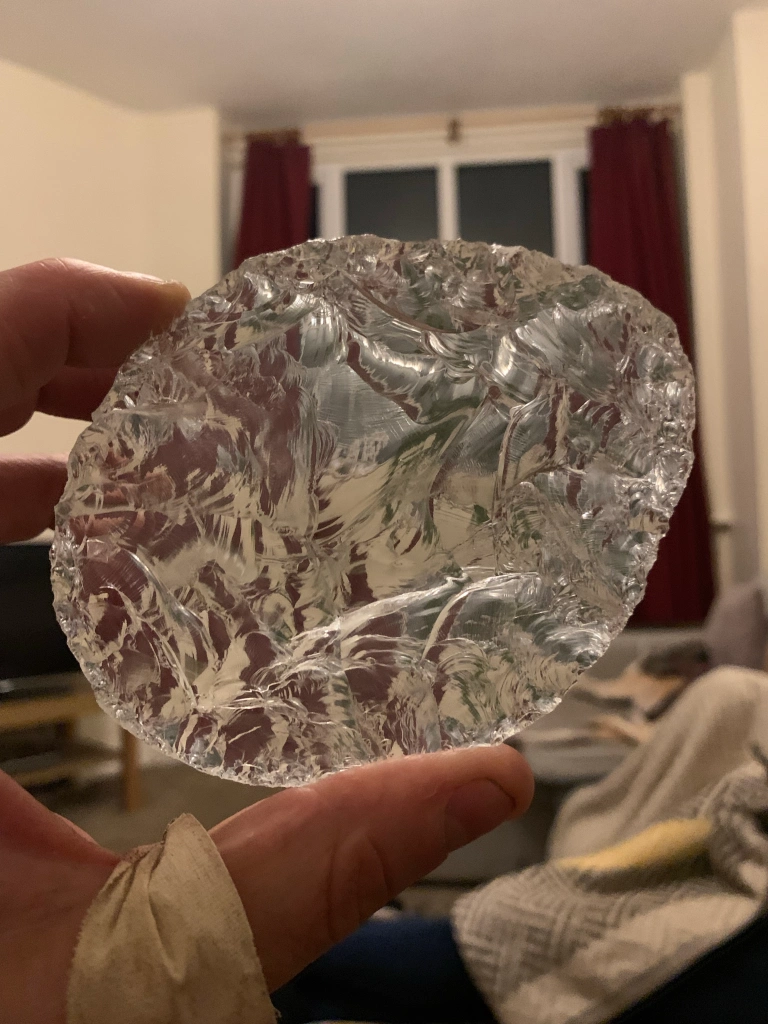
The ovate below is not my best as I had issues with step fracturing, and the shape is ‘quirky’. Plus still some original on one surface. However, I enjoyed the two hours in the lab, and stayed fully engaged throughout.

With glass blocks like this I need to improve the early stage turning of the edges, as that is what later leads to the step fractures. Still, not complaining as I am at a stage I am very happy with. I could improve this but lose size, so I think for now it is fine as it is.

Saturday night’s alright for knapping!

Large glass arrowhead

ArrowheadGlass

I have been collecting glass from the bottle tip for our melting experiment, and along the way found some nice thick pieces.

I was in the lab Saturday working on flint, and so today (Monday) I had an hour or so working on this brown glass base.

It took a while to get into it, and once in I had to sacrifice size in order to get rid of some horrible step fractures.

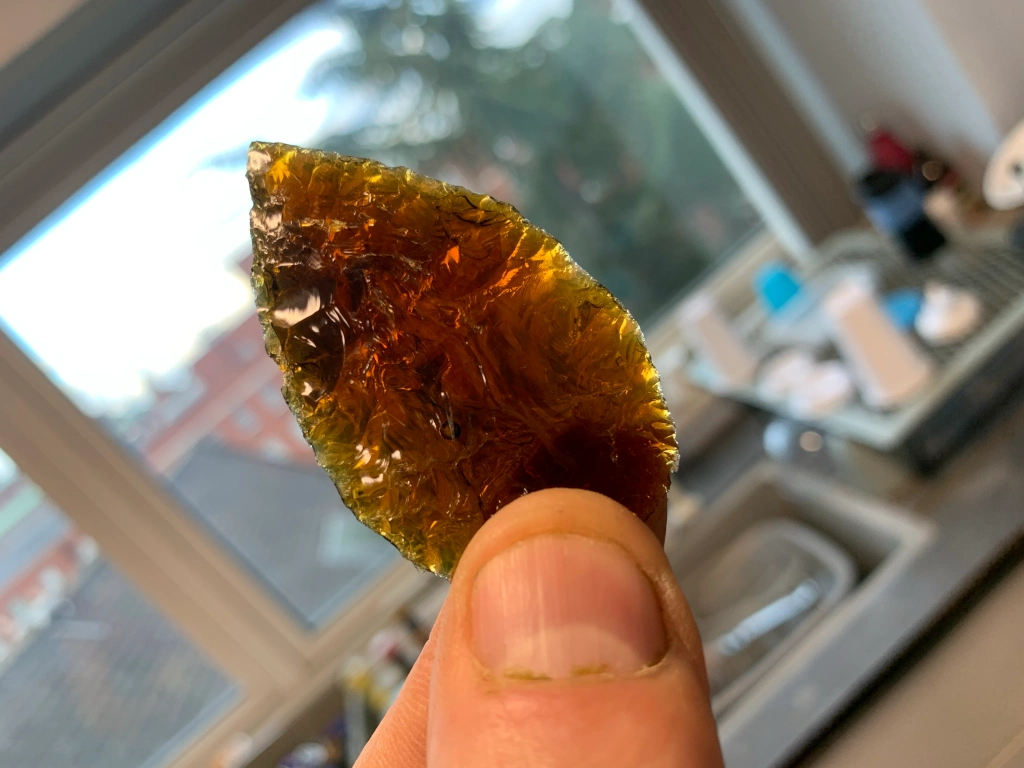
I used stone, antler and finally a copper pressure flaker to finish it off. It flaked really well and I am happy with it. I also have a nice green piece so let’s see if I can find the time tomorrow as well.

The Blue Handaxe – Materials

BlueGlassHandaxe

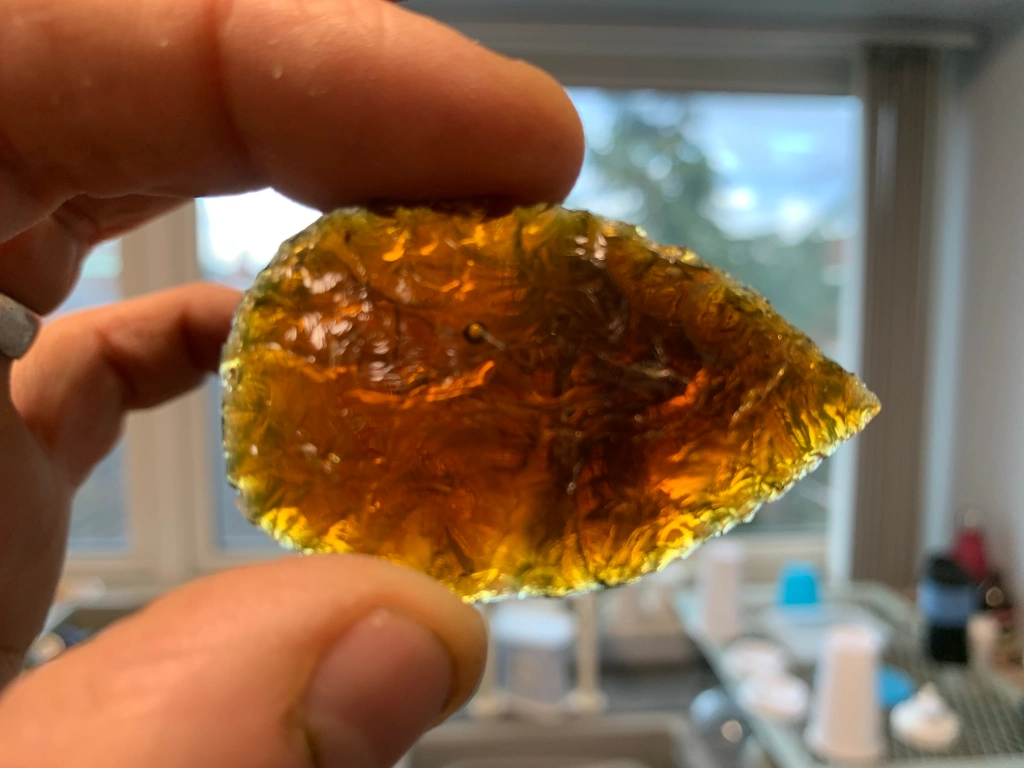
Yesterday we did some filming. Howard (film maker) and Jex (sound person) at the bottle tip. I had brought some props with me to explain the overall idea. Enter, my current favourite large handaxe (above) to illustrate where I want to go with things.

Next up was my best glass handaxe made from the base of a vase. This was to illustrate the limitation of size of materials, with this being exceptional, but still not very big.

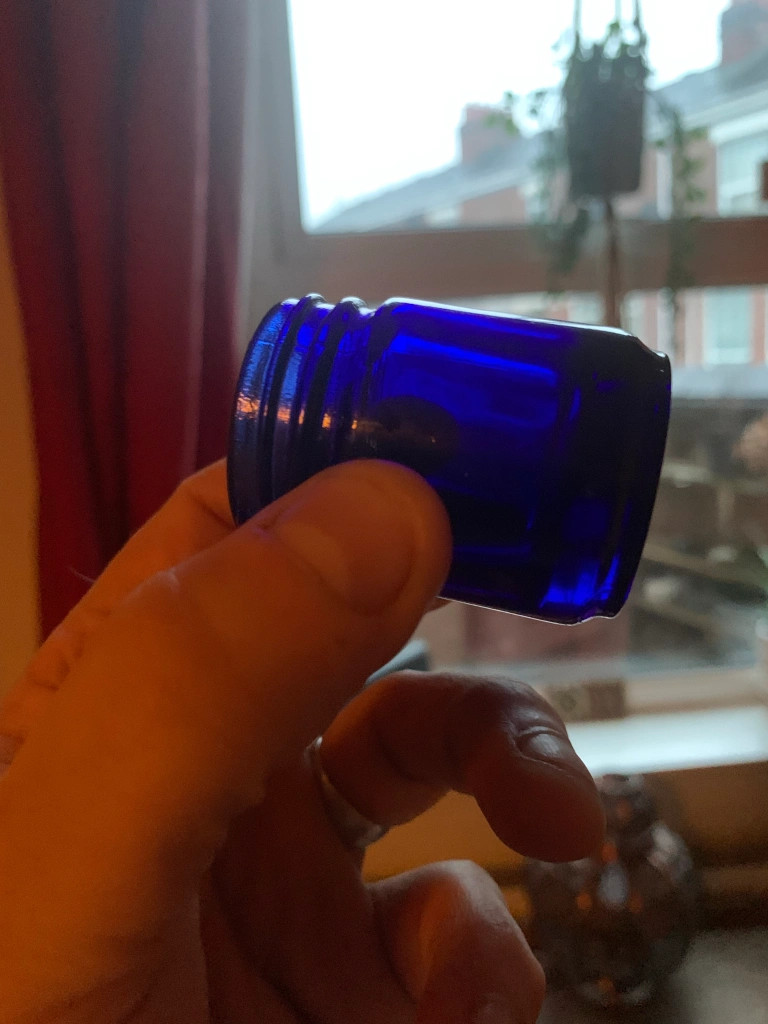
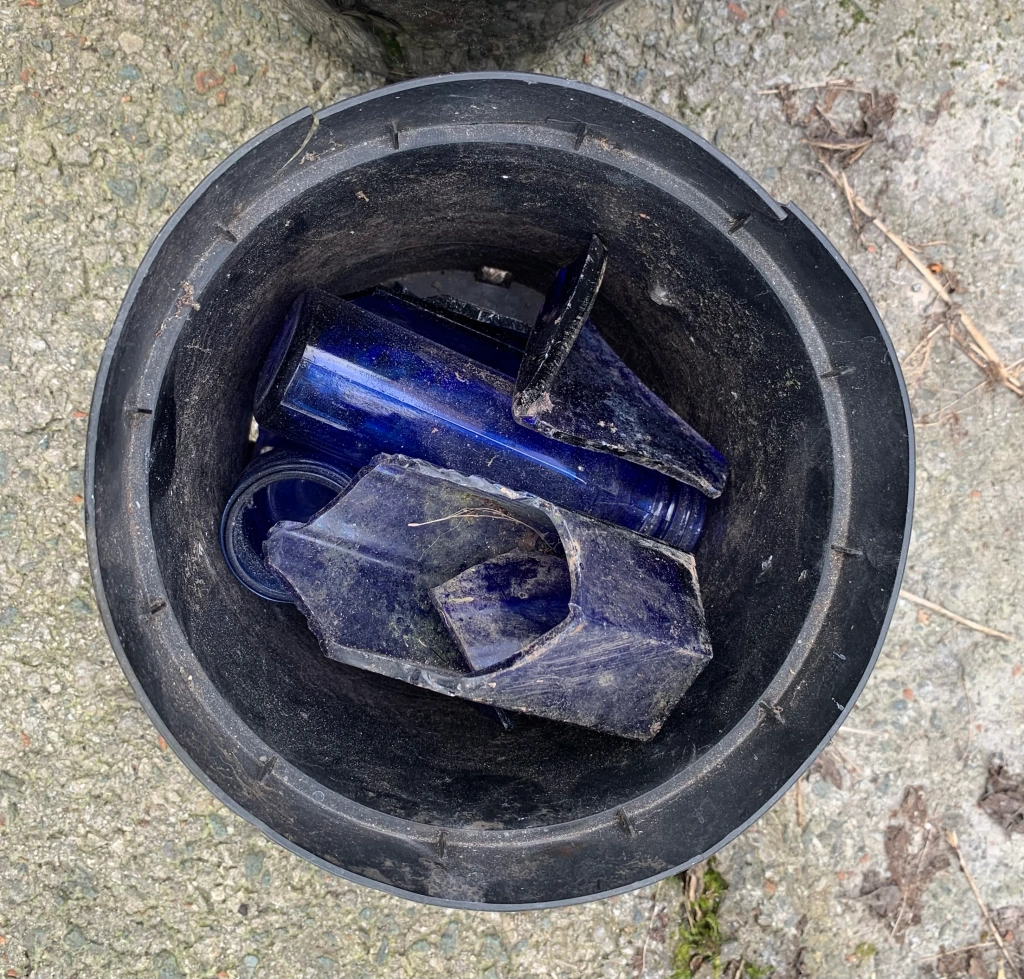
Third up was this (presumably) 1950s Vicks bottle of amazing blue glass. This was to illustrate the rare blue material I wanted to collect in order to then work with Nacho to produce a blue glass block.

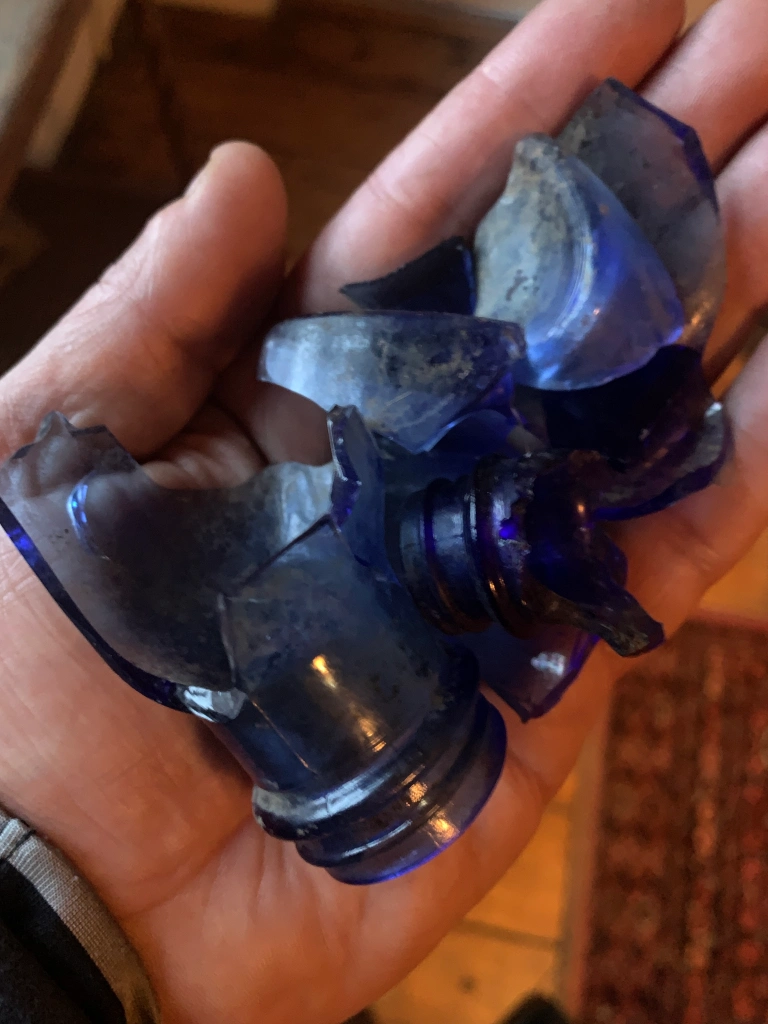
Anyway, after the above introduction and some bottle tip footage Howard wanted some live action blue glass finding moments. This was going to be difficult as over many visits I had picked the area clean, or so I thought. I found quite a lot, mainly a pale or lighter blue, but nevertheless illustrating the material gathering process authentically, which is what we both wanted. Let’s see what Howard makes of phase one.

The Blue Handaxe

BlueGlassHandaxe

I have a new project in mind inspired by a number of factors. The first one is the fragments of blue glass that I find at the bottle tip. Blue glass is pretty rare I have realised.

The second was seeing the melted glass bottle in Spain last year and realising I could produce a glass block, with the help of Nacho and his kiln. Talking to a friend Howard, he thought it would make an interesting three part film: gathering materials; making the glass block; knapping the handaxe.

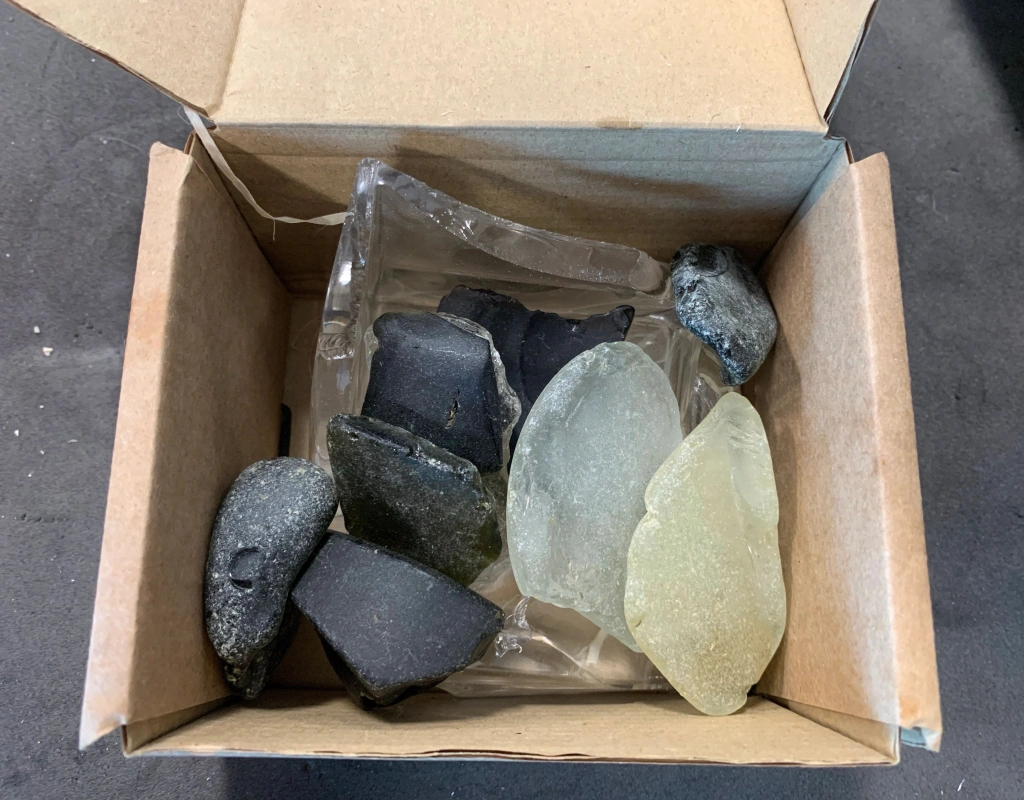
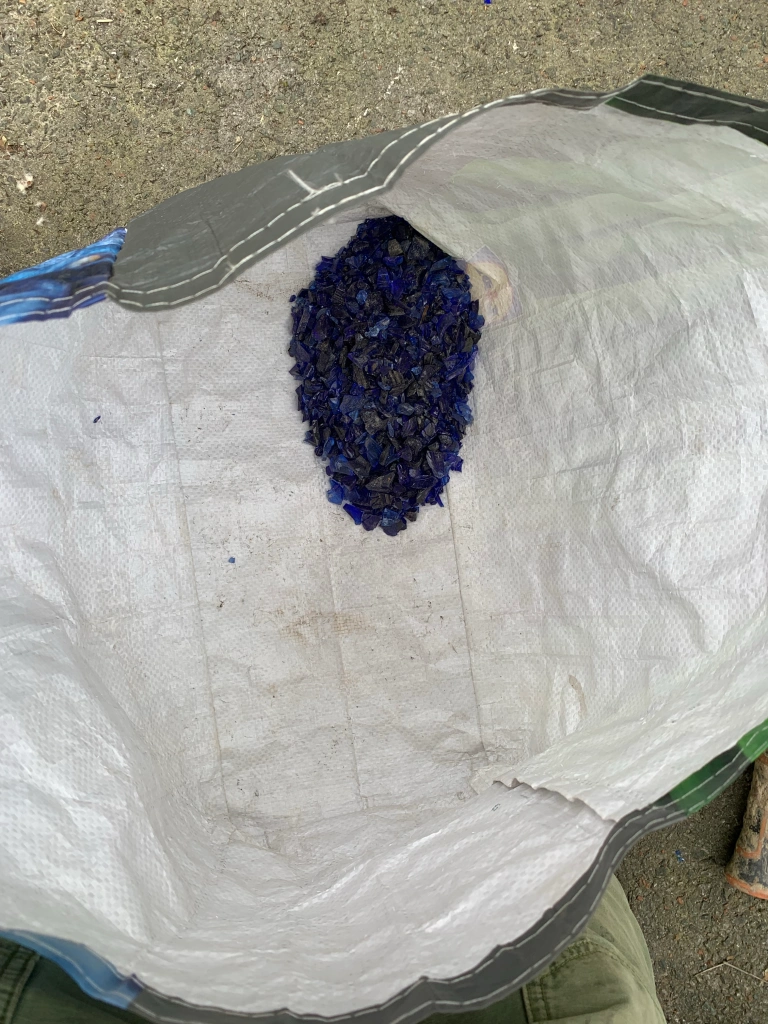
That is how I ended up at Nacho’s this afternoon smashing the glass fragments I had previously collected and sorted, and making them into easily meltable pieces. Nacho, for his part has produced some clay moulds to get the shape, but as clay is porous the glass would bind to the clay. The aluminium food trays are to line the clay mould and stop the glass sticking.

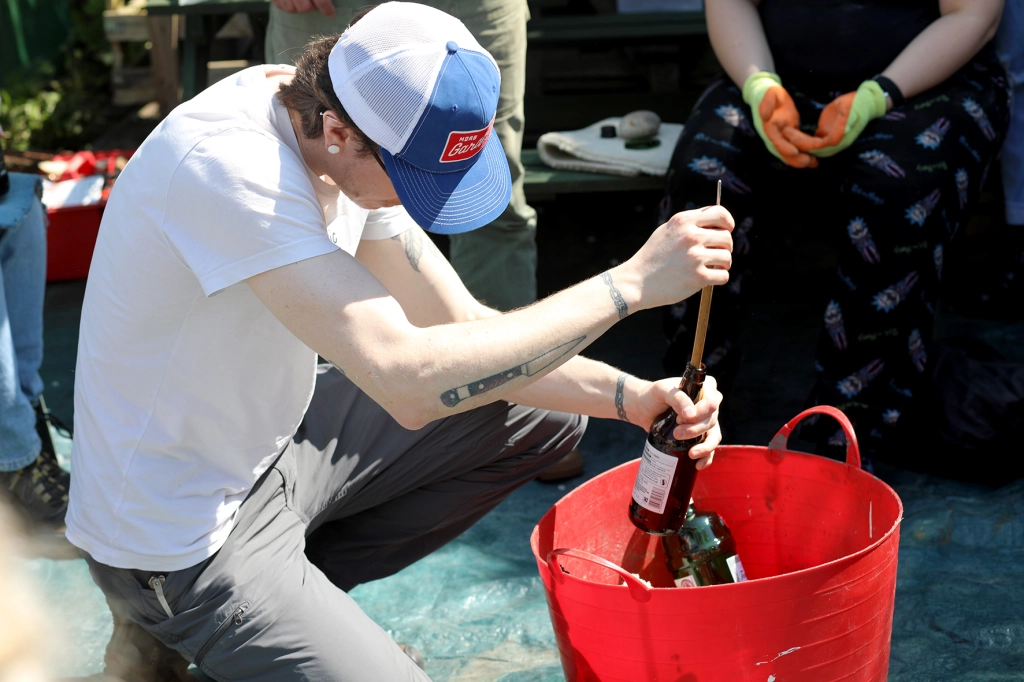
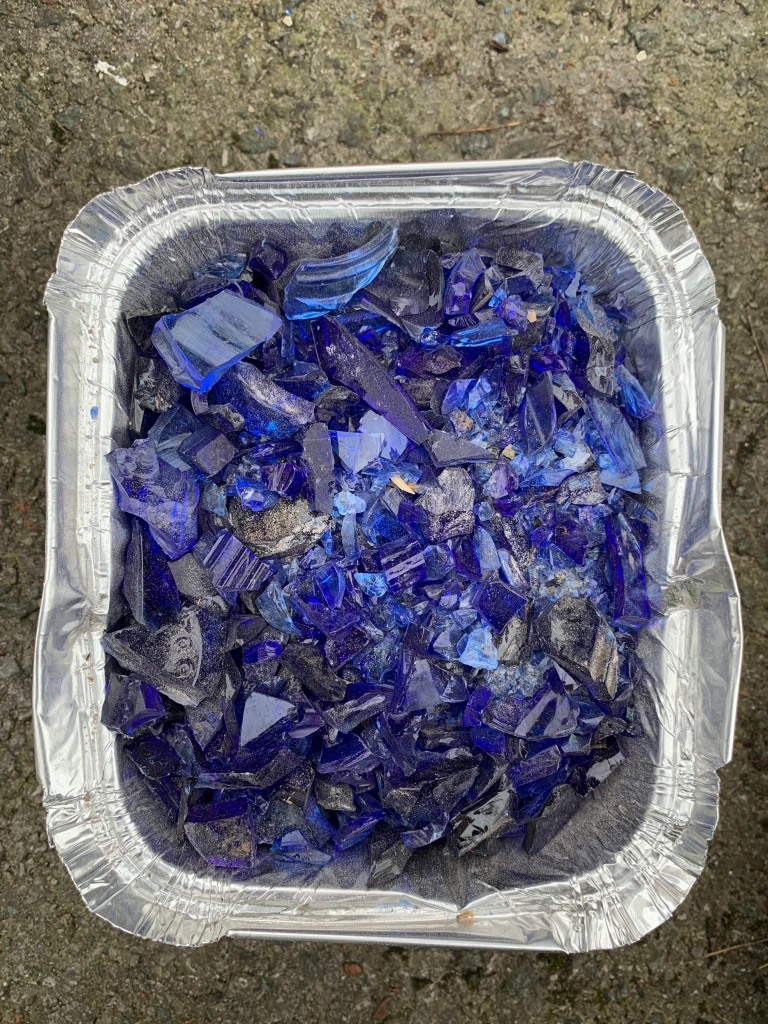
This is obviously all theoretical at this stage, anyway, after putting the glass into a carrier bag and hitting it repeatedly with a lump hammer we managed to get one blue glass container filled.

After that we did a milk glass, and then clear glass container. And after that we went back to the bottle tip to get some materials for brown and green handaxes as well. There is a lot that can go wrong with this project, so let’s see how it goes!

Large glass ovate handaxe

Glass, Handaxe

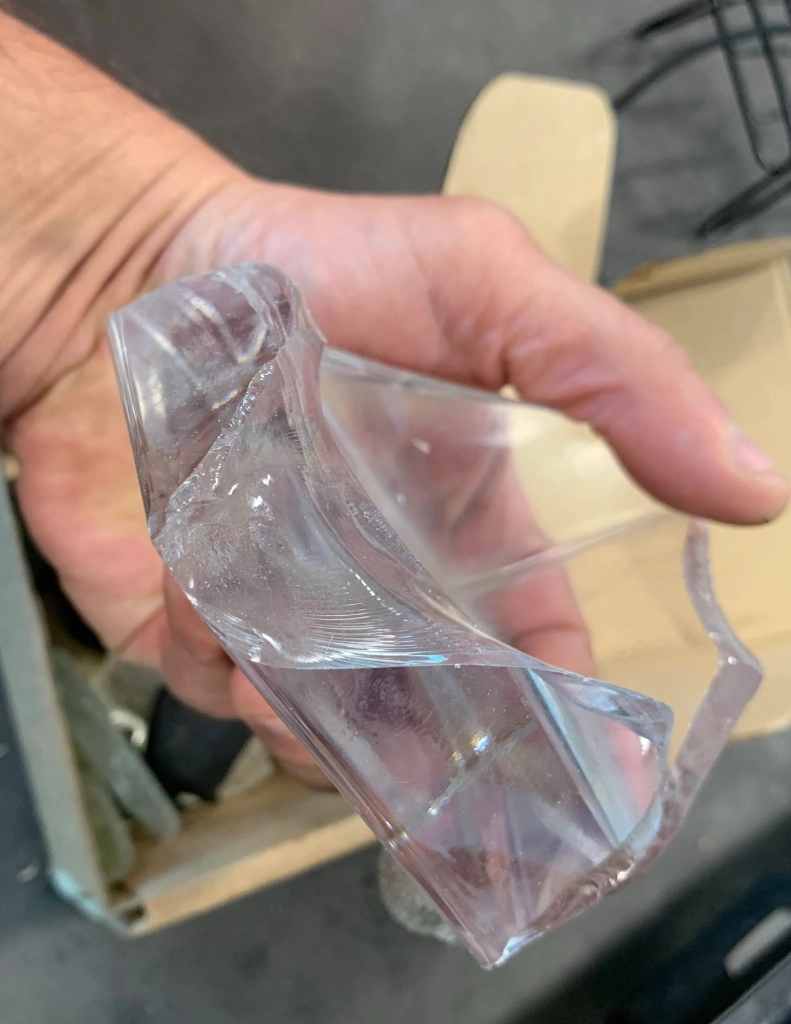
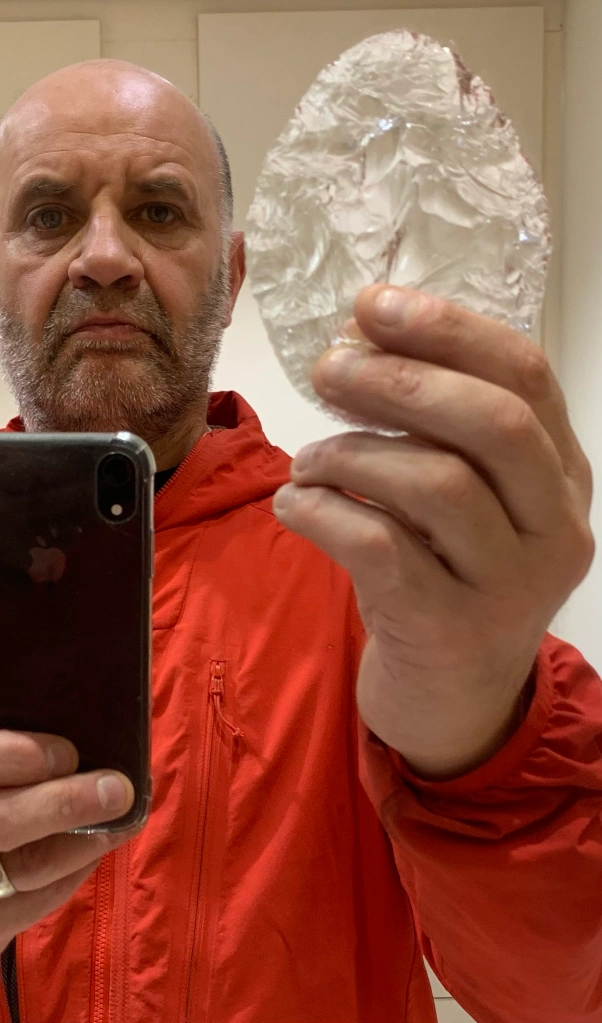
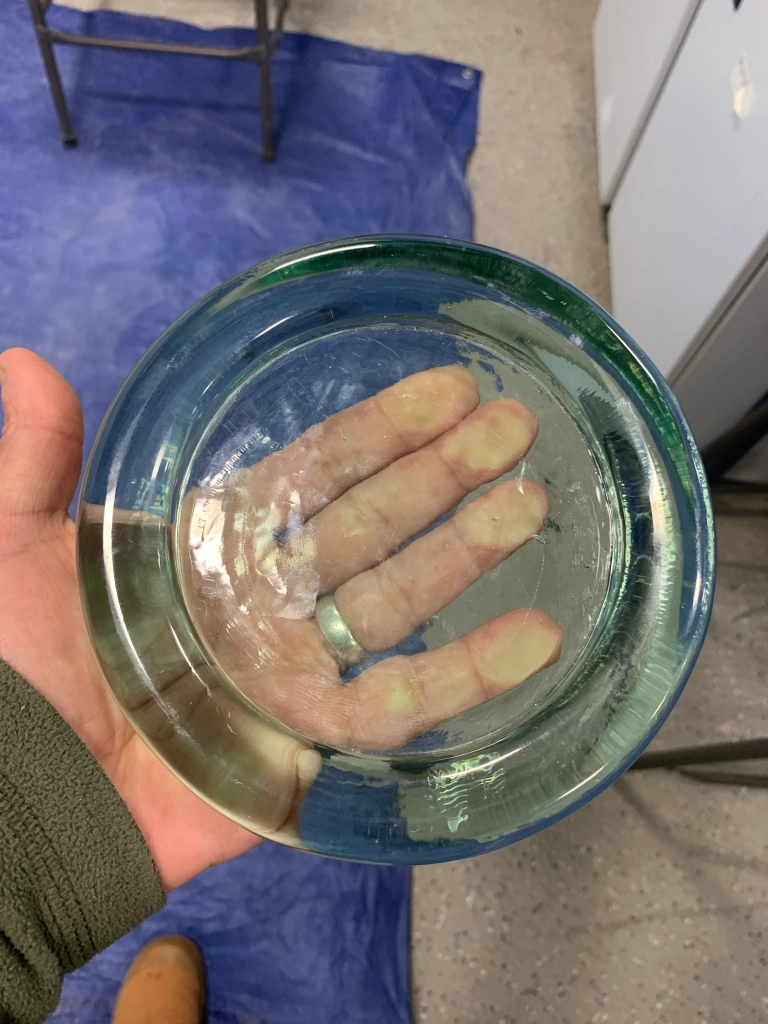
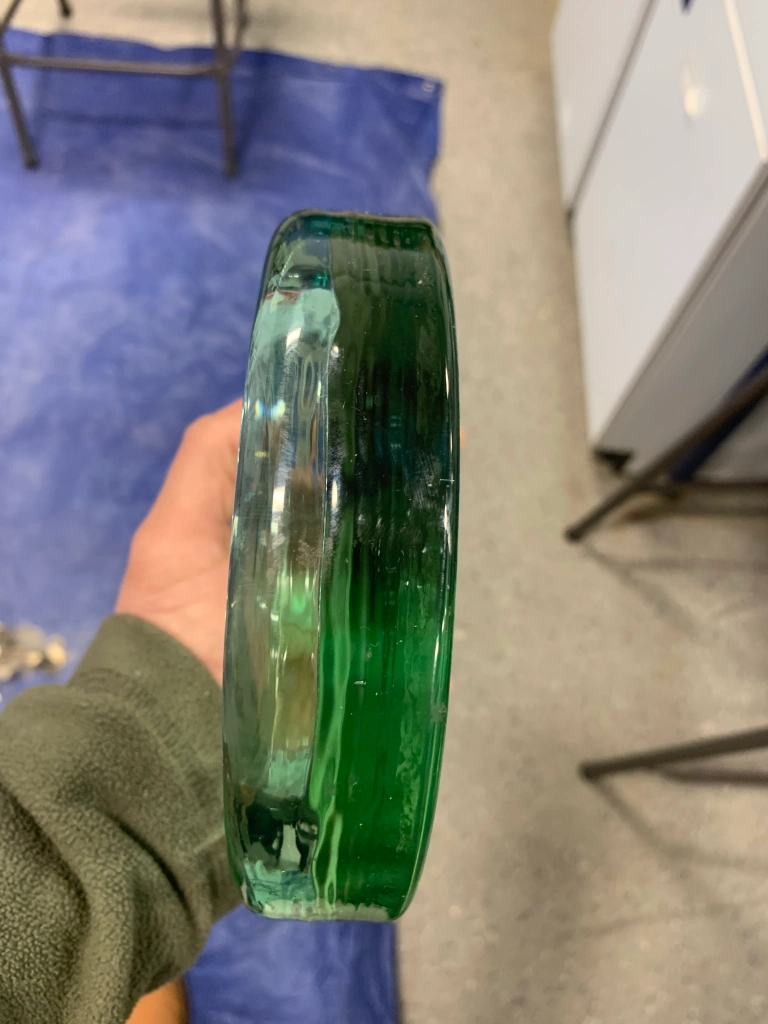
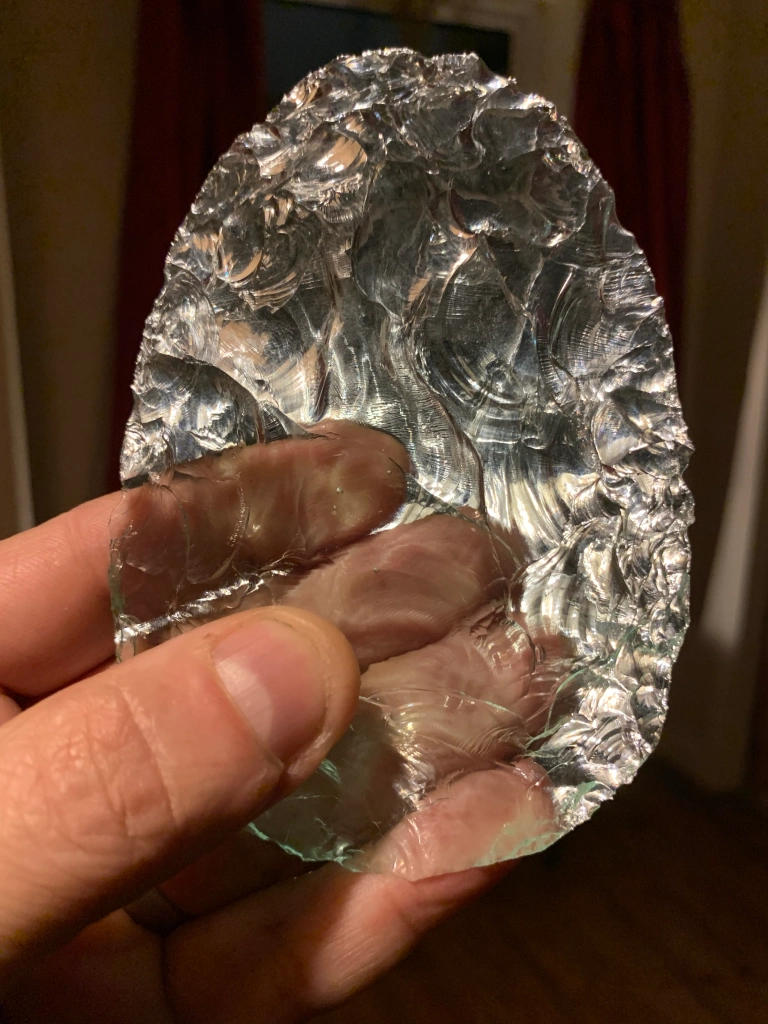
I don’t normally destroy perfectly functional things in order to make my stone tools, however…I found this nice thick glass ashtray in Oxfam and it reminded me of the glass slabs I want to produce with Nacho.

So £3.99 and 24 hours later I was sat in the lab with a small hard hammer. The glass was really good to work even if it took me a while to get rid of the ‘walls’ of the ashtray.

Like the older glass I am used to, this ashtray glass had bubbles in it. I knew what I wanted, a large ovate handaxe, and my earlier removals, when I had more material were better. I have some nice flakes that will be good for arrowheads at some point.

It looks half decent, is fully bifacially worked (no original surface left) and I have retained a good size. However, it is not my best. Harder to see from the pics is a step fracture ‘island’ on one face. I relaxed a little and went ‘intuitive’, which felt right, but failed to produce descent removals.

I was concentrating more on outcome than process, and in doing so stopped giving each removal the due consideration it deserved. By the time I realised I didn’t any longer have a good way in to remove the steps. If I really wanted to make it into something I like I would lose size, and it would end up like many of my smaller ones that are either made from smaller pieces, or like this, takes me lots of removals to get it ‘right’. Anyway, the hour in the lab was the thing. It’s been a while and it was great.

On holiday

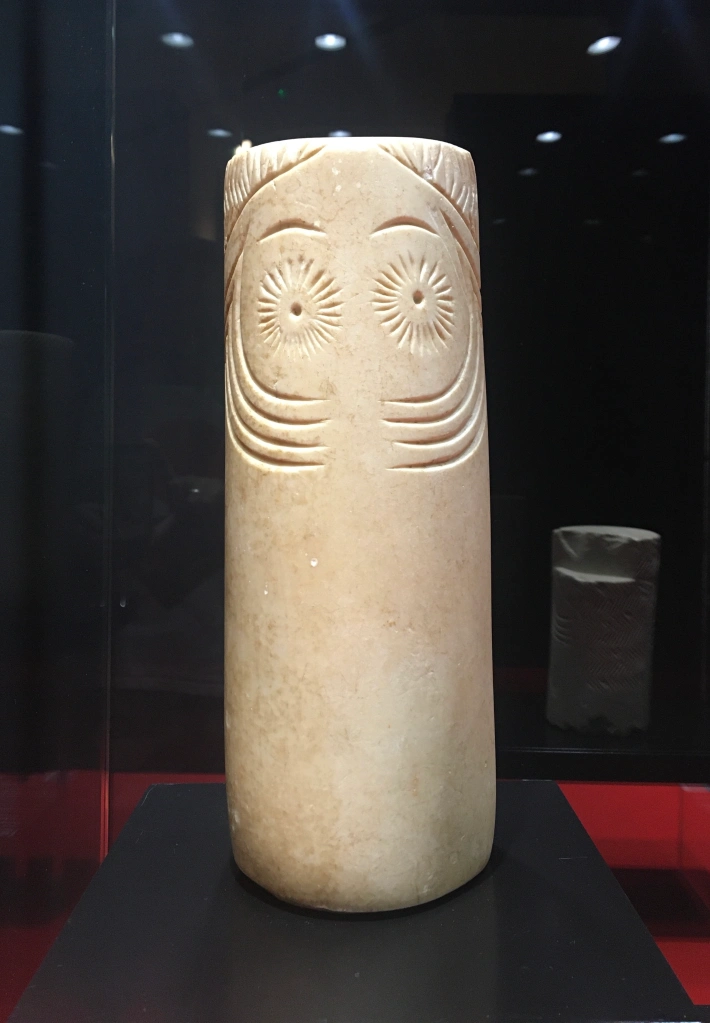
Currently we are on a mini two week tour of southern Spain. A first highlight was the Archaeology Museum in Jerez.

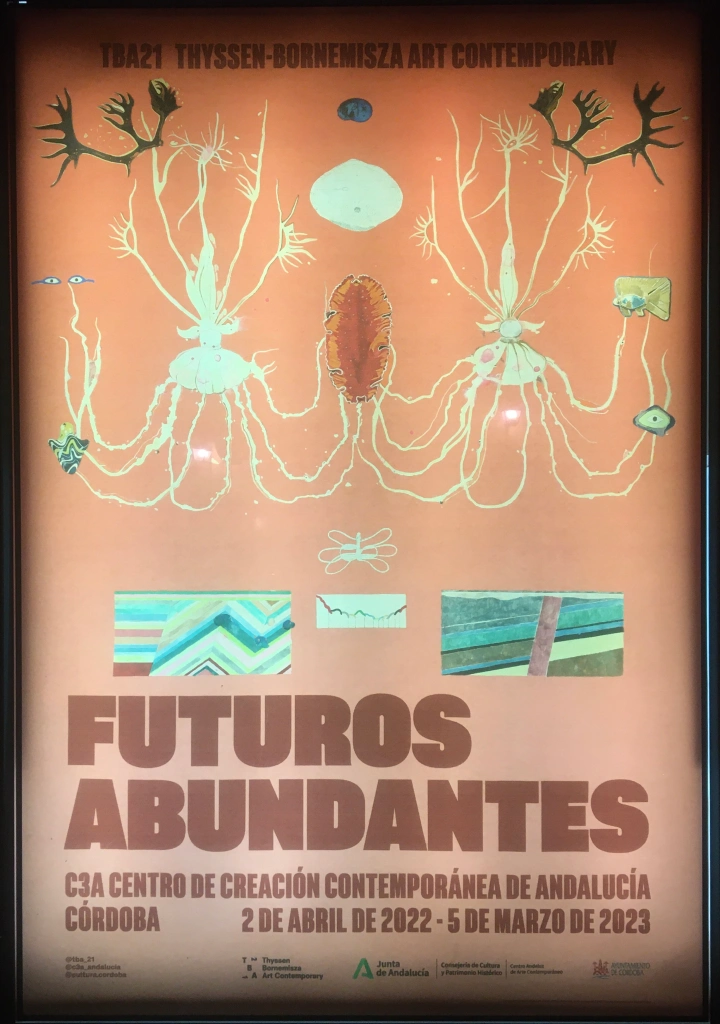
And yesterday, an exhibition at the Centre for Contemporary Creation in Cordoba

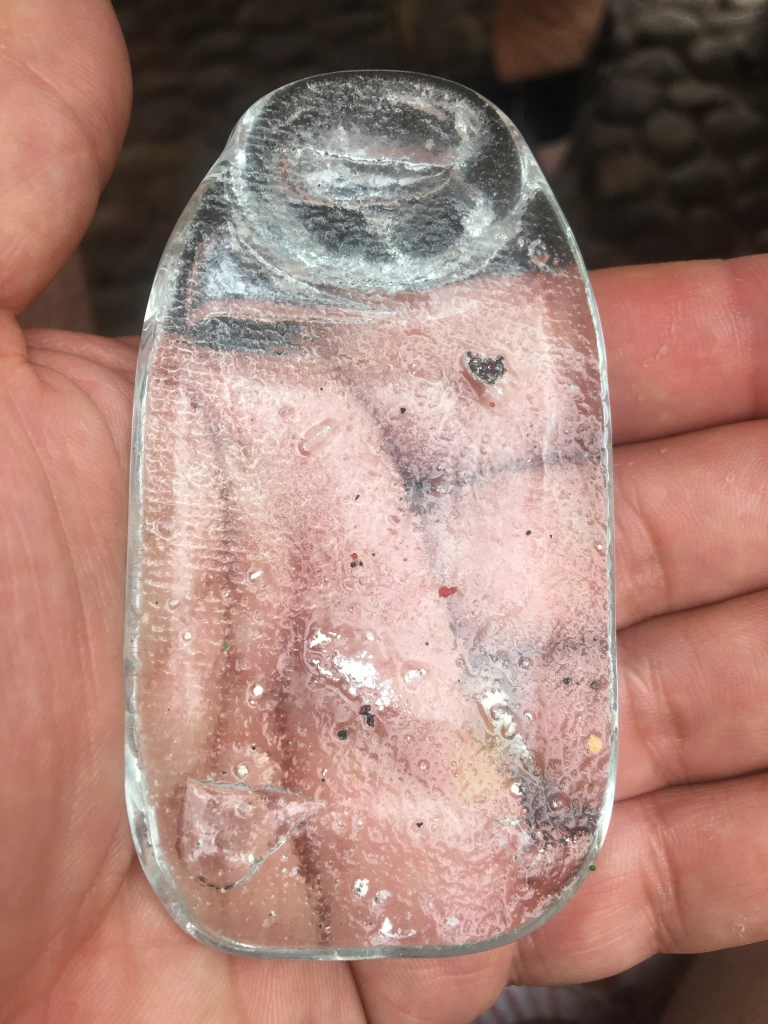
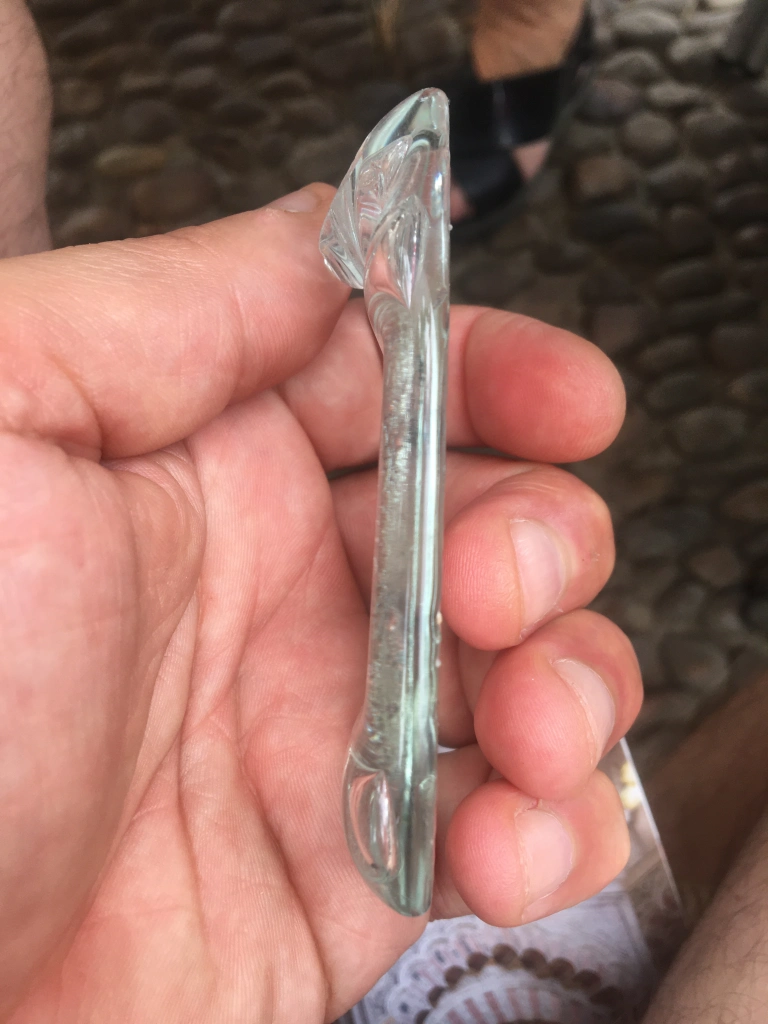
However, most interesting was a small ceramics workshop in the centre of Cordoba. In there I bought for seven euros a small melted glass bottle.

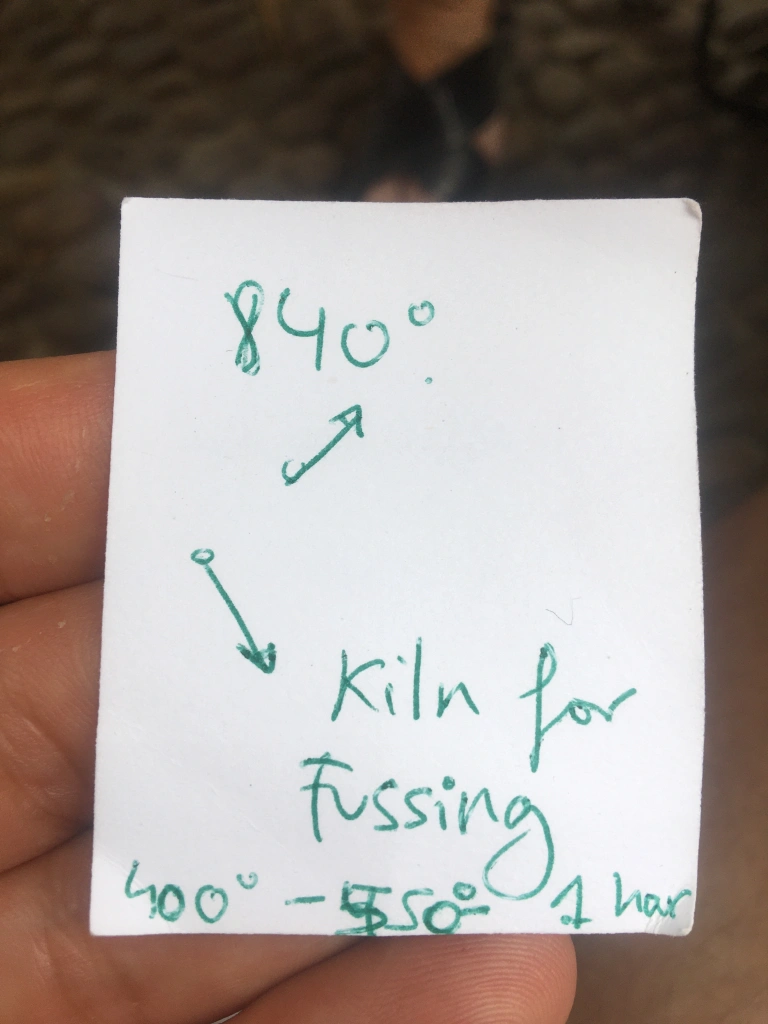
I also had a good chat with the woman who made it, and she did her best to explain to me the necessary kiln timings for a successful glass melt.

Going to southern Spain was a last minute thing for me. I have tagged along with Karen and Roxanna, to make sure we get to spend some nice time together this summer. However, I have really been struck by how stimulating getting away, but also engaging with new places can be.

I am really excited about making some large bevelled glass slabs, that I can then use to knap some bigger handaxes of colour. I am super busy when I get back, but a visit to the bottle tip, and a session with Nacho and his kiln are now high on my agenda!

Thanks to Brosky and Maria for making us super welcome and spending their time showing us around Cordoba. We are so lucky to have good friends in great places.

Bottle tip ovate handaxe

This afternoon Roxanna, Bella and myself went to the bottle tip. I thought from the style of the earliest bottles it was 1940s material and this newspaper from the site indicates late 1930s.

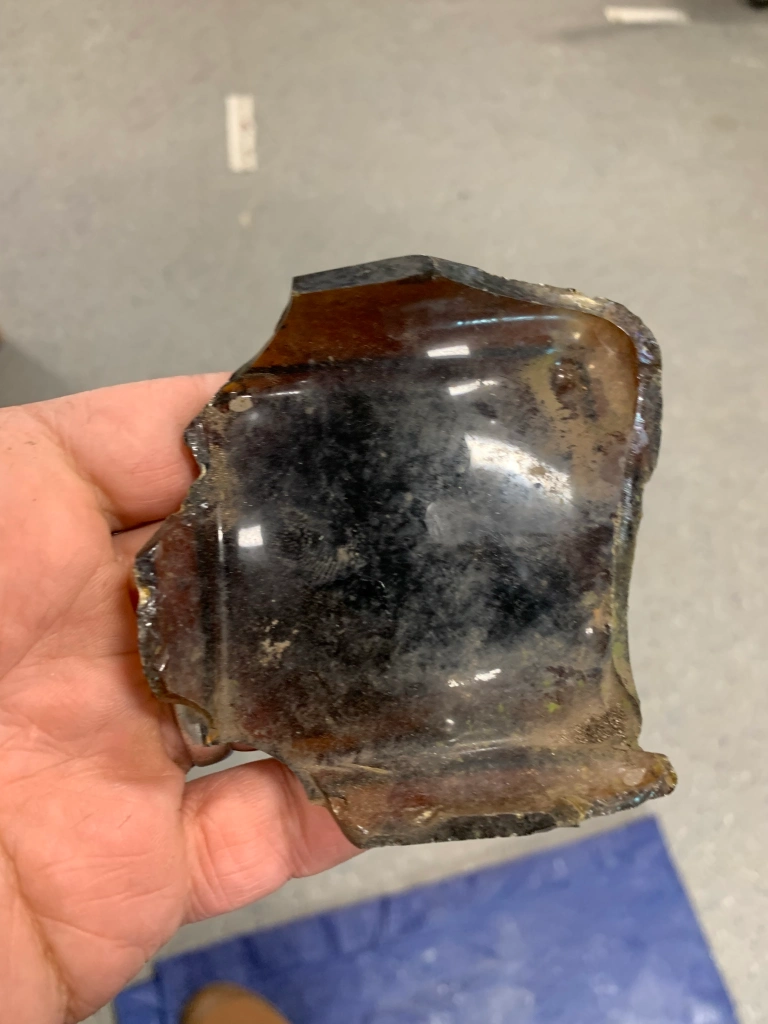
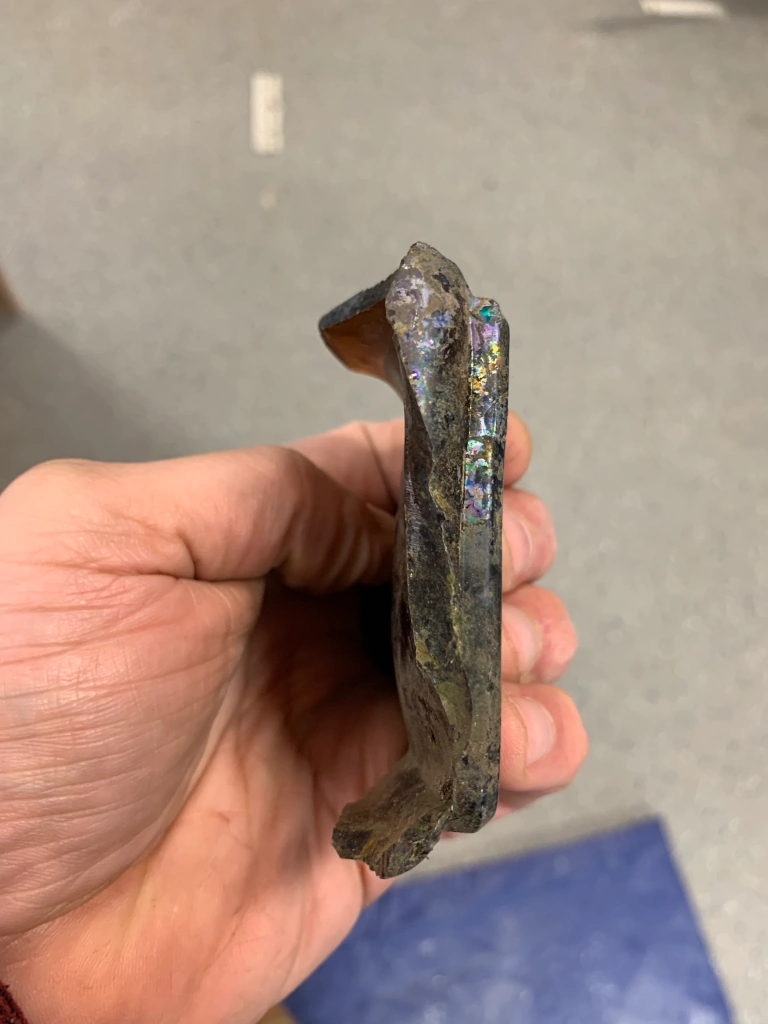
I was looking for big pieces and at first thought this was a metal pan lid. It was very concave and so needed considerable reduction to get it flat, but apart from a couple of irritating step fractures the glass behaved really well.

I took a few risks with this, but well prepared platforms and well behaved material led to this nice and lumpy but symmetrical ovate. Roxanna is not as keen on the bottle tip as me so we went to a cafe afterwards, to have some daddy daughter time…on our phones 😐

Newer posts >

© 2026 Learning Through Making. All Rights Reserved.

Up ▴