I have had some time to sleep on it (not literally), and some more ideas emerged.
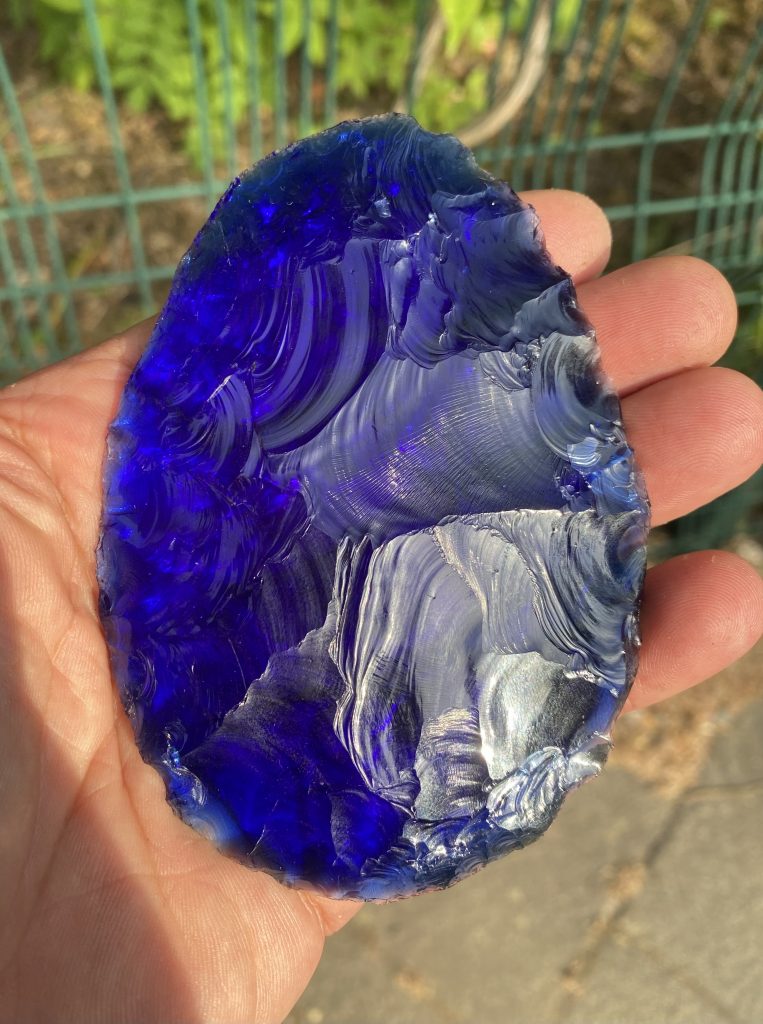
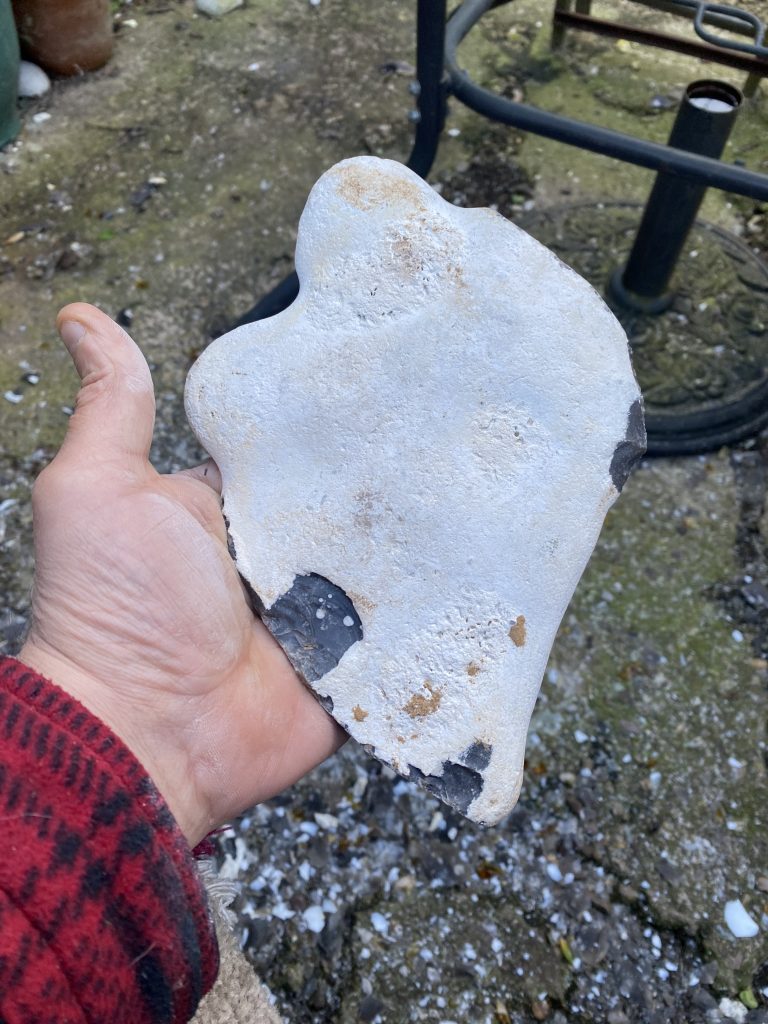
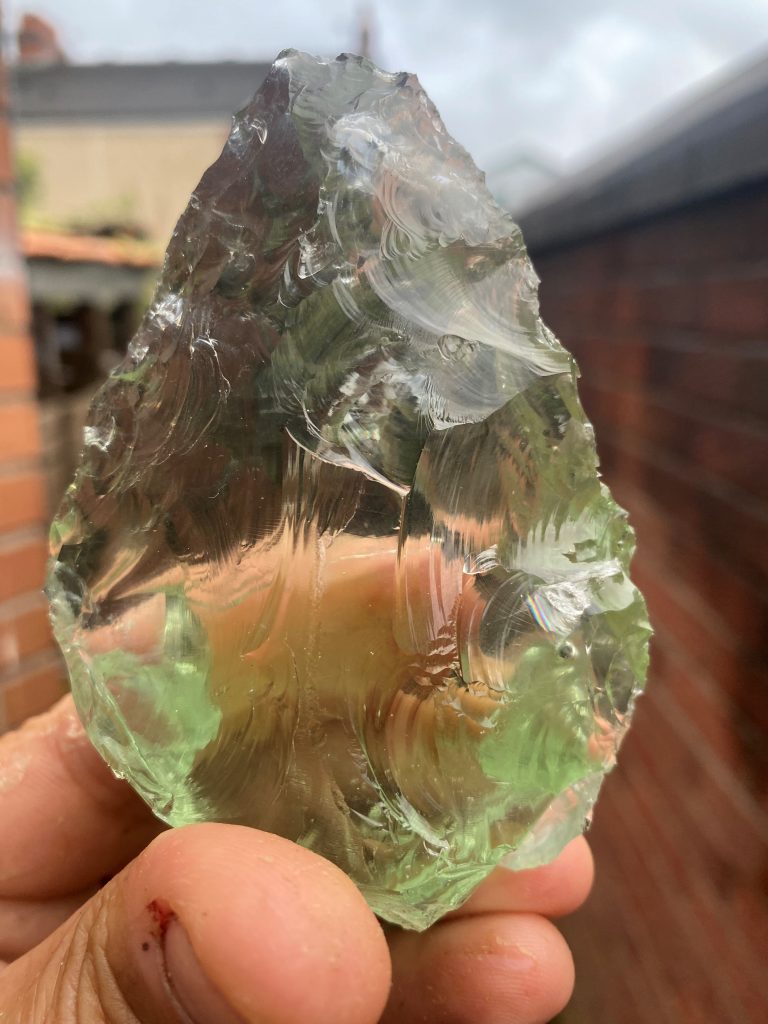
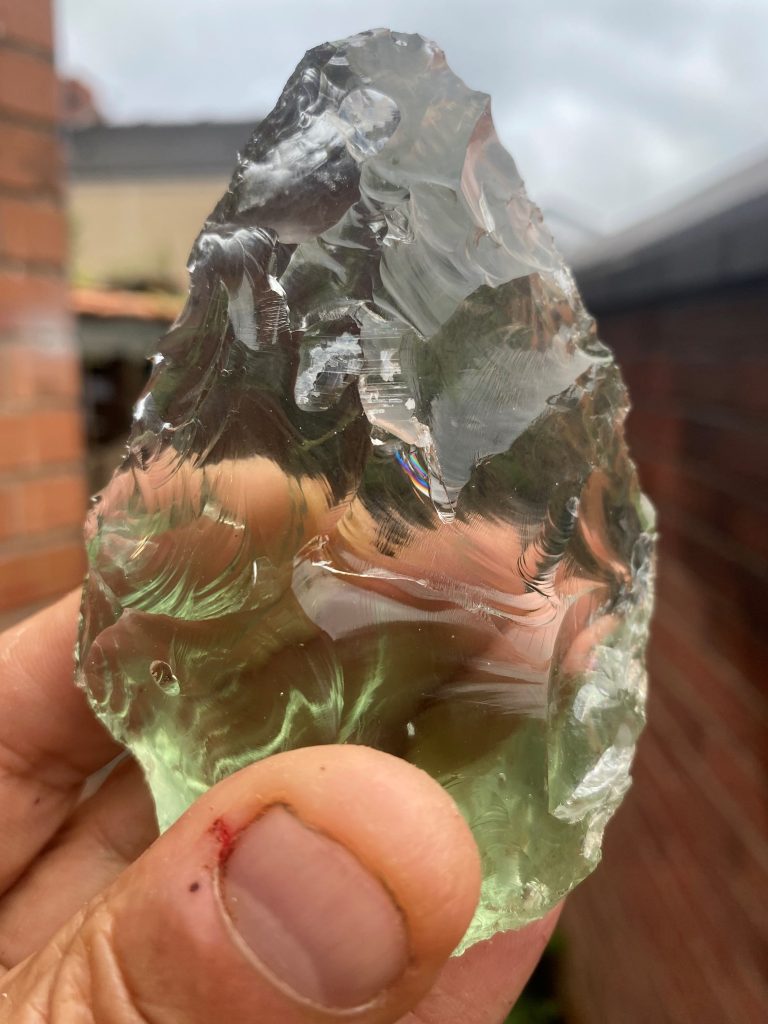
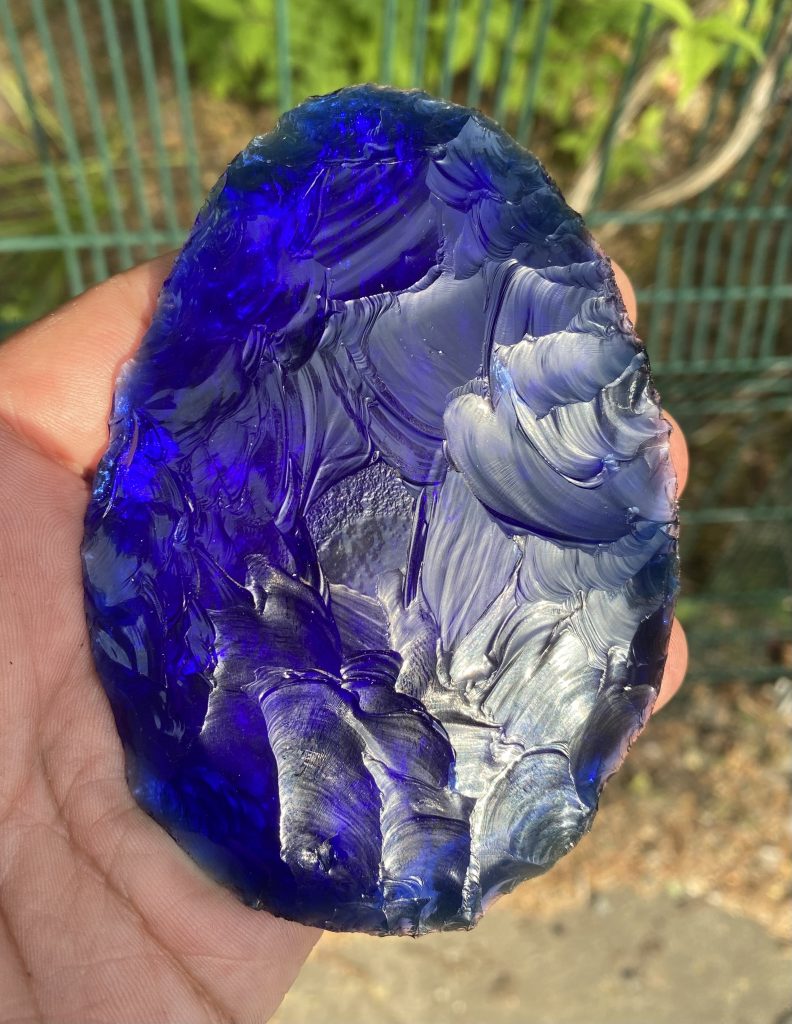
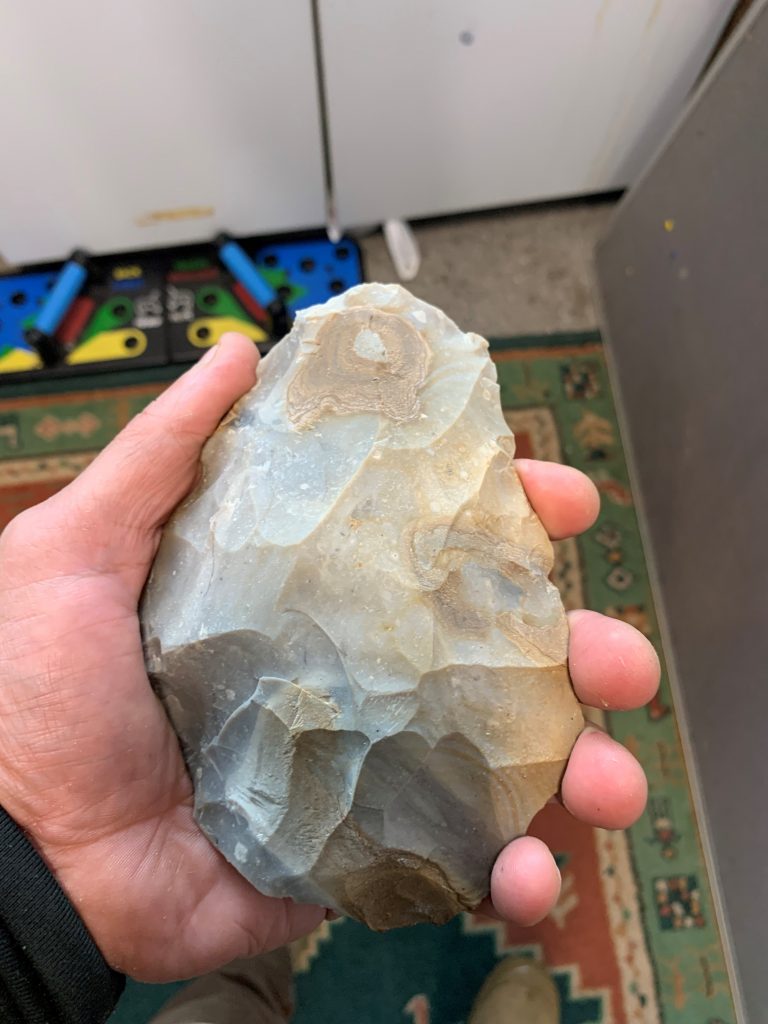
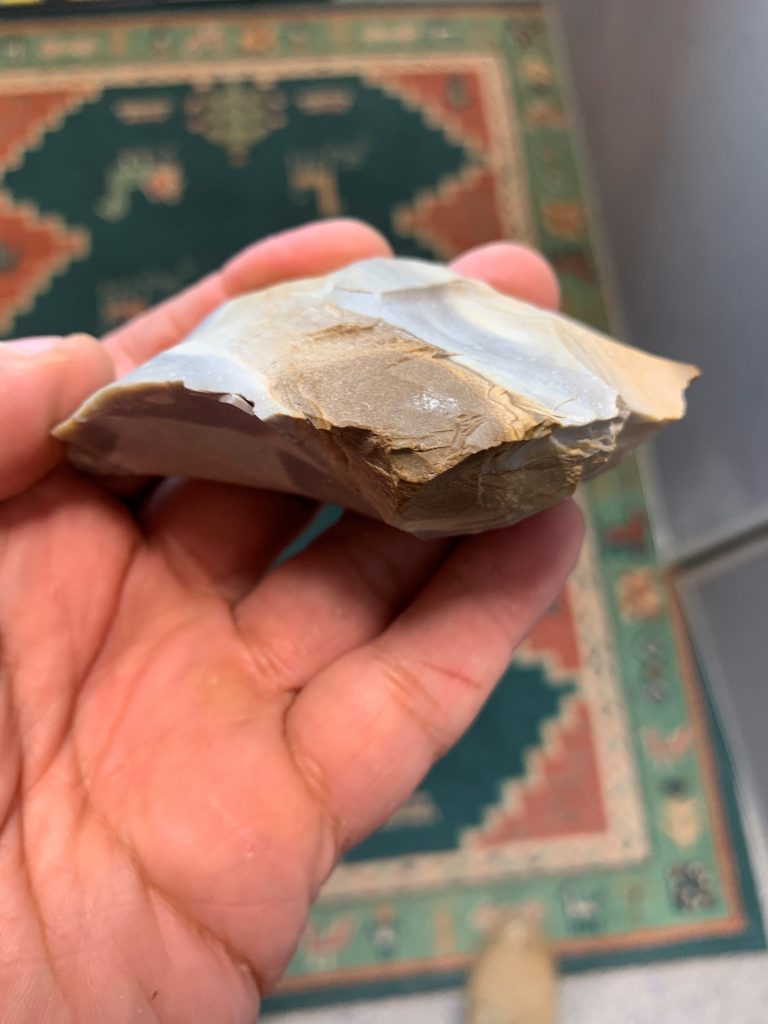
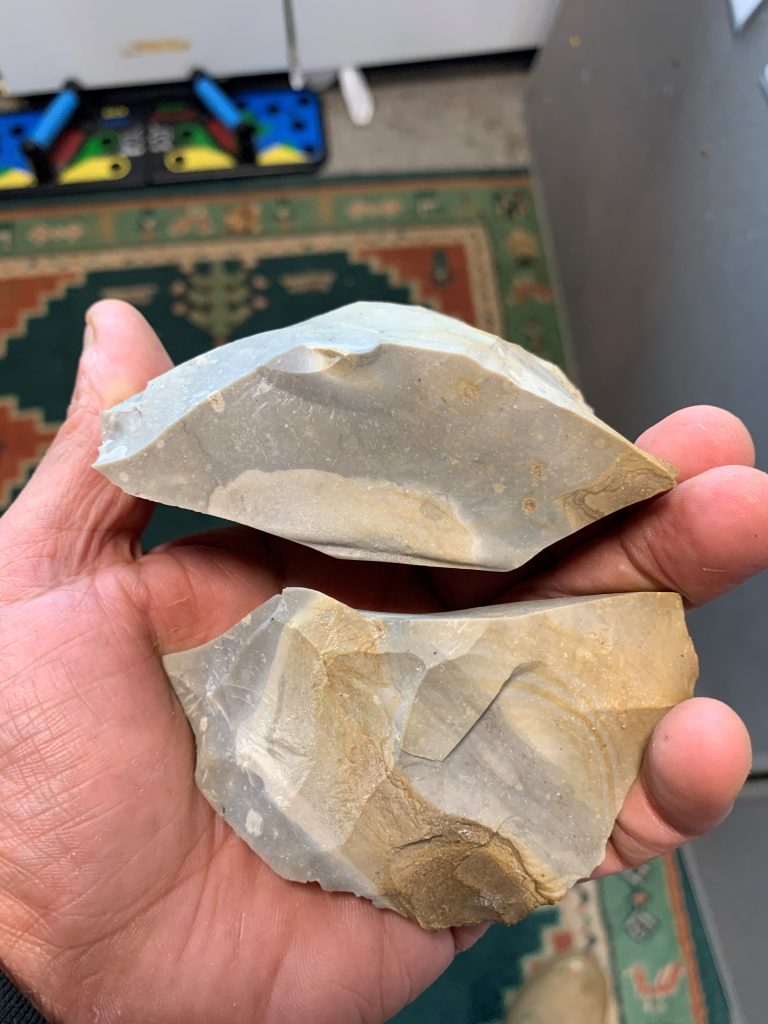
I think actually two competing and contradictory ideas are being played out here. As concluded in the last post: perhaps this is a piece of art; inspired by Palaeolithic crafts people; and using the making process to highlight a different attitude and set of values to modern ‘waste’ materials. Perhaps that is what I am doing, and that is what this handaxe is doing.
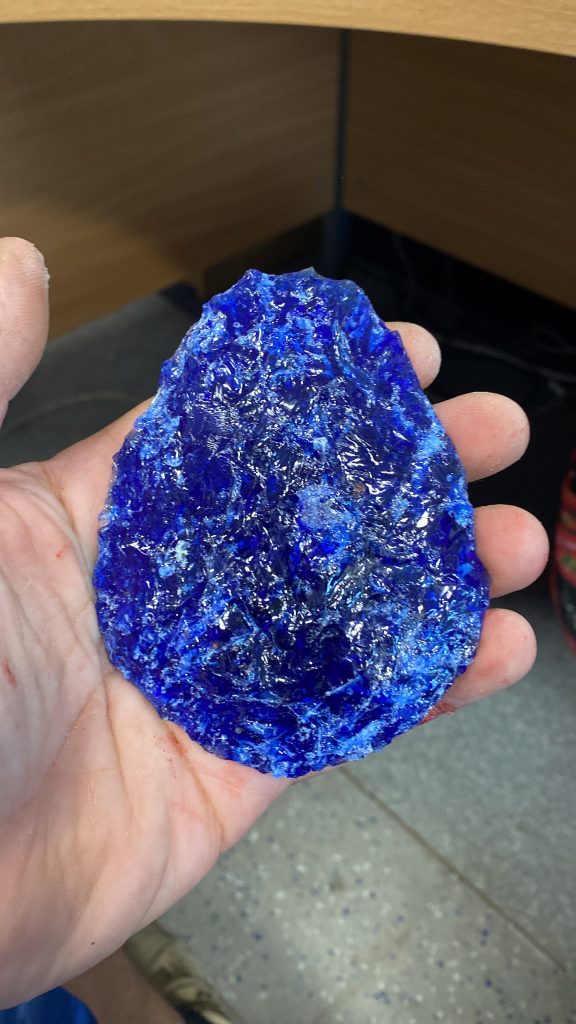
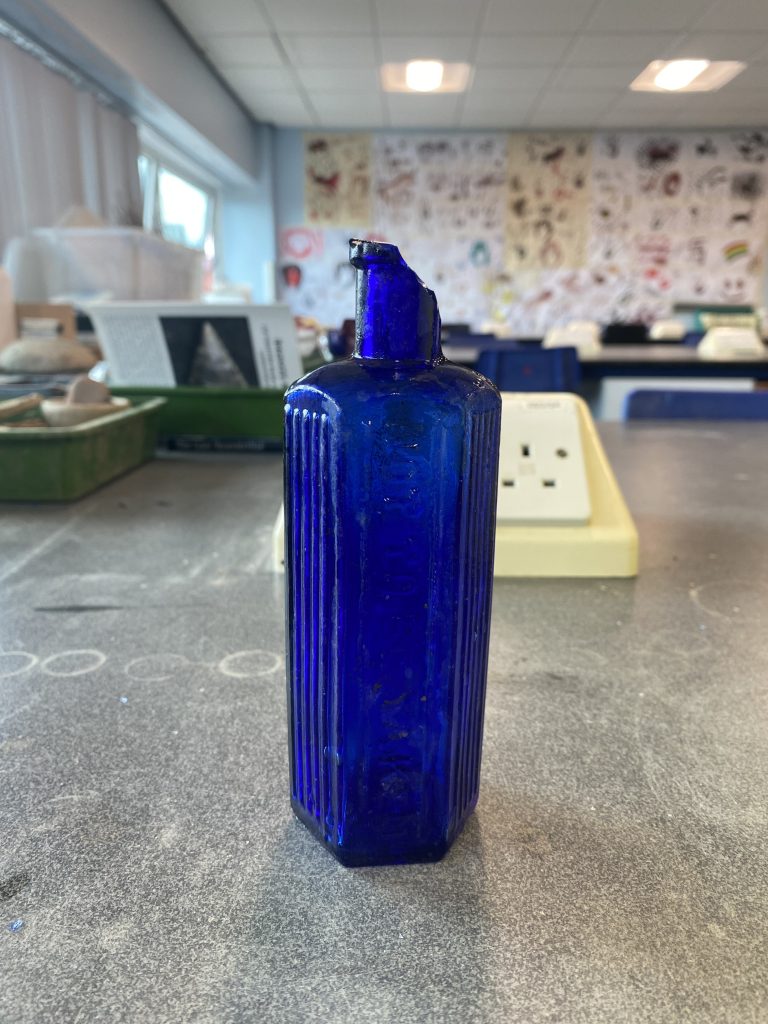
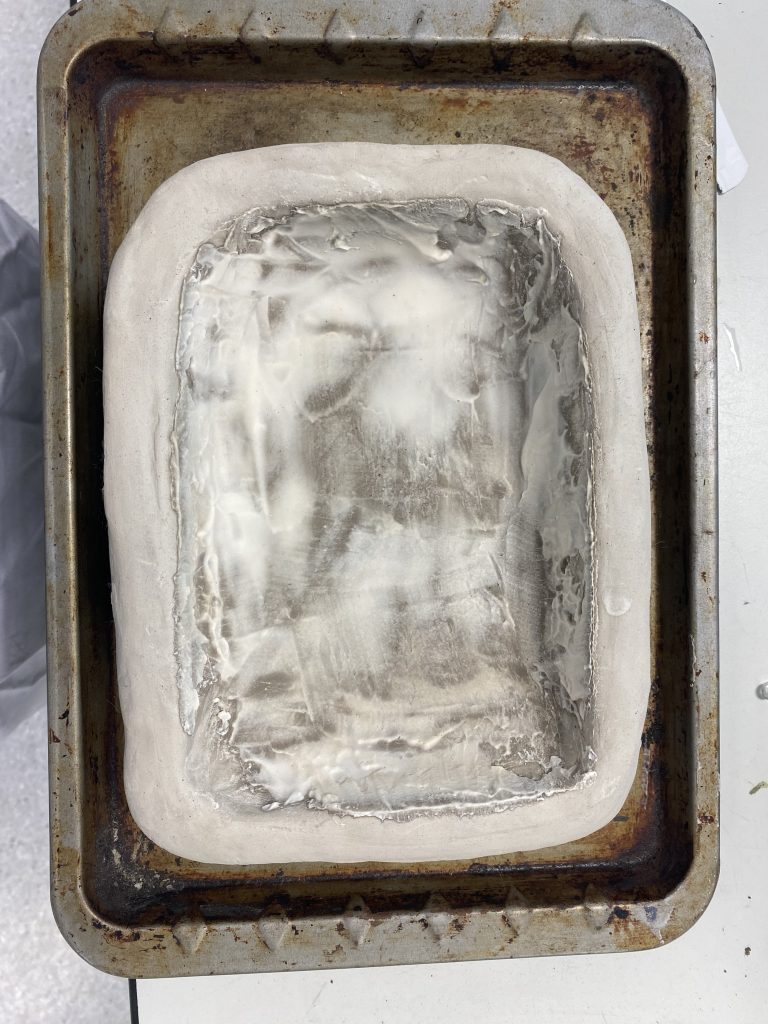
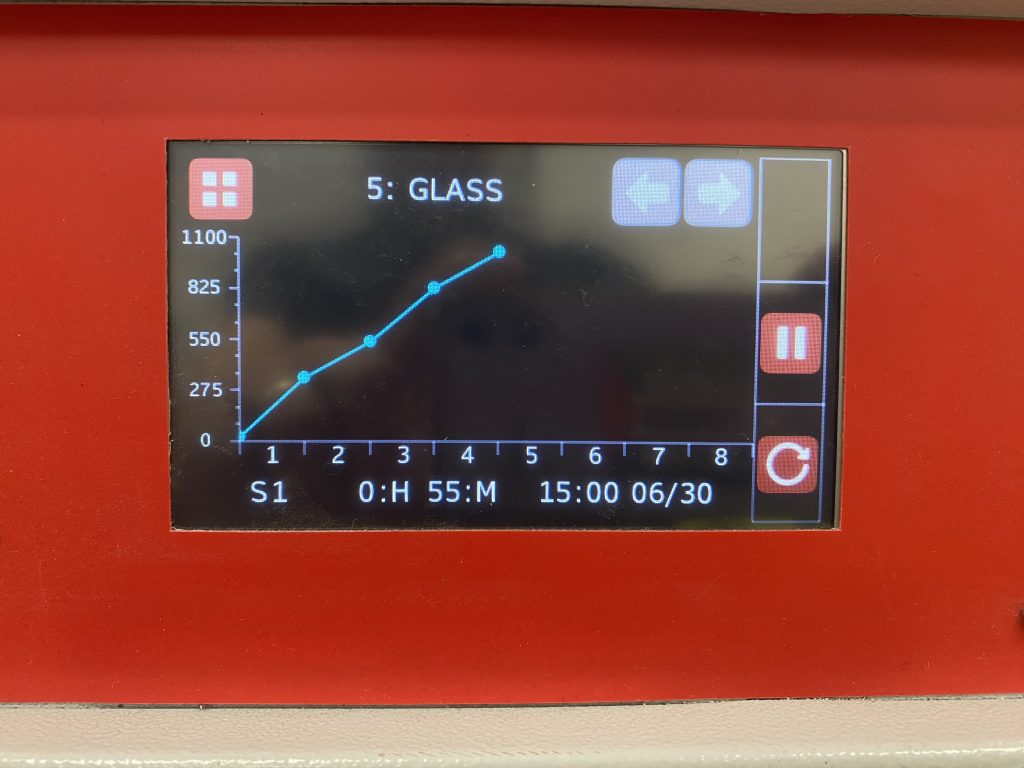
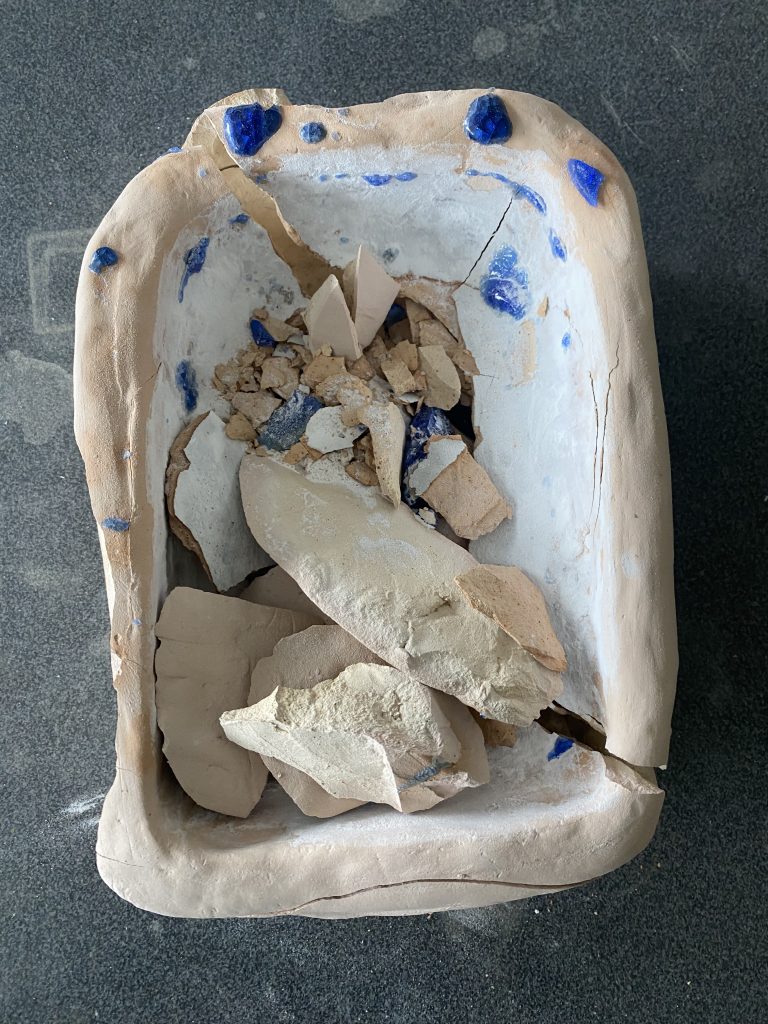
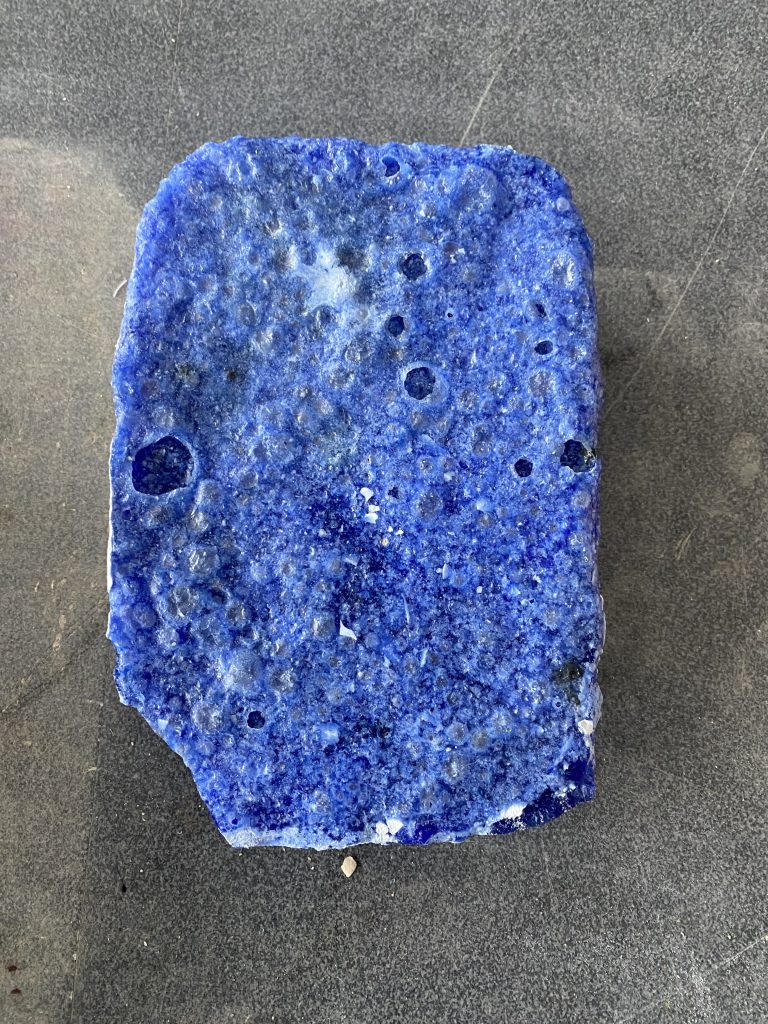
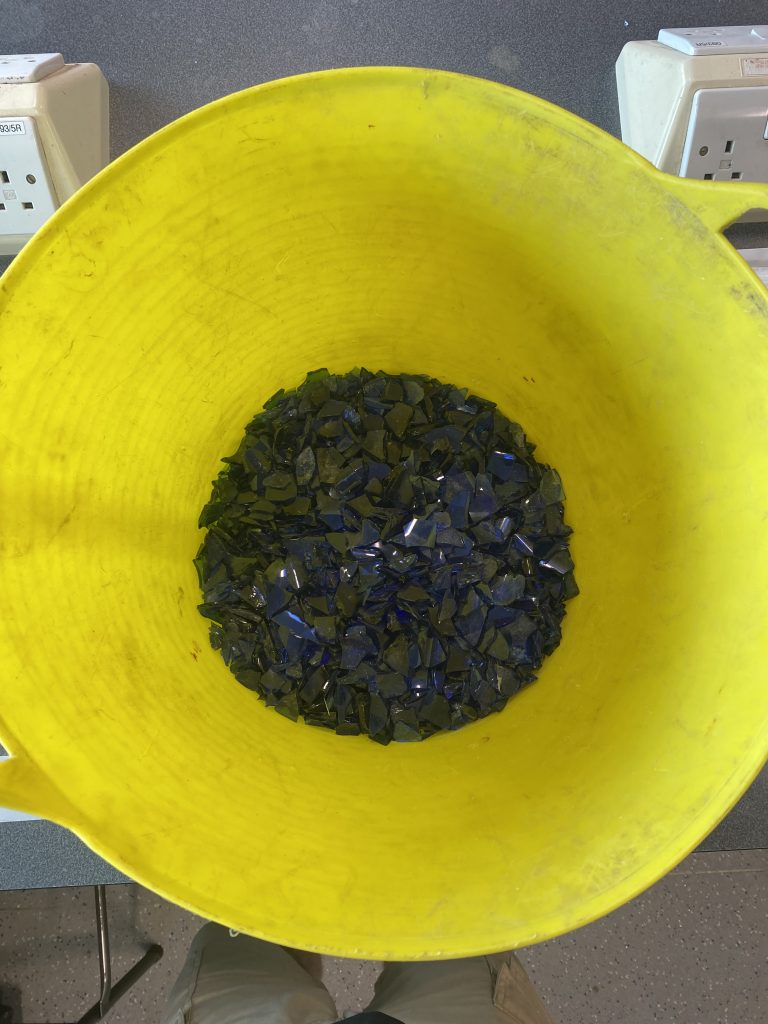
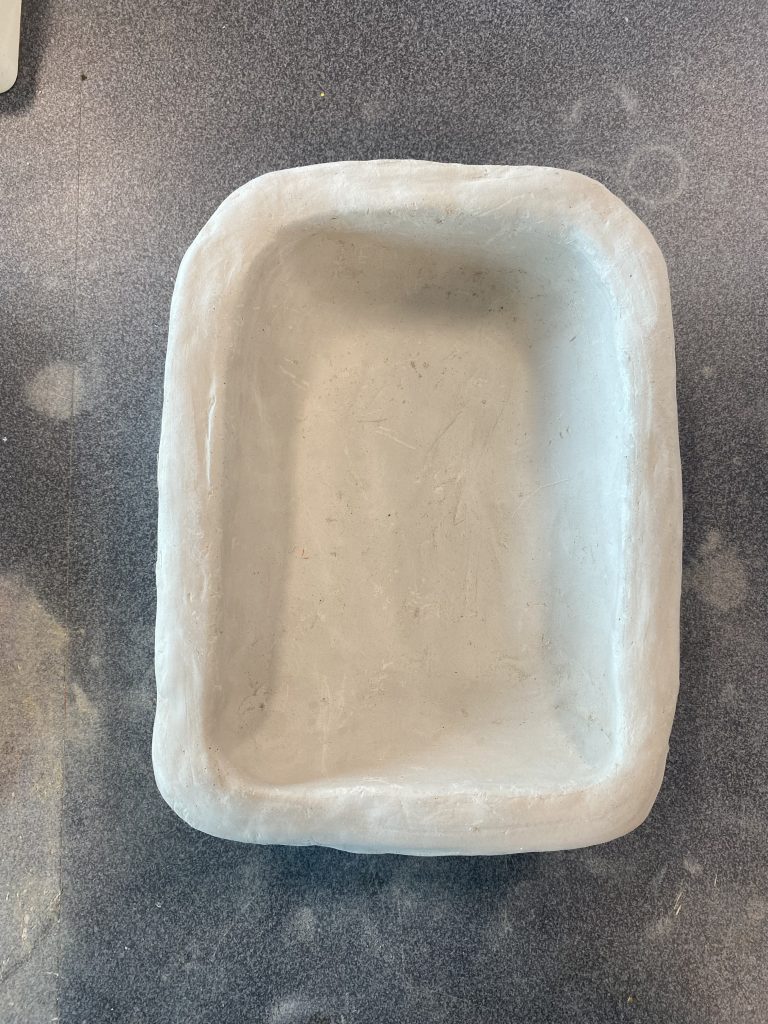
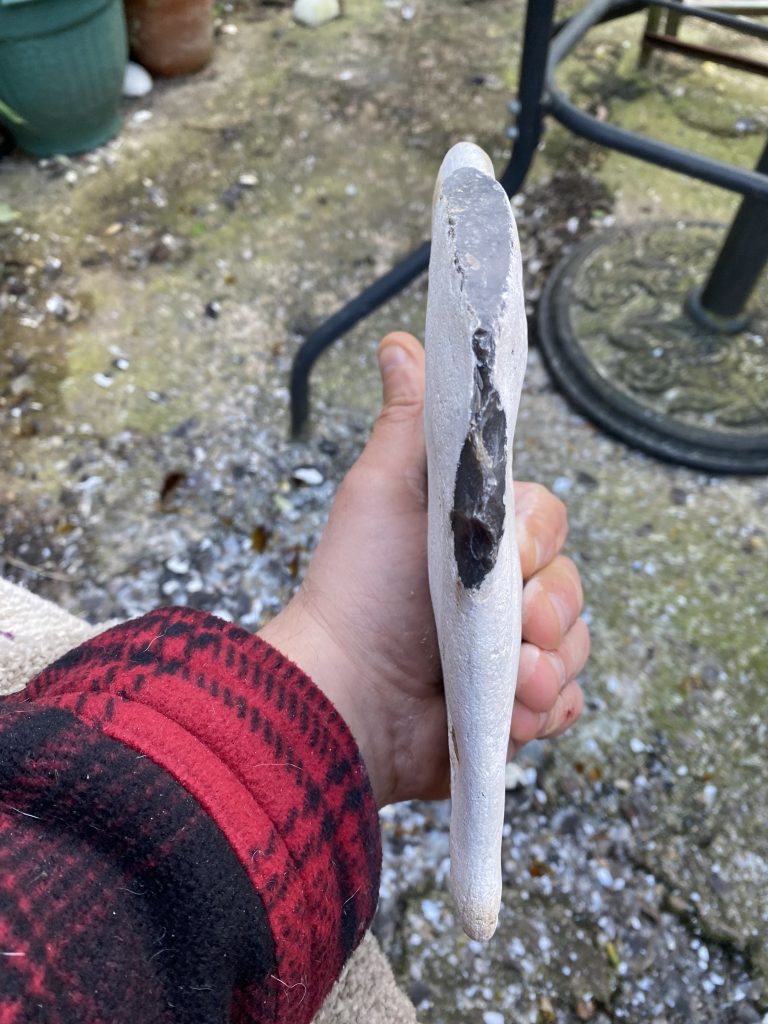
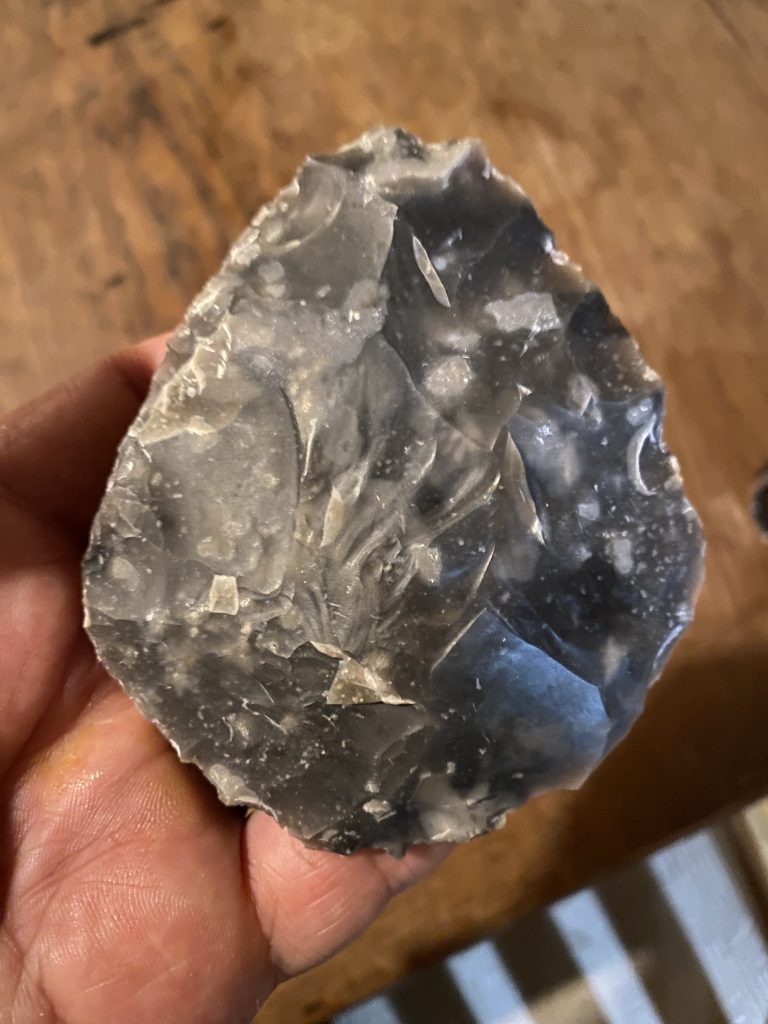
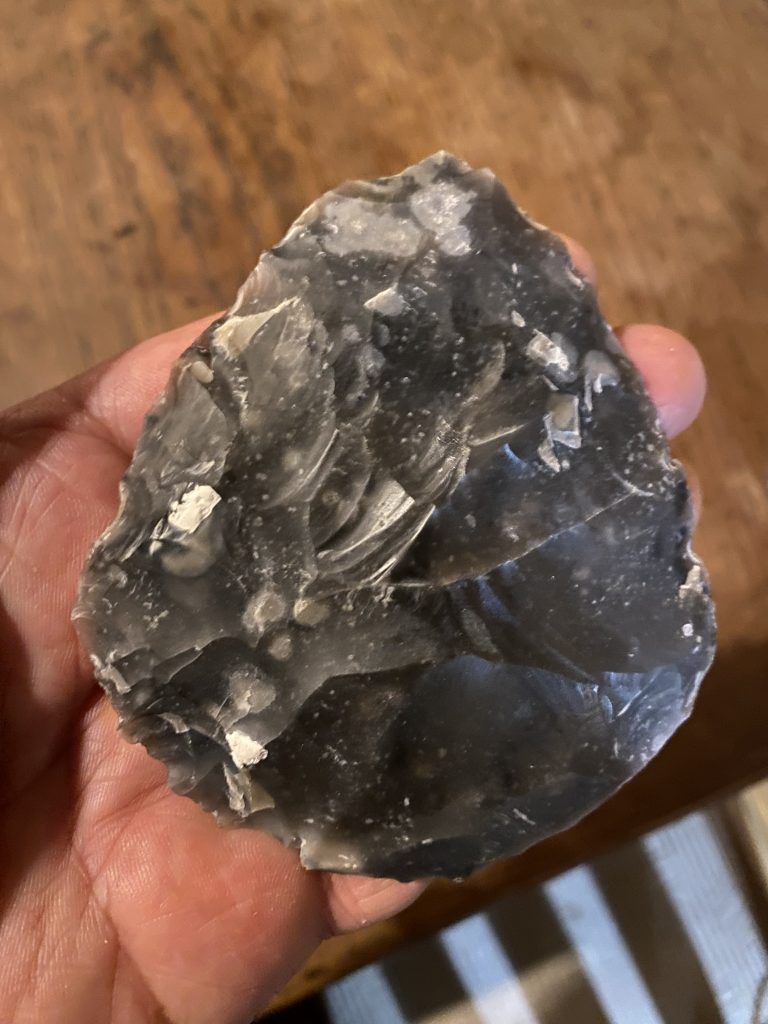
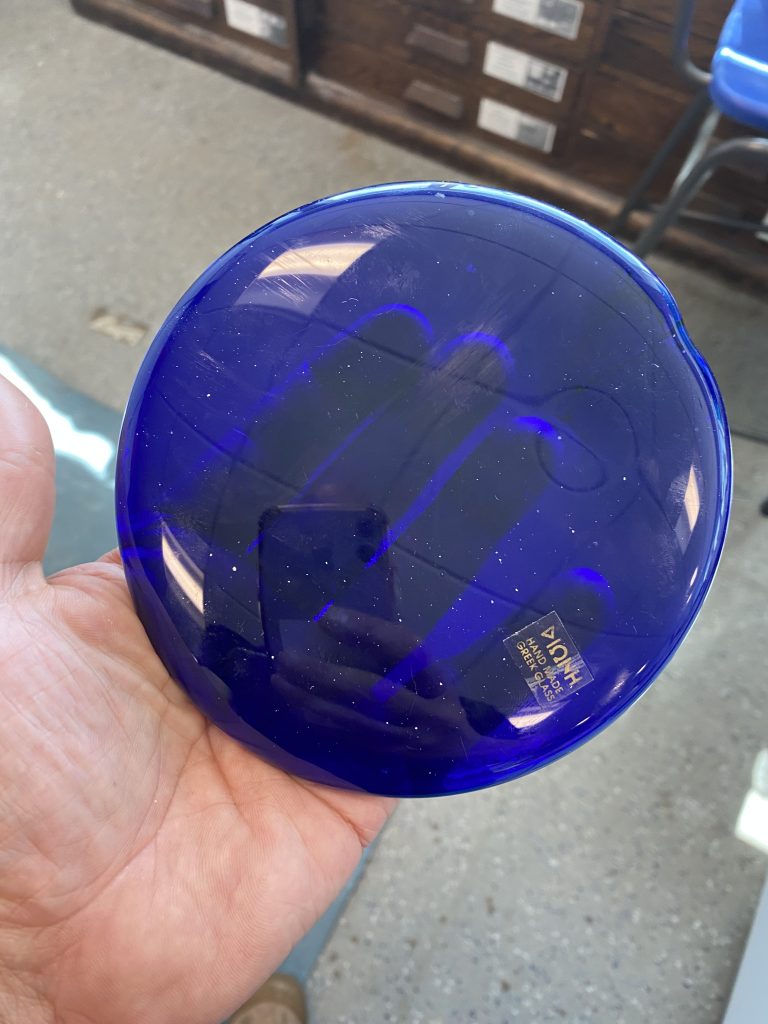
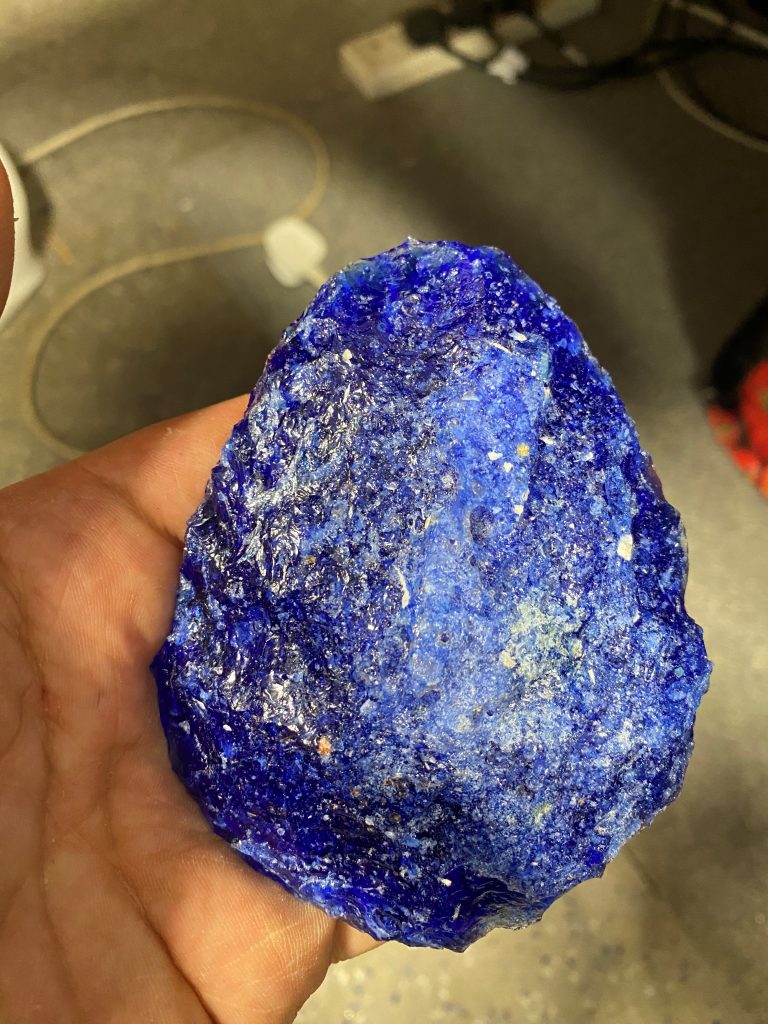
Idea number one: since the last post I have spoken to two of my friends who work with ceramics, Nacho Jimenez and Lee Page Hanson, and both have agreed to help me by producing some slightly narrower, slightly taller ceramic moulds. As discussed here, Holly has ideas about how the next furnace firing should unfold. There is also the invisible contribution of the people who originally made the blue glass, and then those who abandoned them in the1930s to 1950s for them to end up as a waste material, and then again in the recent past, the bottle diggers who have left the fragmented glass bottles on the surface for me to collect. Then there is my contribution to the narrative as a flint knapper. So, as an object this blue handaxe embodies a number of narratives as well as a number of skilled practices. Perhaps that is part of why I love it?
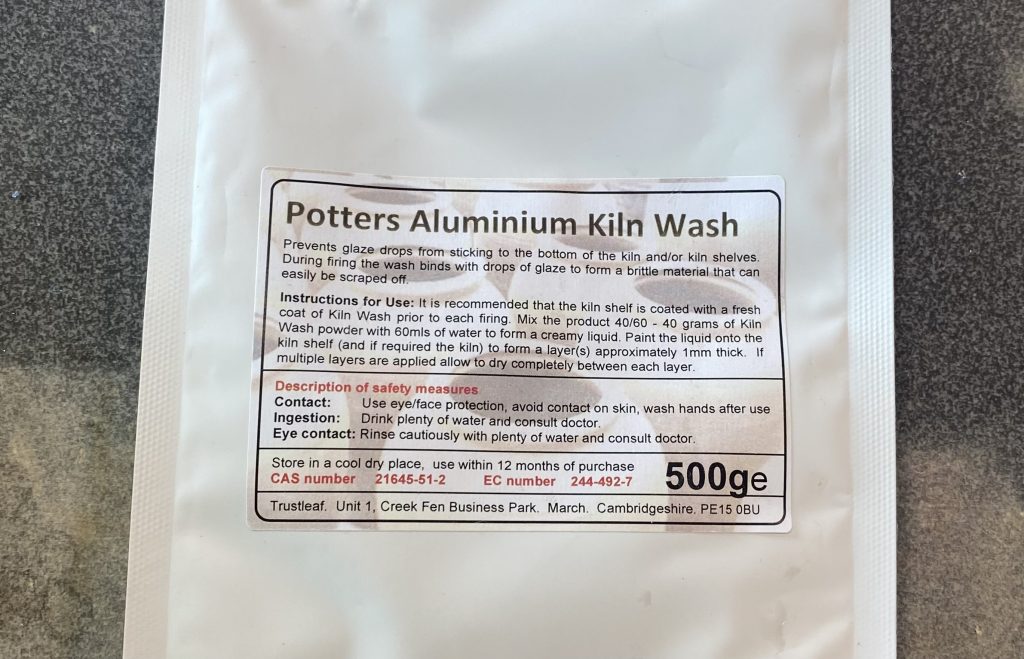
Idea number two: however, as previously discussed, I also love the recycling of the glass that goes into this, to highlight a different approach to valuing materials. It has occurred to me that this ‘eco narrative’ actually embodies a series of energy intensive processes, such as the the kiln use for the production of the moulds, and then the furnace use to melt the glass to form the block. In that respect this handaxe also has an industrial narrative, using probably non-renewable resources in order to make a statement about the value of recycling materials. In that respect this blue handaxe embodies an inherent contradiction, something I am not so enamoured by.
That’s where I am up to, and today is a day off!