Learning Through Making

Experimental production of stone tools

Adventure Before Dementia

Last Friday morning I spent a lovely two hours with a class of fifteen primary school children, introducing them to the joy of stone tools. My friend Holly is a primary school teacher and British Prehistory is a part of the Key Stage Two curriculum, hence the invite.
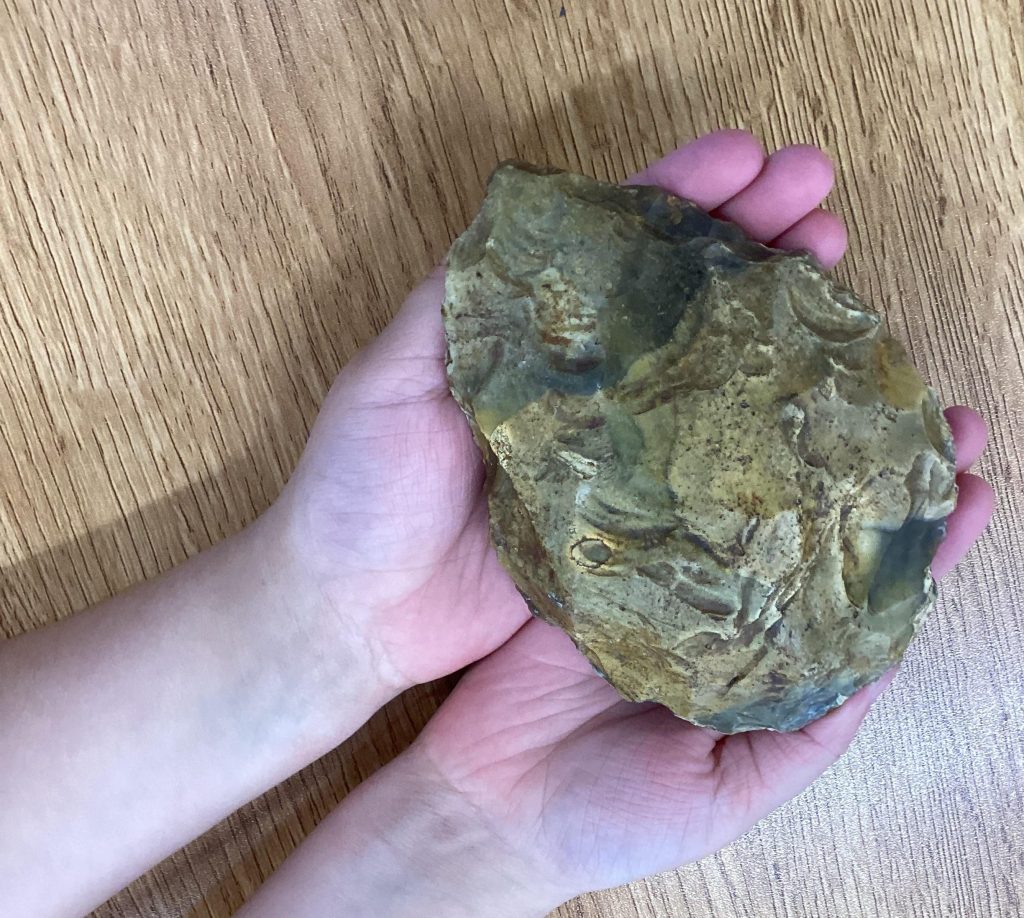
I’ve done public engagement activities before, with adults, sixth formers and primary school children, and many of the ingredients within the process are the same for any group. For example, almost everyone is amazed to be able to handle an actual 400,000 year old stone tool, made by a different type of human to ourselves, and these primary school children were no different.
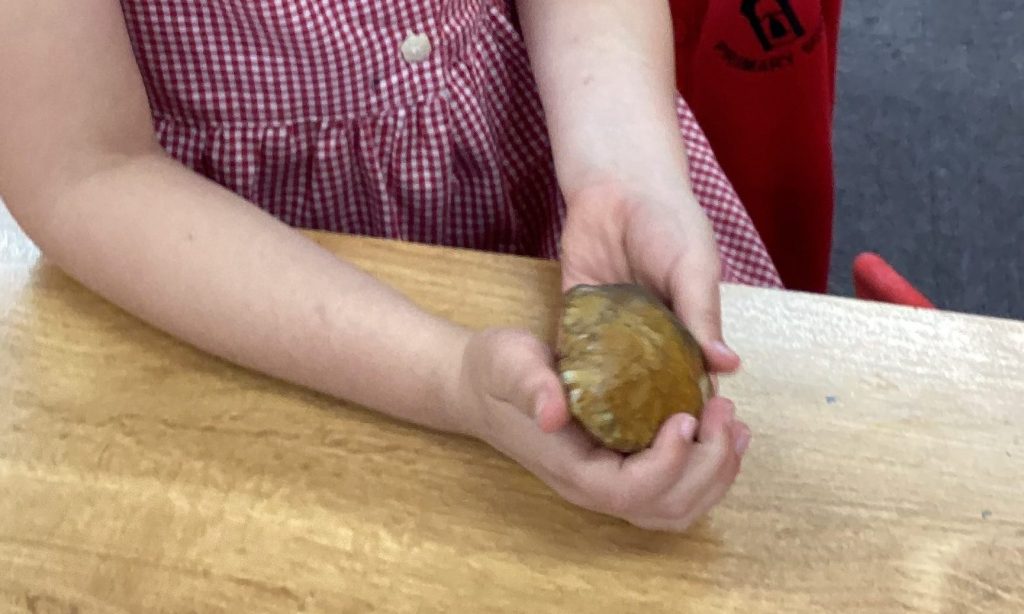
I had around two hours with the children, and the first forty minutes or so was a handling session using the handaxes from our teaching collection. Unsurprisingly, they too were interested in my favourite twisted cordate handaxe with the modern chip revealing the original flint colour!
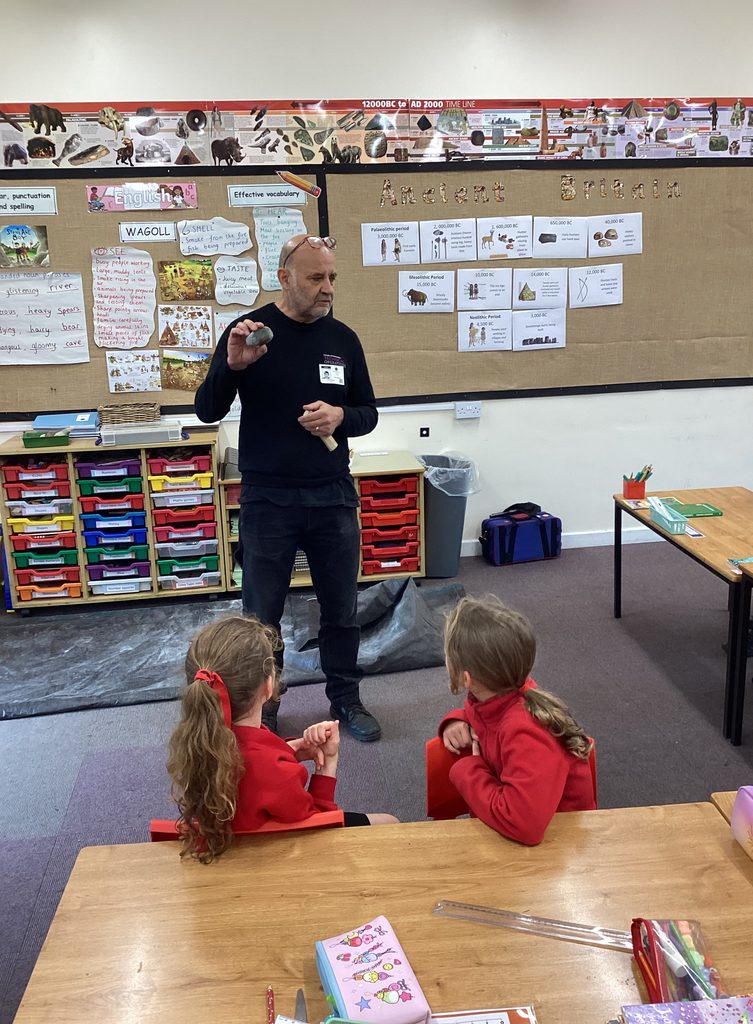
I then moved on to the tools used to make the tools, namely hard stone hammer and soft antler hammer. These were again passed around and it was great seeing the real interest the children had when I told them about the antler hammers found archaeologically with flint chips embedded within them, and this is how archaeologists know they were used in the prehistoric past for knapping.
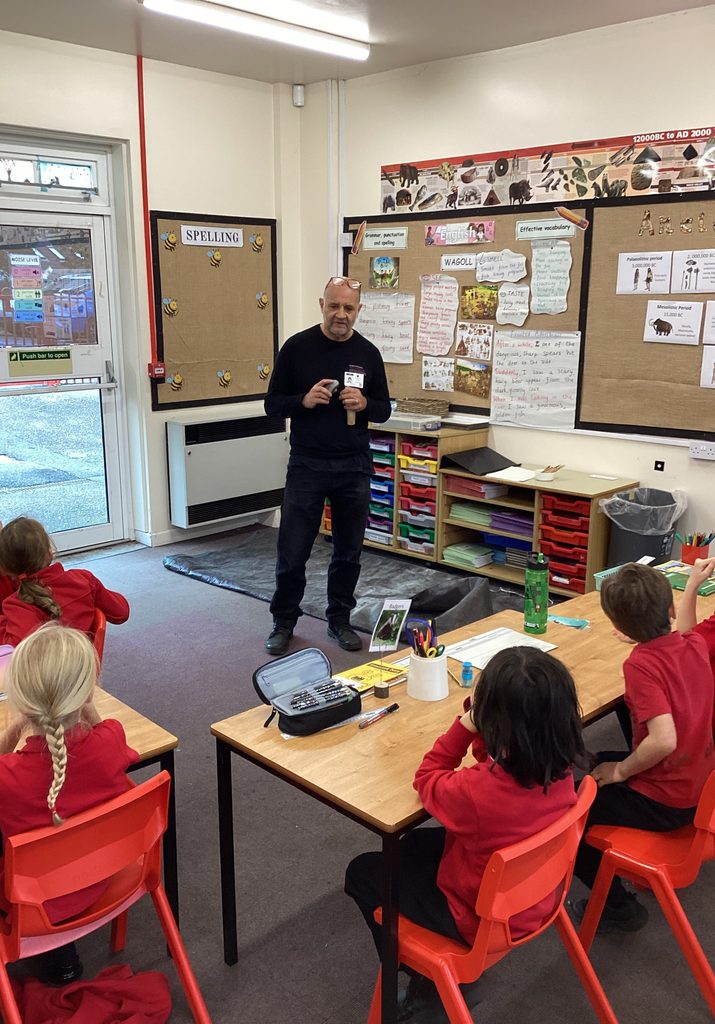
And then the beach pebble hard hammers, and how archaeologists think about where they are found (i.e. not on a beach) and why they have use wear evidence on them, which is how we come to the conclusion that they have been used to hit things.

The next thirty minutes or so was the highlight of the session (so I was told!), and that was the making a scraper demonstration. After explaining what a scraper is I then took a large flint flake and on the ventral surface drew the shape of the scraper I was going to make. This, I believe was a strategy used by Bruce Bradley when teaching. I passed the flake around with the scraper shape marked on it so that everyone could see where we were going. I then I followed the method taught to me by Karl Lee and went through the process of making the scraper. Once made it was passed around again so the children could see the ‘before’ and ‘after’ results.
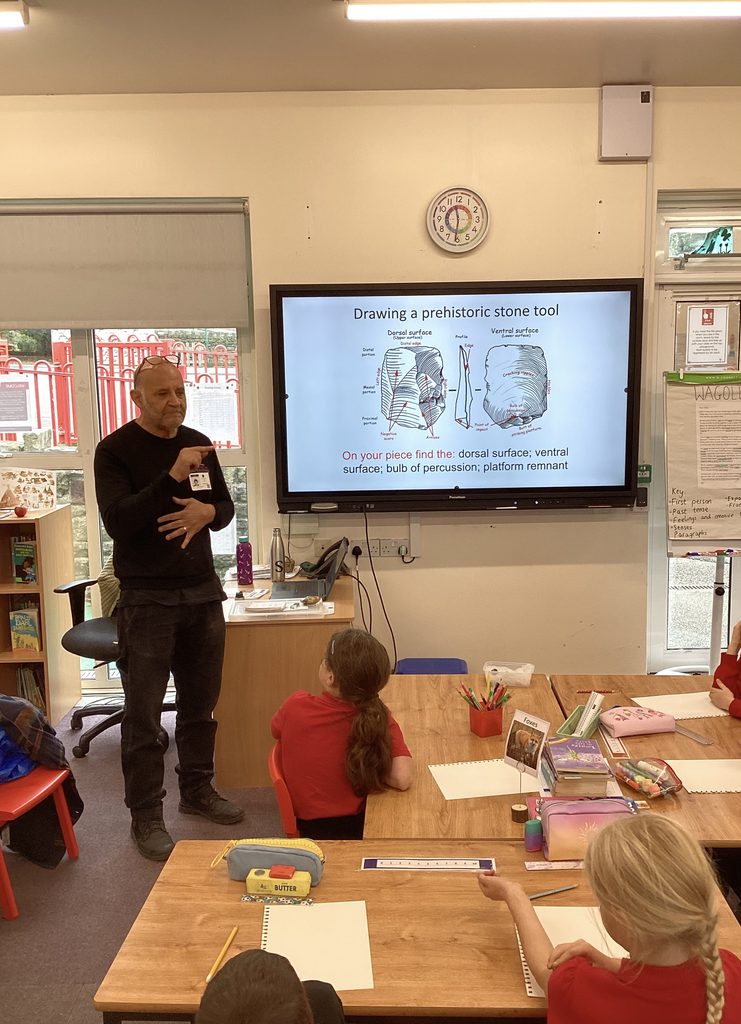
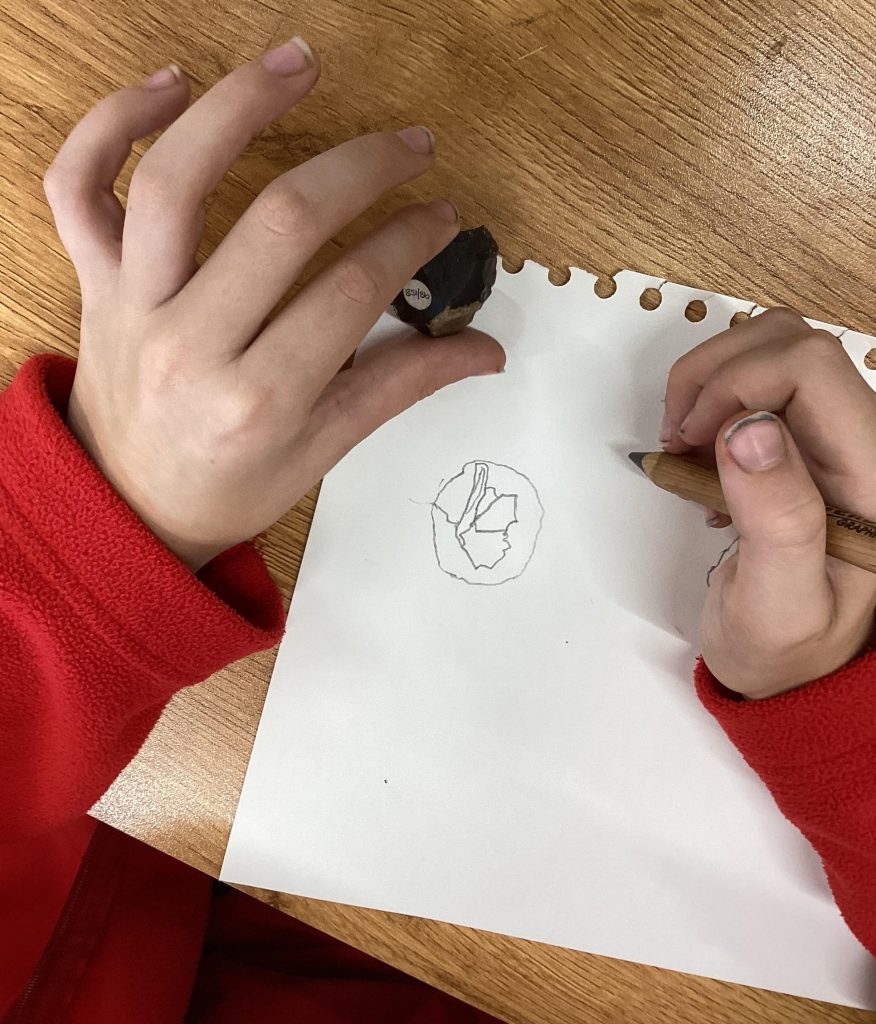
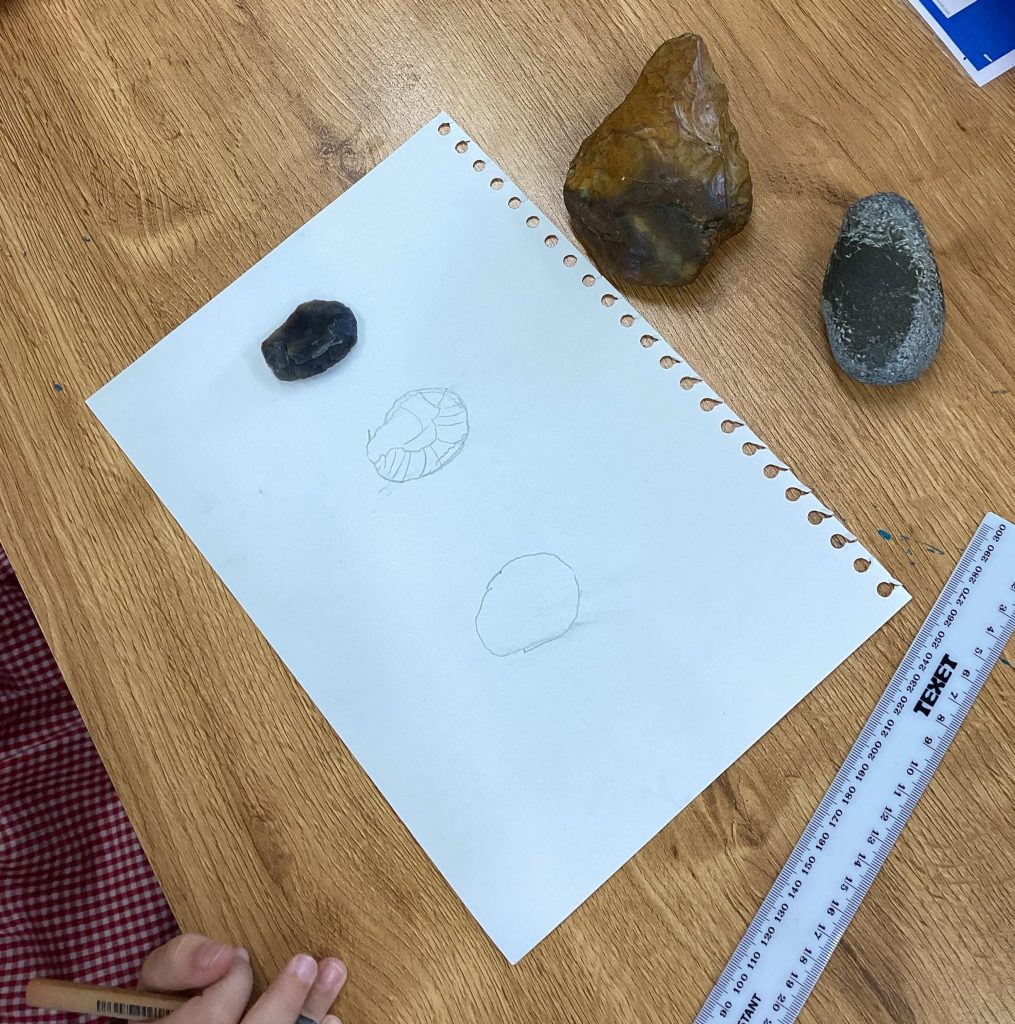
The final forty minutes involved drawing an archaeological scraper. This is the same exercise I do with our undergraduate students and it is complicated. The main difference for the primary school children was making the terminology more understandable. And so the ventral surface became the smooth surface, and the bulb of percussion became the ‘bump’. As you can see from the photographs, it worked and we got some really great technical drawings.
But what about Adventure Before Dementia? This was on a sticker Karen and I saw on the back of a camper van many moons ago. However, it has become a talking point for us more recently. Partly due to life stage, and partly because of health issues, we are both reflecting upon how we spend our time, and how we would like to spend our time.
So perhaps this was one of my adventures before dementia! As I said at the beginning, it was a lovely two hours spent with the children, sharing my enthusiasm for stone tools and prehistory. When I reflect upon that working week I had quite a lot of spreadsheet based stuff, and those two primary school hours were a highlight, or adventure if you will. With that in mind, thanks to Holly for the invitation, the photos and the video, and the children for being such enthusiastic proto-archaeologists!
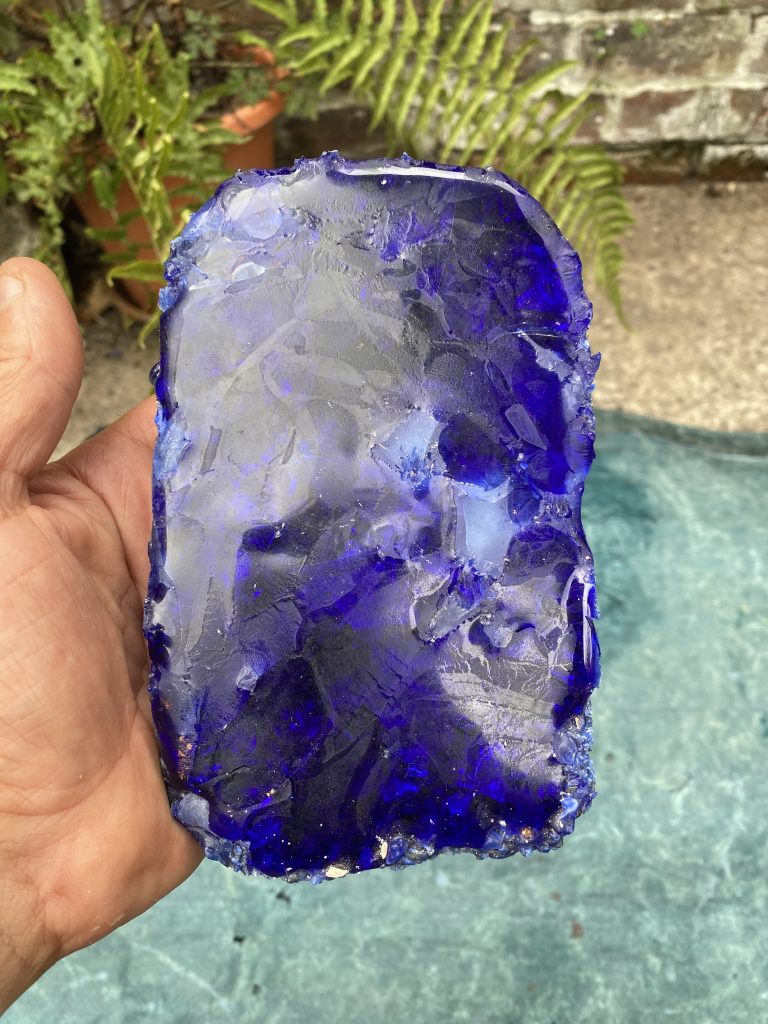
The ‘Blue Handaxe’ project is picking up momentum

I am currently in the process of (very slowly) putting fieldwork equipment away into their various campus storage spaces, and part of this has involved a number of trips over to Geography.

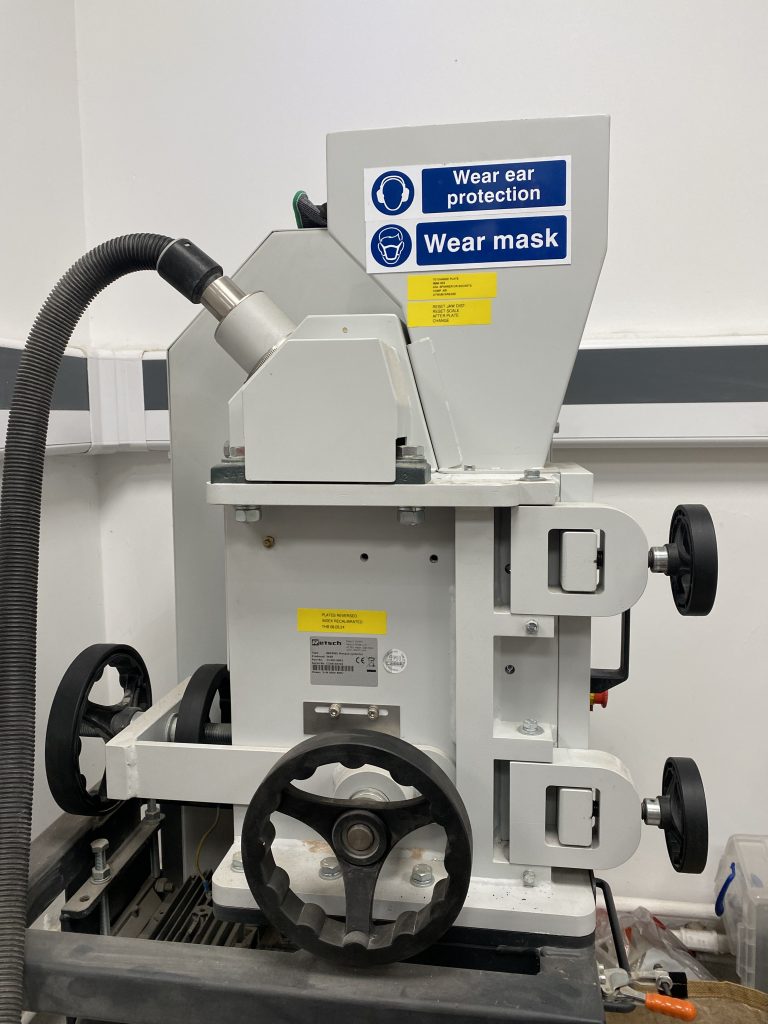
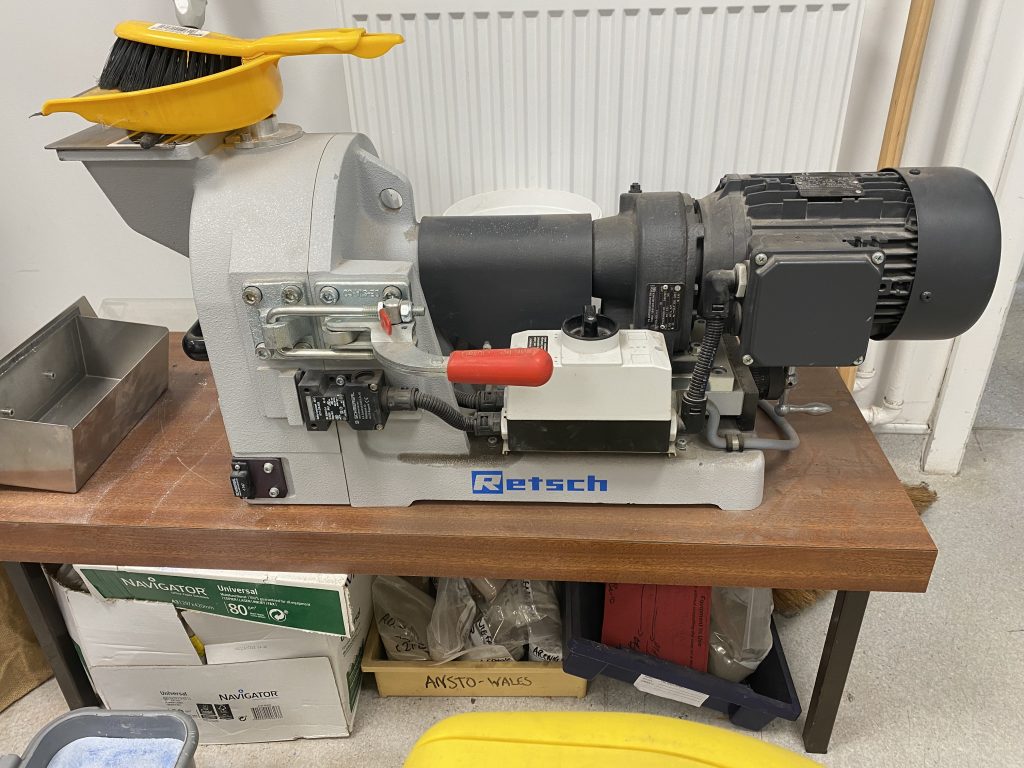
Geography is where Holly has the kiln for melting my glass, but I realised more recently they also have two machines for grinding glass bottles into cullet and then cullet into sand.

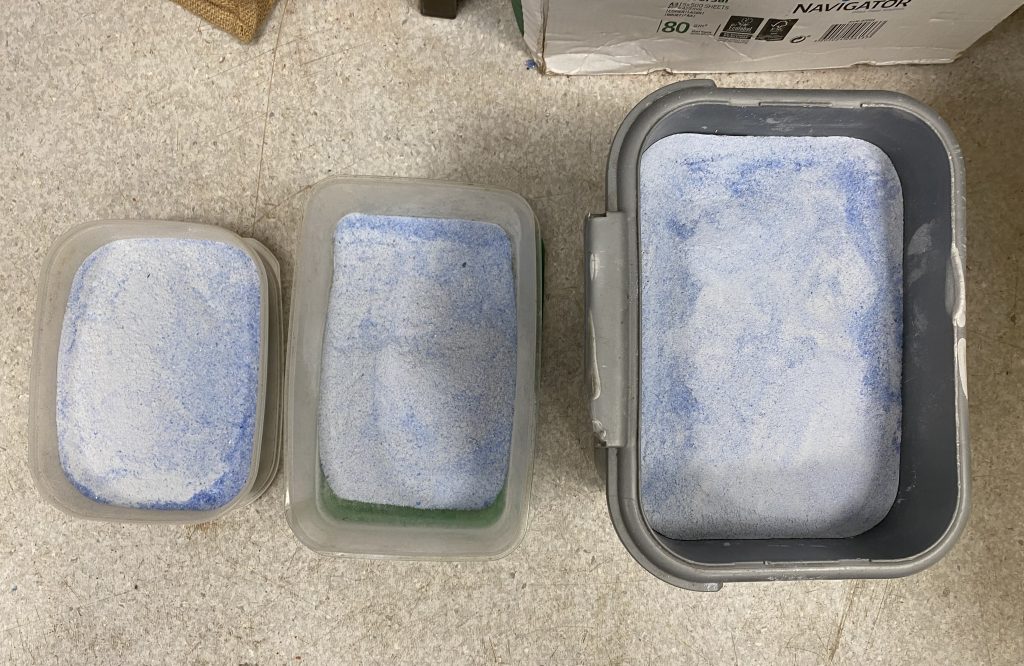
So I took a trip over today, to get our hi-viz vests washed, but also to get all my various types of blue glass (broken bottles, fused slabs and cullet) turned into a meltable sand. Whilst Holly is trained up to use the kiln, technician colleague, J.Y. is responsible for using the grinding up machines, and J.Y. was happy to spend half an hour or so doing just that for me.

The first machine (above) effectively ‘chews’ the glass using a pair of large flat metal ‘molars’. This ‘chewing’ produces a very fine cullet. The second machine (below) then effectively mills the fine cullet into sand.

So today, thanks to Holly and J.Y. I got all the hi-viz vests washed, and all my blue glass cullet, bottles and fused blue glass blocks milled into a hopefully meltable sand.

The number of collaborators on this project is increasing nicely, from Nacho to Lee, and now Holly and J.Y. All very interesting and all very good!
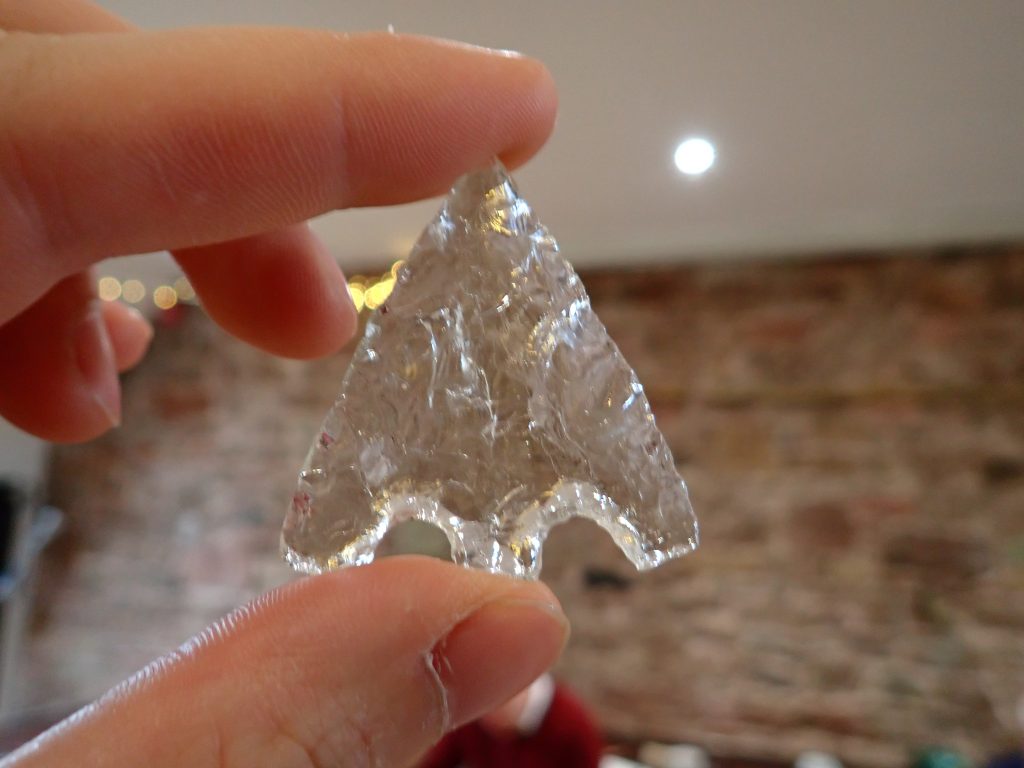
I’ve bought a drill!

Following guidance from my friend Laura Thompson I bought a Dremel hand held drill with a diamond bit for drilling glass.

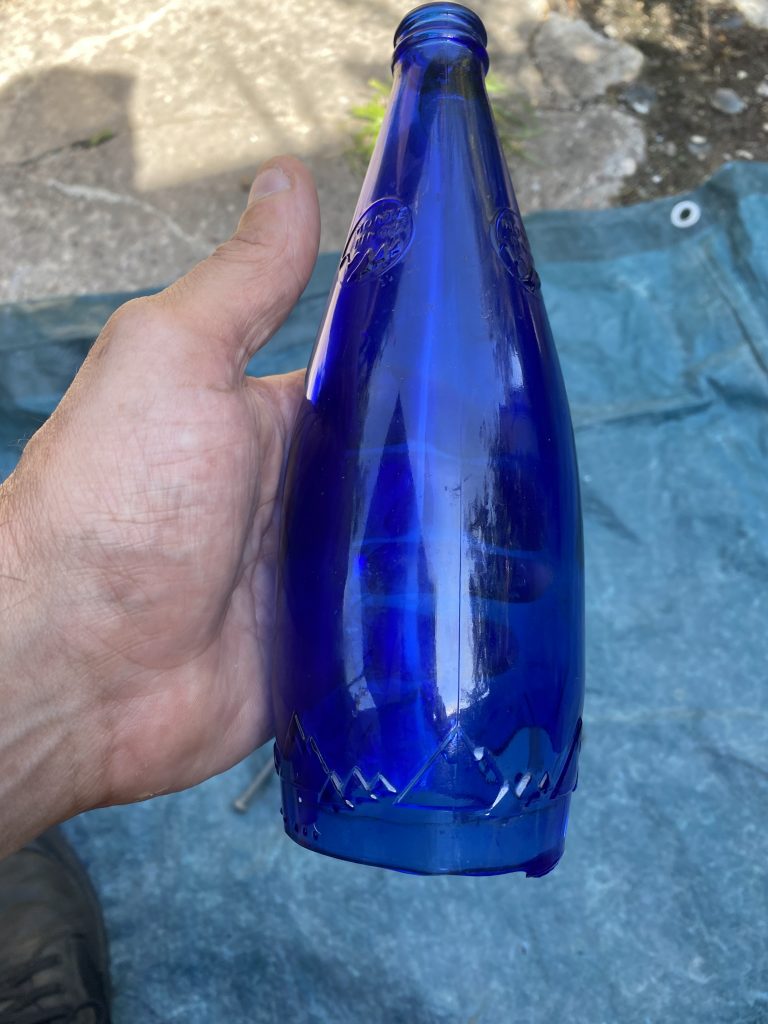
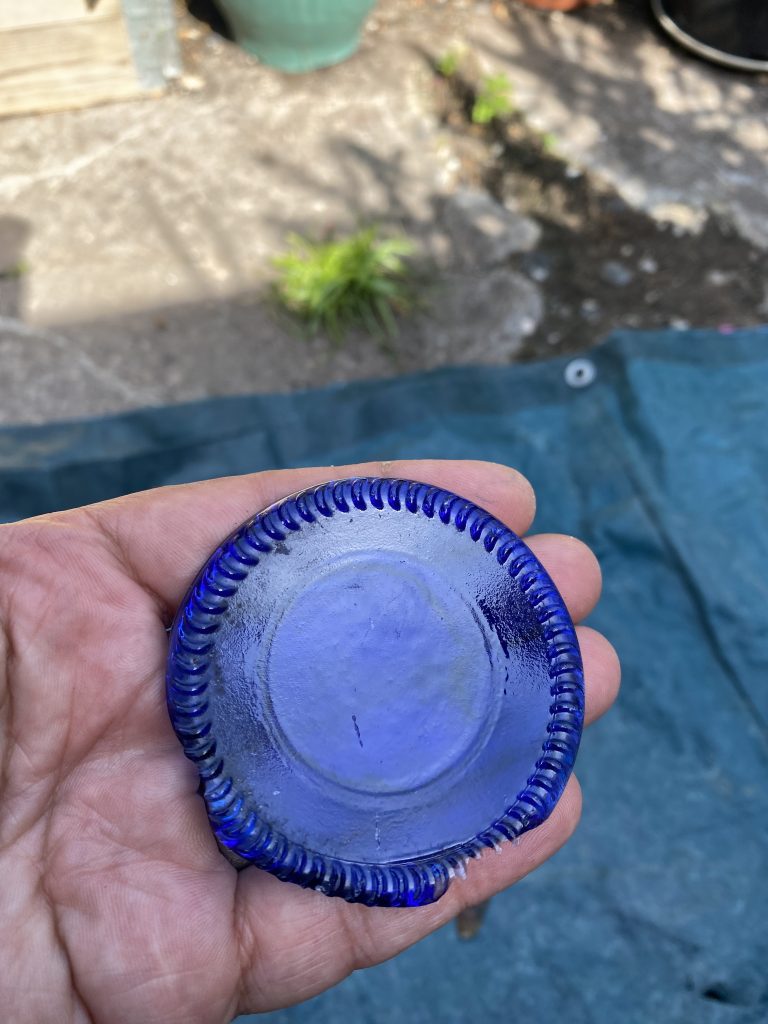
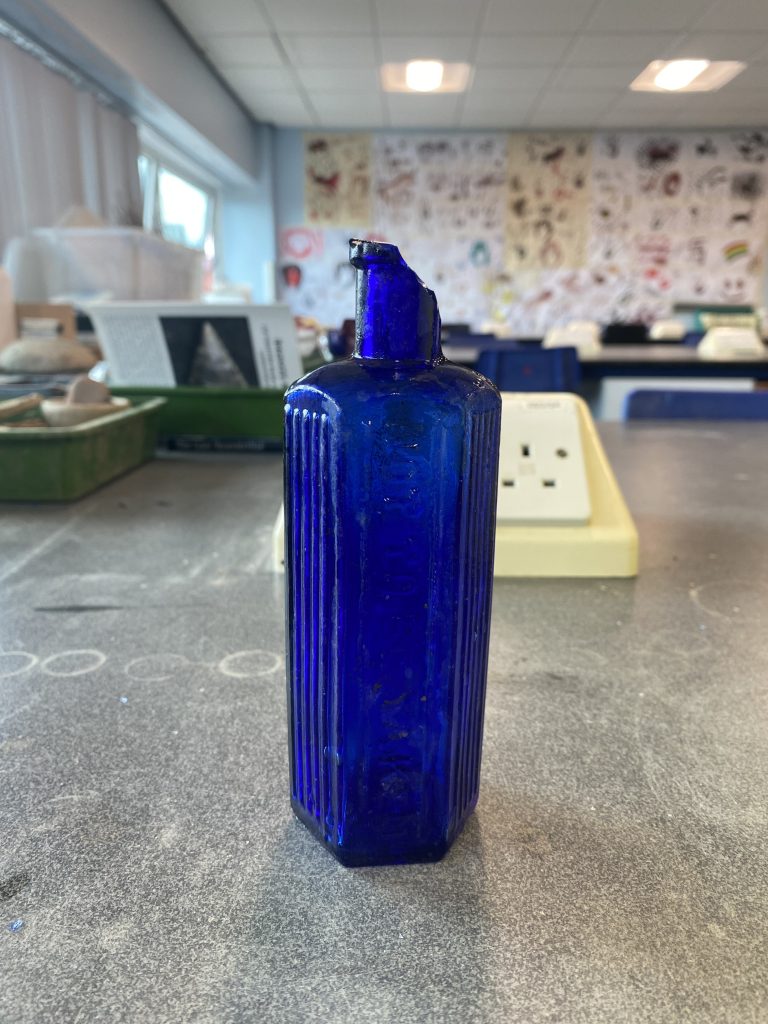
And this blue bottle has been sat in my wood store / shed for a good few months. It is also my friend Teresa’s birthday coming up. A series of happy coincidences.

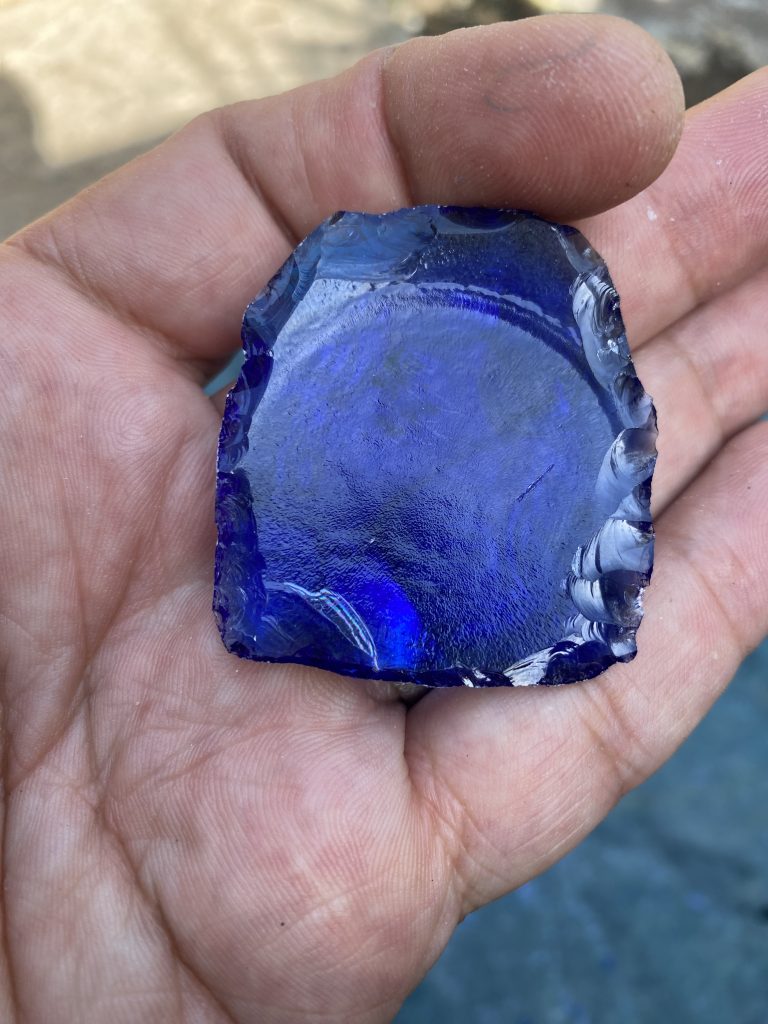
The base came out using a nail and was very convex and concave. Following on from my previous post, I focussed upon the more difficult concave surface.

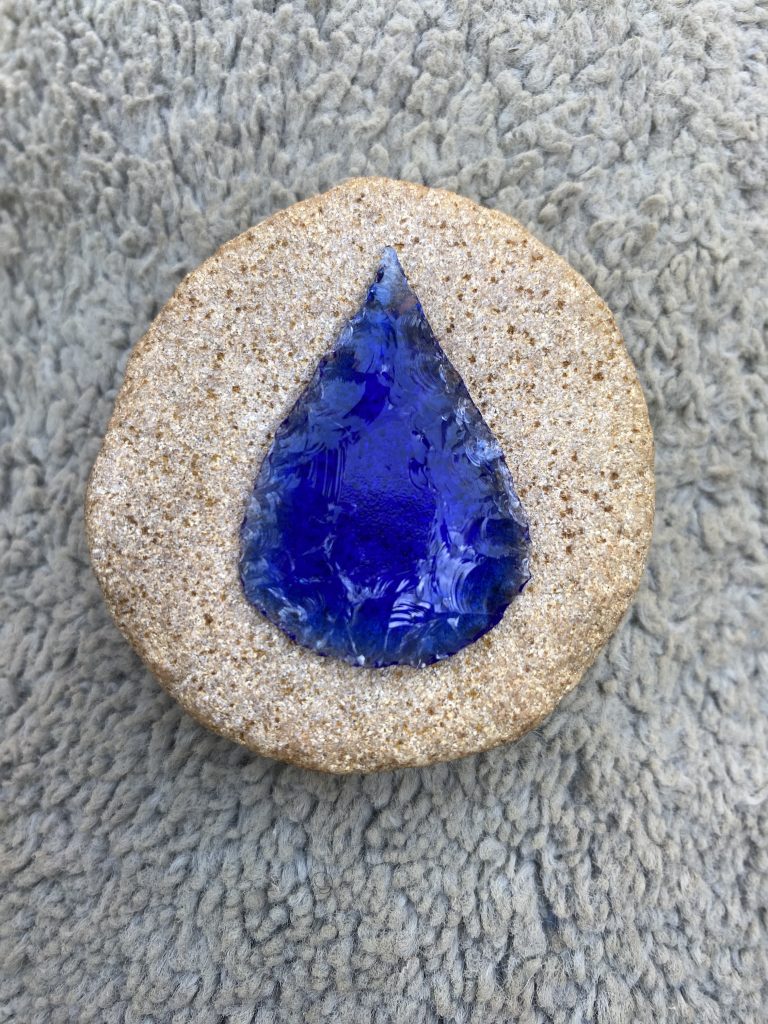
there was still a little original surface left at the end but I am happy enough with the results below.

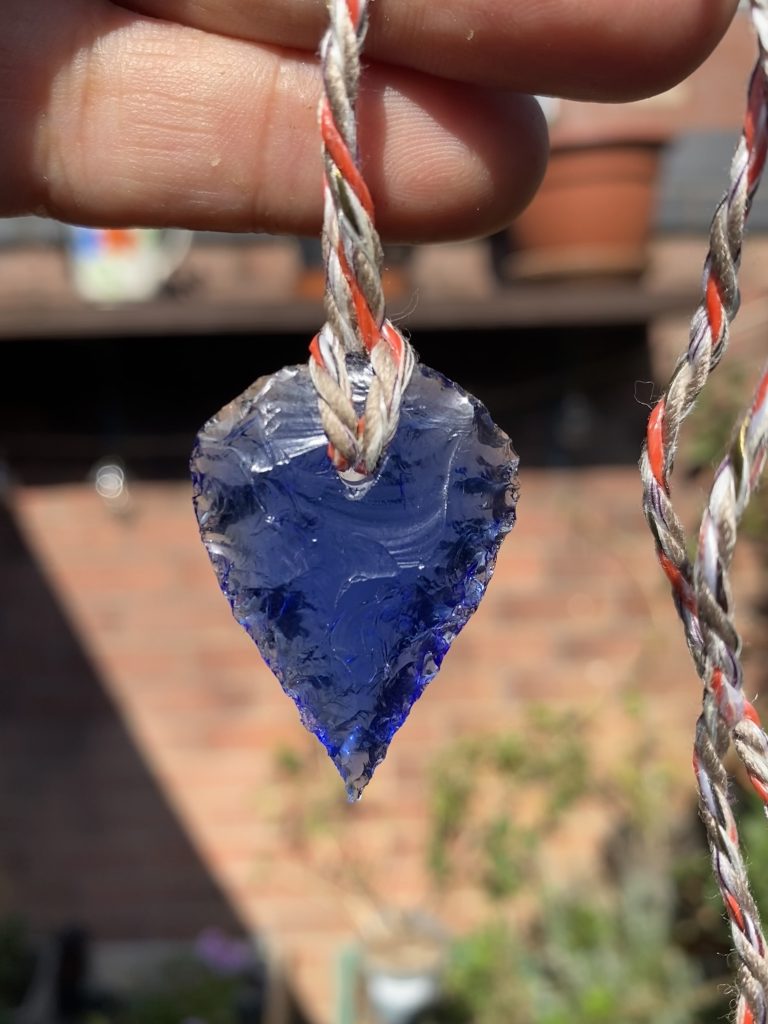
However, this story doesn’t end there. I submerged the arrowhead in a shallow tray of water, drilled the hole.

I then suspended the arrow head using some recycled cordage I found somewhere at some point.

And the blue glass debris has gone into the blue glass handaxe cullet collection container. Waste not want not!

Concavity, convexity and symmetry

As you can see, I have been doing a fair bit of glass knapping this week.

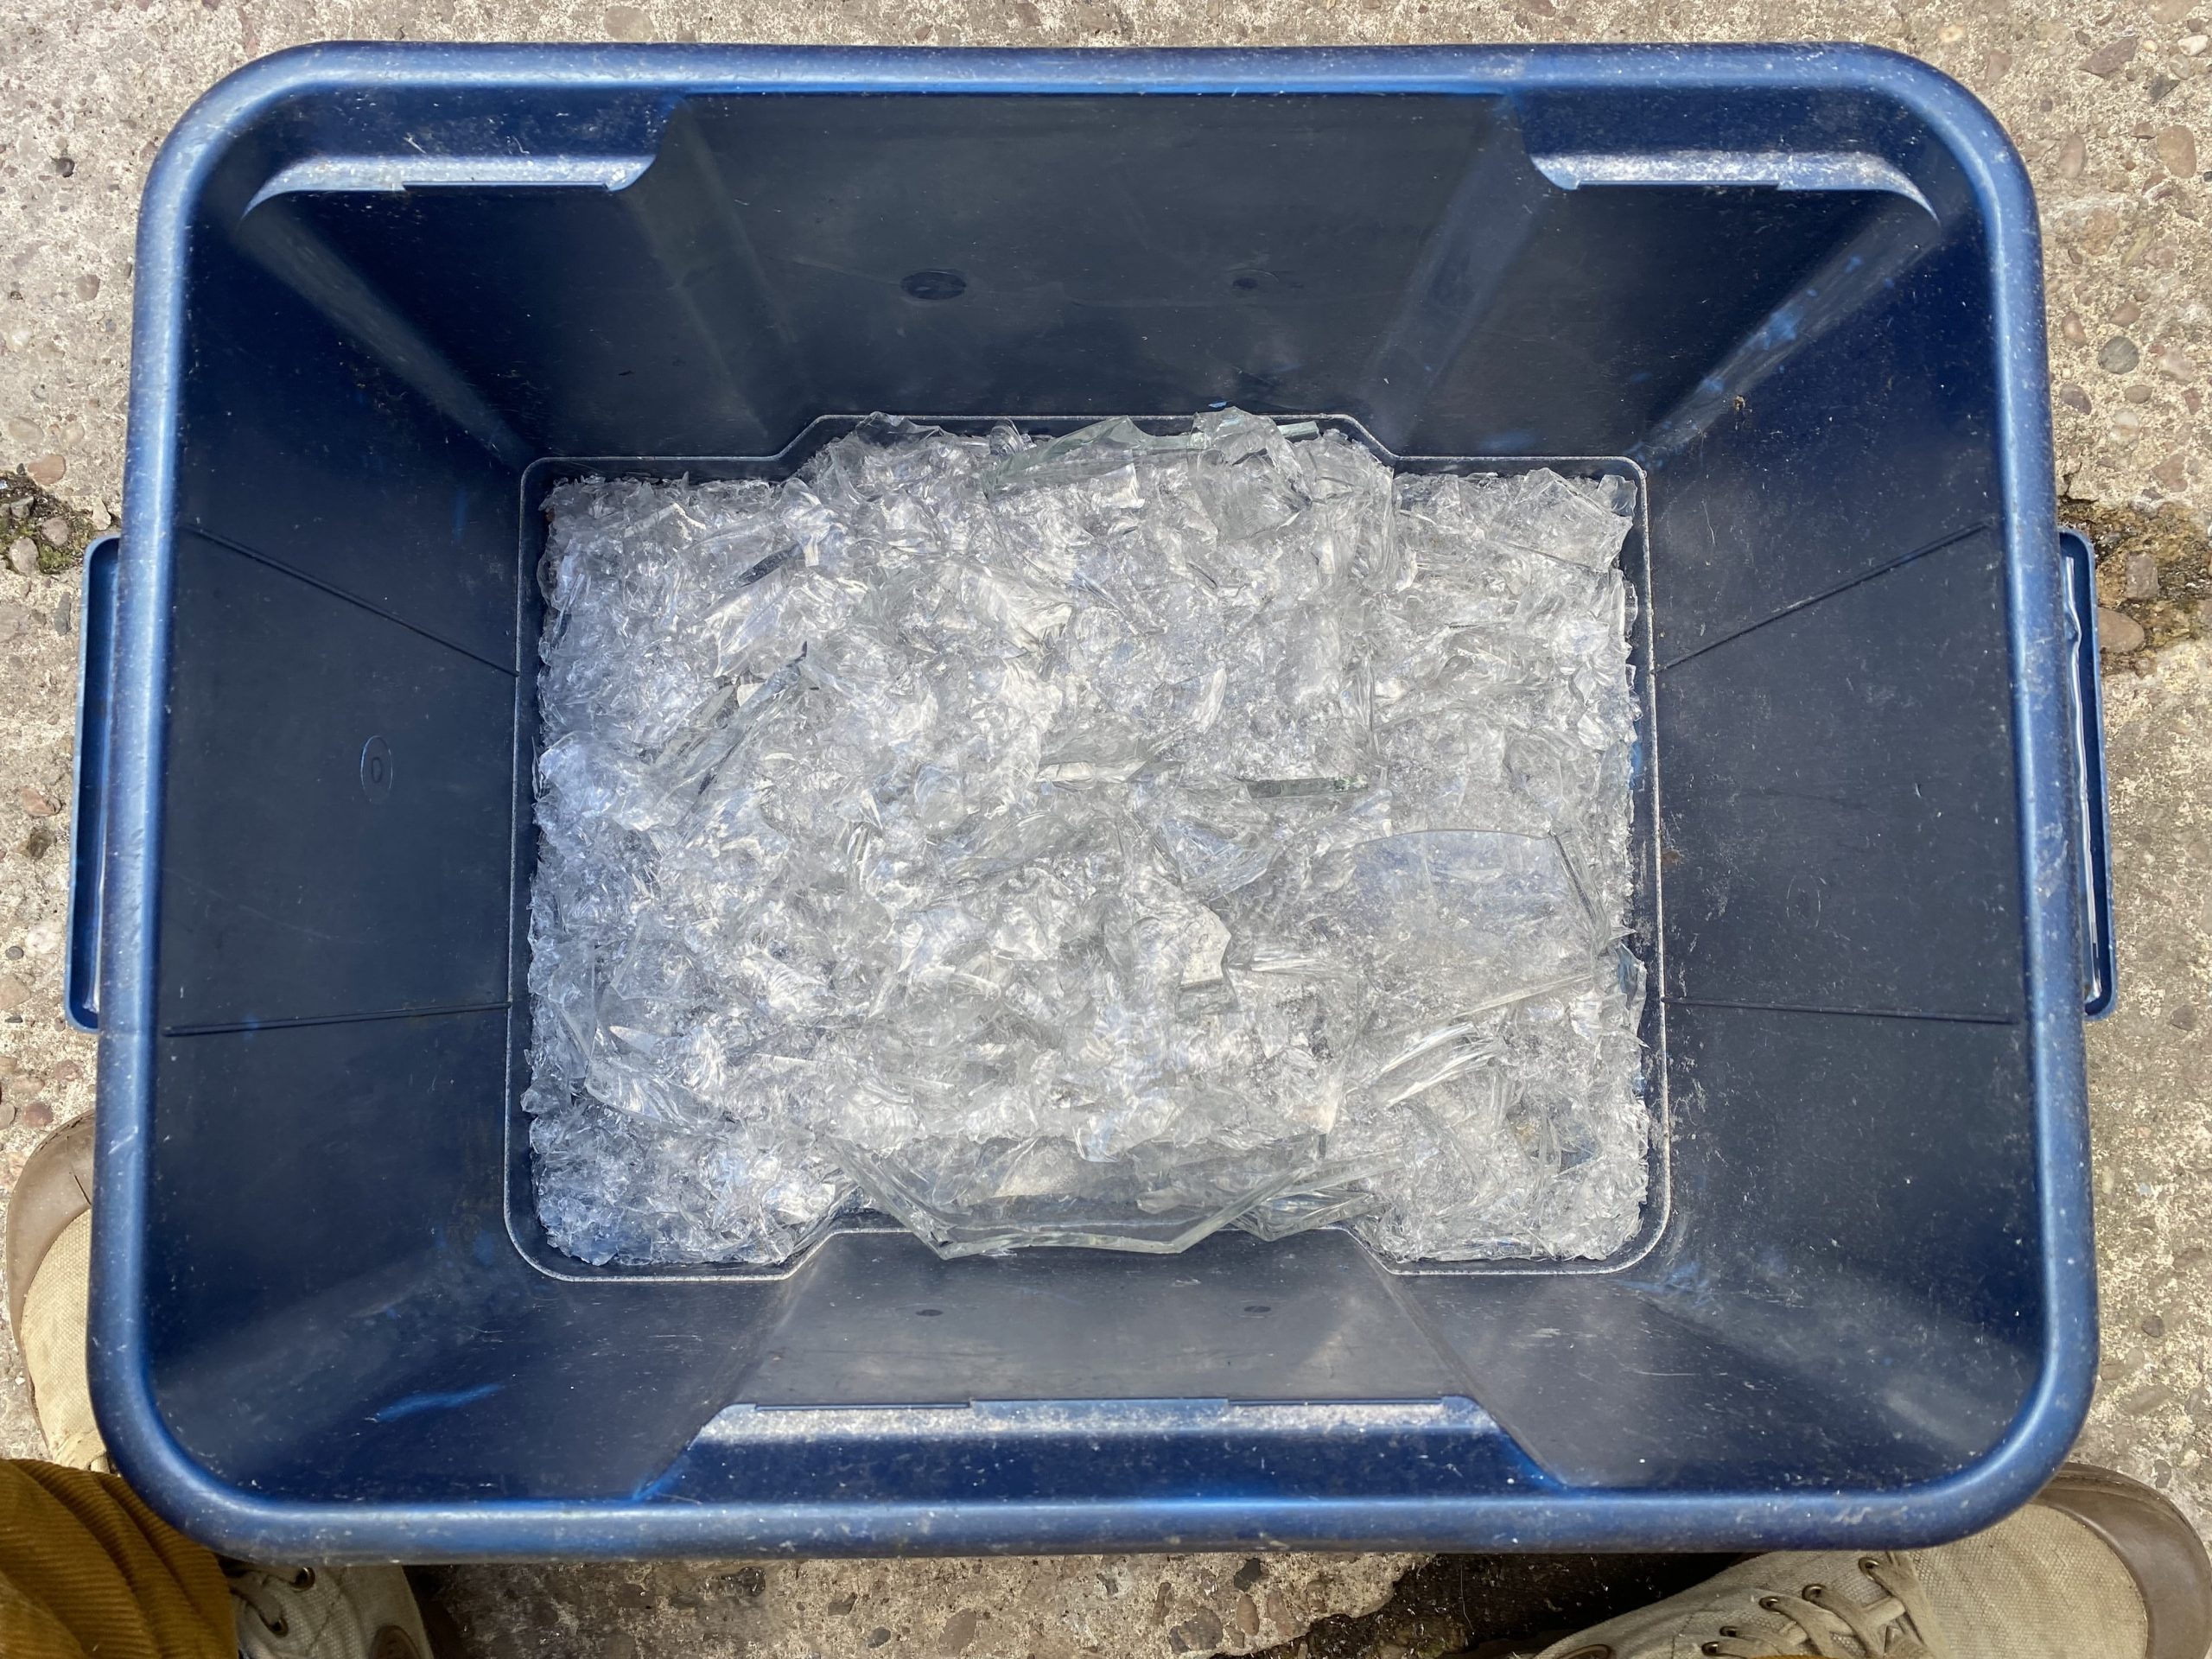
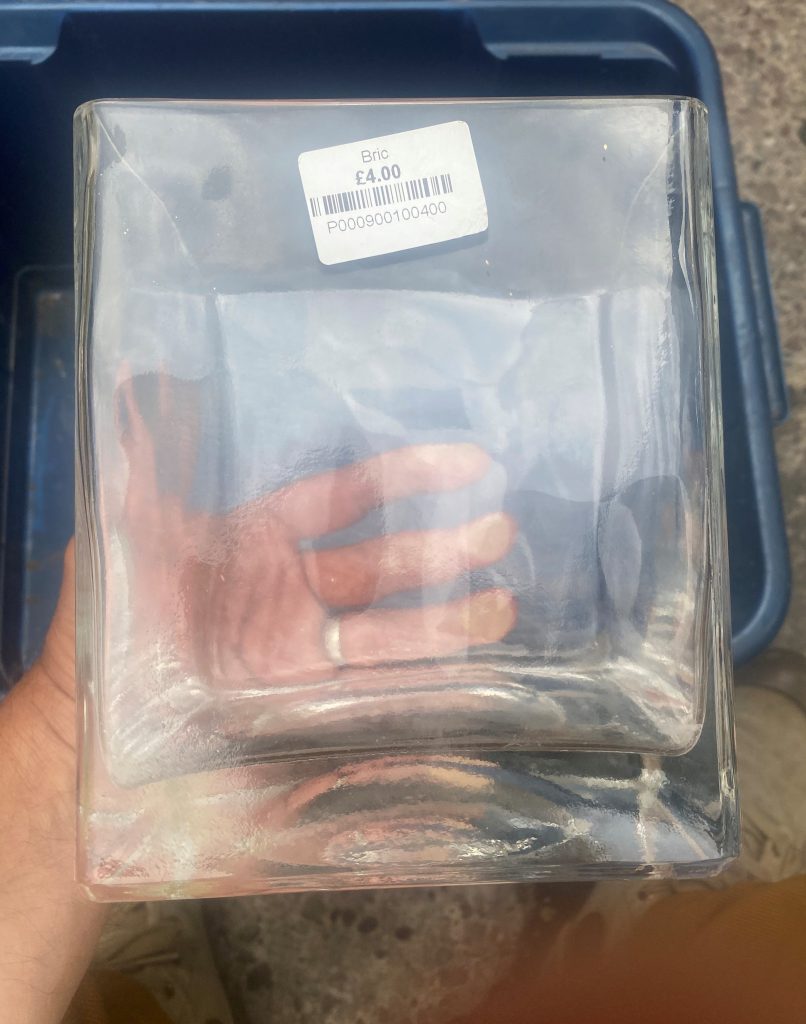
We were away in Lincolnshire and after a number of charity shop and car boot visits I came away with four of these large based vases. It was very interesting having four goes all with the same starting point. All attempts were successful, handaxe wise, but I also learnt something useful.

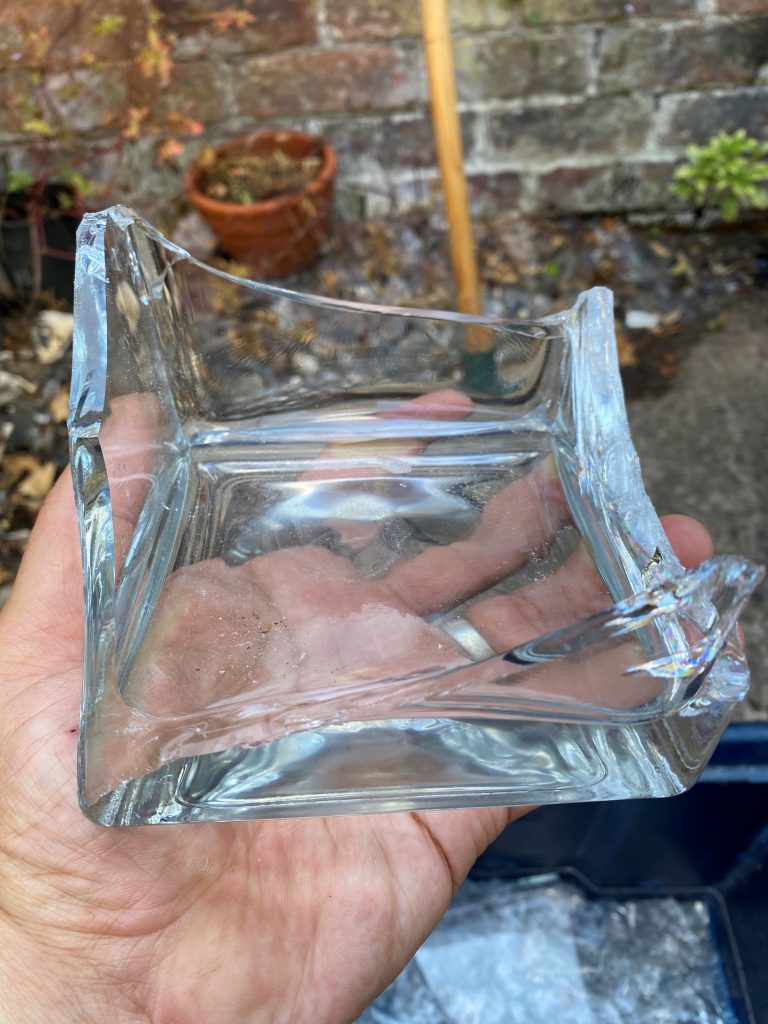
The first stage is removing the walls of the vase. As you can see above, the bottom left corner fortuitously provided a way in. I have talked elsewhere about ‘step fracture islands’, when one face works well, and the other doesn’t. I have realised this is something to do with where and how I get a way in. With thick pieces of glass such as this the way in makes one side easier to work than the other. I have observed this but never addressed it.

What you can see in the above image is all the edges ‘turned’ but a large concave section on the upper surface, and a convex section on the lower surface. The turned edge allows a way in but the concave section is much harder to reduce or to remove long flakes from. I had this same problem with each of the first three vases I worked. On this fourth one I tried a different method.

Kim Akerman discussed here how Australian Aboriginals managed this same issue with the concave and convex surfaces of bottle glass. They essentially work the most difficult concave face first until the surface is flattened. Only then do they move onto the easier convex surface.

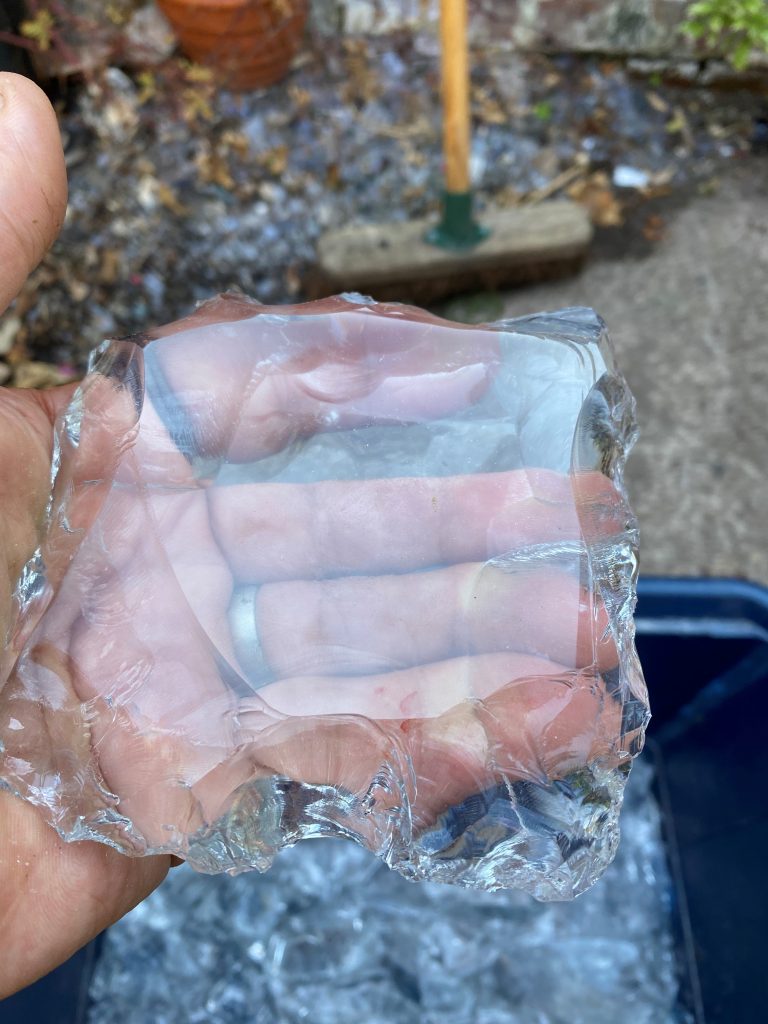
That’s exactly the approach I adopted here, and it worked really well. I normally chase the opportunities the turned edge presents, but as discussed above, I end up with one ‘step fracture island’ face. The step fracture island phenomena is related to the fact that one side is more difficult to work than the other. By prioritising the more difficult side I eliminated that problem.

Symmetry wise I’ve ended up with a wonky ovate handaxe in plan, but what is less visible from the image is the how both faces have been worked similarly and there is no ‘better’ or ‘worse’ face. I may have to get rid of the wonkiness because of my preoccupation with symmetry, but this handaxe represents for me a valuable development in my methodological approach.

This development occurred because I had four similar vases and worked on them over four consecutive days. Approaching the same problem repeatedly allowed this learning experience to emerge, unplanned. I really like this kind of repetitive practice and unplanned emergent learning experience, which seems alien to the more normative idea of having a goal and working systematically towards it. Food for thought!

Meanwhile…

I am off work at the moment and have been in the back yard, taking advantage of global warming, and knapping almost every day.

This was a lumpy flake of glass slag. It was either gifted by the Salford Unit before they closed, or from the disused railway line behind the playing fields at Dorstone. I can’t remember, which is a shame. I also forgot to take a ‘before’ photo. I was caught up in knapping rather than thinking of a blog post.

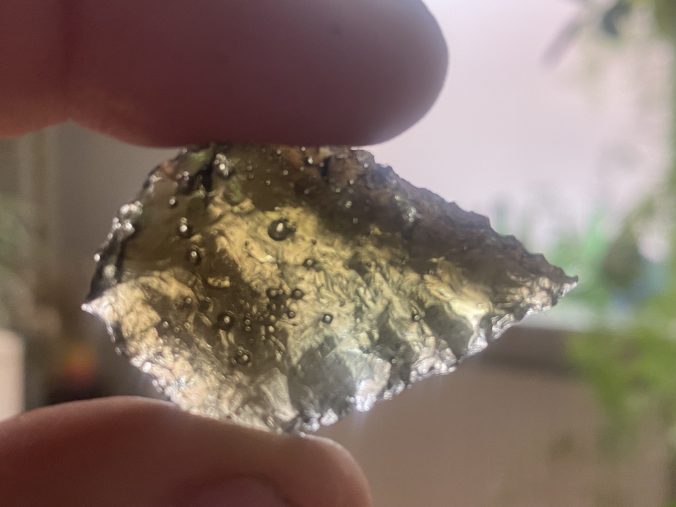
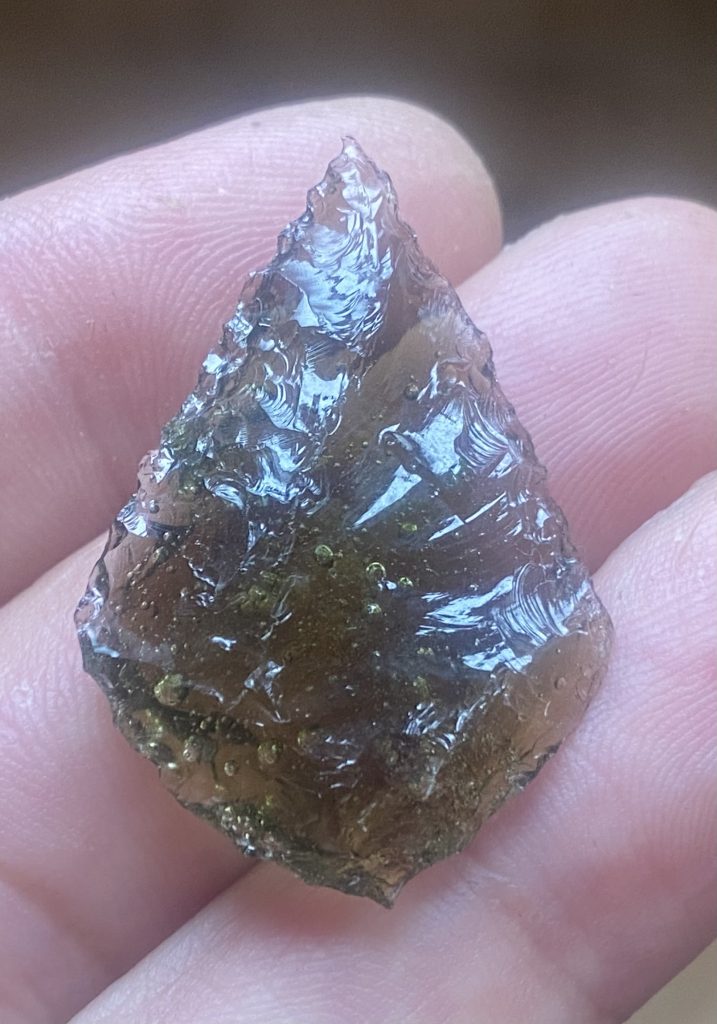
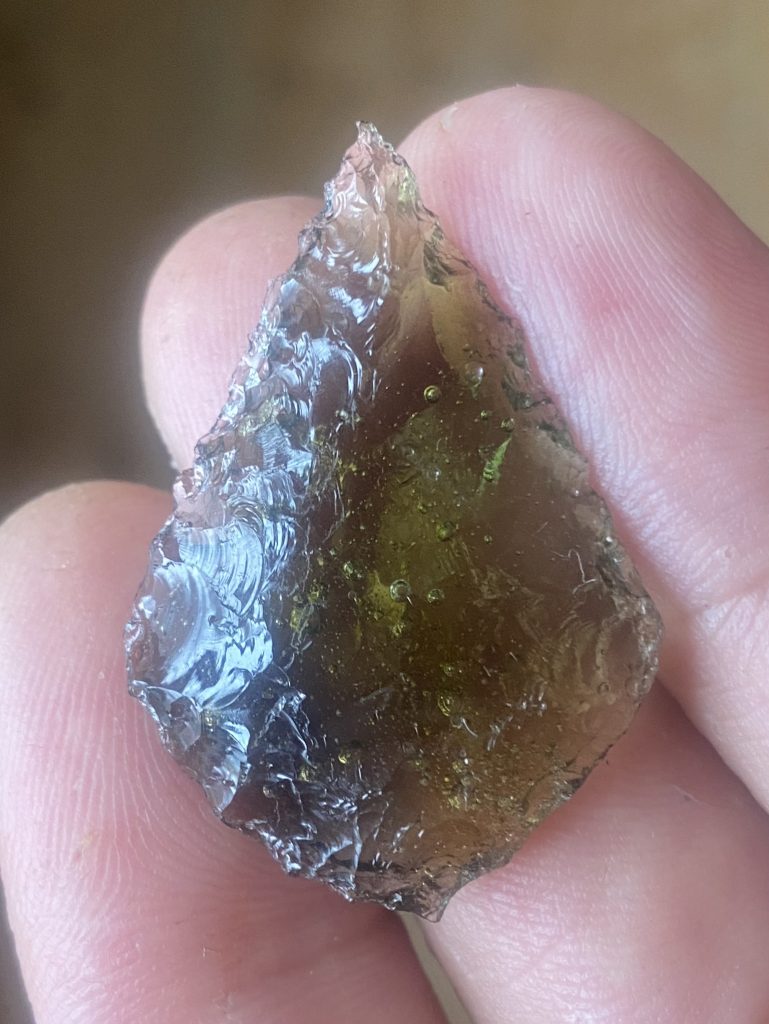
Anyway, in spite of the flakes very uneven thickness it knapped brilliantly. The colour is amazing and I like the bubbles. It has produced a very descent Neolithic leaf shaped arrowhead, although made from industrial glass slag using an iron nail pressure flaker.

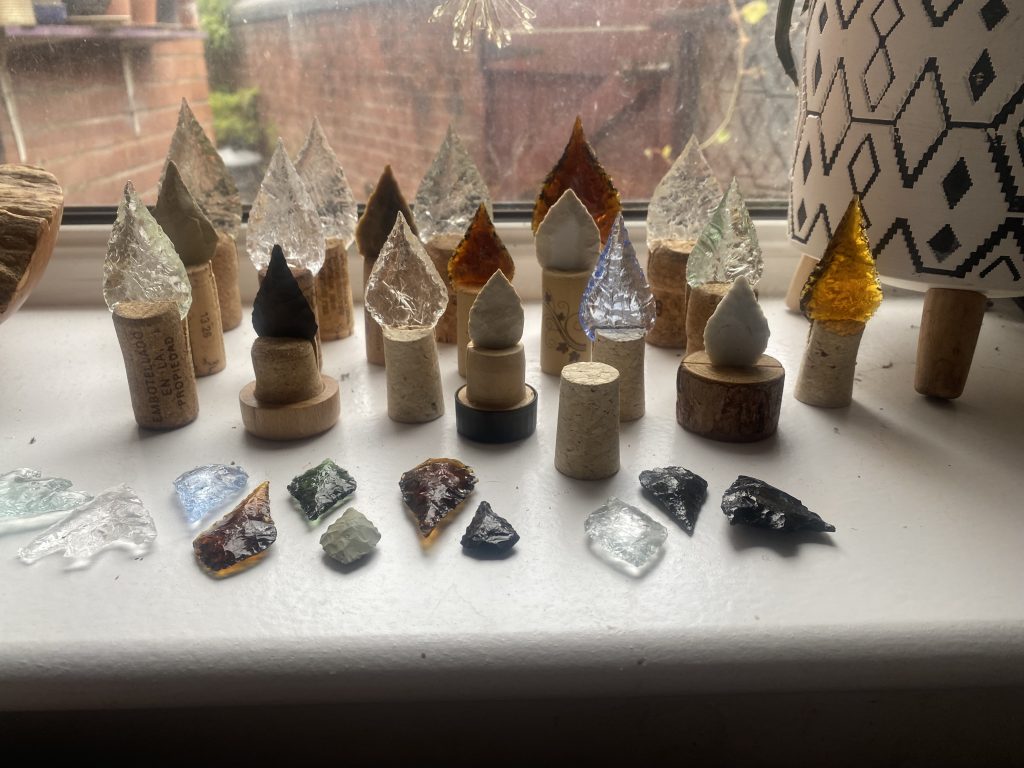
As you can see, our windowsill is morphing into a knapping museum of sorts, an exploration of materials, methods and obsessive behaviour!

What’s going on? Part two…

I have had some time to sleep on it (not literally), and some more ideas emerged.

I think actually two competing and contradictory ideas are being played out here. As concluded in the last post: perhaps this is a piece of art; inspired by Palaeolithic crafts people; and using the making process to highlight a different attitude and set of values to modern ‘waste’ materials. Perhaps that is what I am doing, and that is what this handaxe is doing.

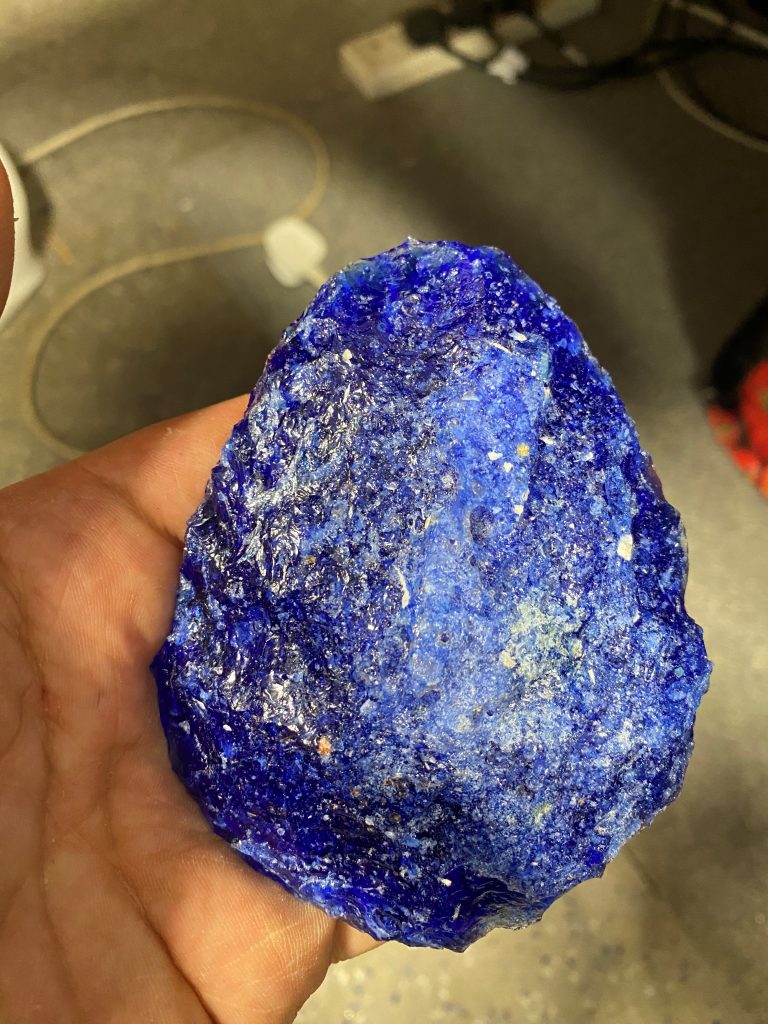
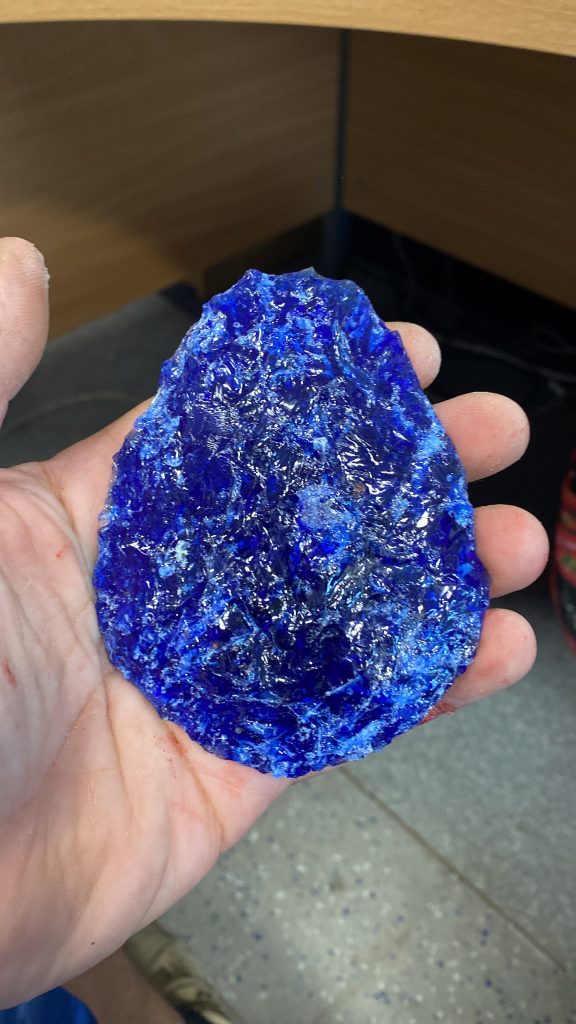
Idea number one: since the last post I have spoken to two of my friends who work with ceramics, Nacho Jimenez and Lee Page Hanson, and both have agreed to help me by producing some slightly narrower, slightly taller ceramic moulds. As discussed here, Holly has ideas about how the next furnace firing should unfold. There is also the invisible contribution of the people who originally made the blue glass, and then those who abandoned them in the1930s to 1950s for them to end up as a waste material, and then again in the recent past, the bottle diggers who have left the fragmented glass bottles on the surface for me to collect. Then there is my contribution to the narrative as a flint knapper. So, as an object this blue handaxe embodies a number of narratives as well as a number of skilled practices. Perhaps that is part of why I love it?

Idea number two: however, as previously discussed, I also love the recycling of the glass that goes into this, to highlight a different approach to valuing materials. It has occurred to me that this ‘eco narrative’ actually embodies a series of energy intensive processes, such as the the kiln use for the production of the moulds, and then the furnace use to melt the glass to form the block. In that respect this handaxe also has an industrial narrative, using probably non-renewable resources in order to make a statement about the value of recycling materials. In that respect this blue handaxe embodies an inherent contradiction, something I am not so enamoured by.

That’s where I am up to, and today is a day off!

What’s going on?

What is going on? I am an archaeologist, so why am I getting super excited about creating Palaeolithic tools from materials unavailable to people in the Palaeolithic past? Furthermore, this seems more to be an exploration of my own particular aesthetics, albeit with a link to crafts people in the Palaeolithic past. Perhaps they are my inspiration here? Essentially, this process is telling us nothing about Palaeolithic people, so is it a vanity project?

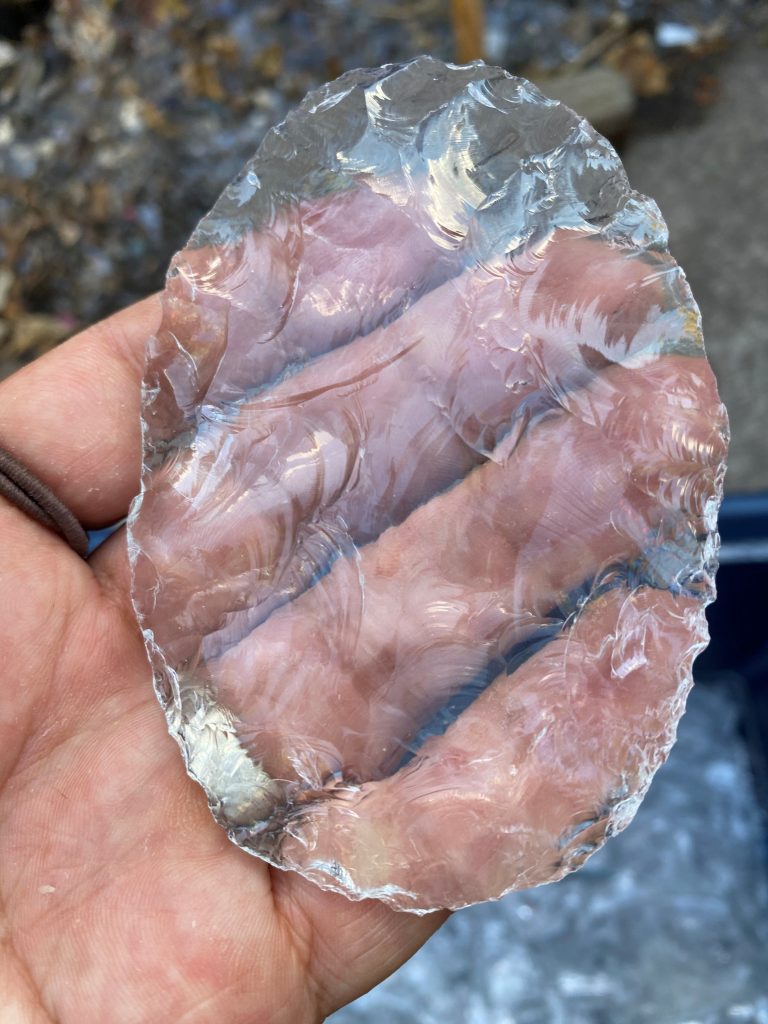
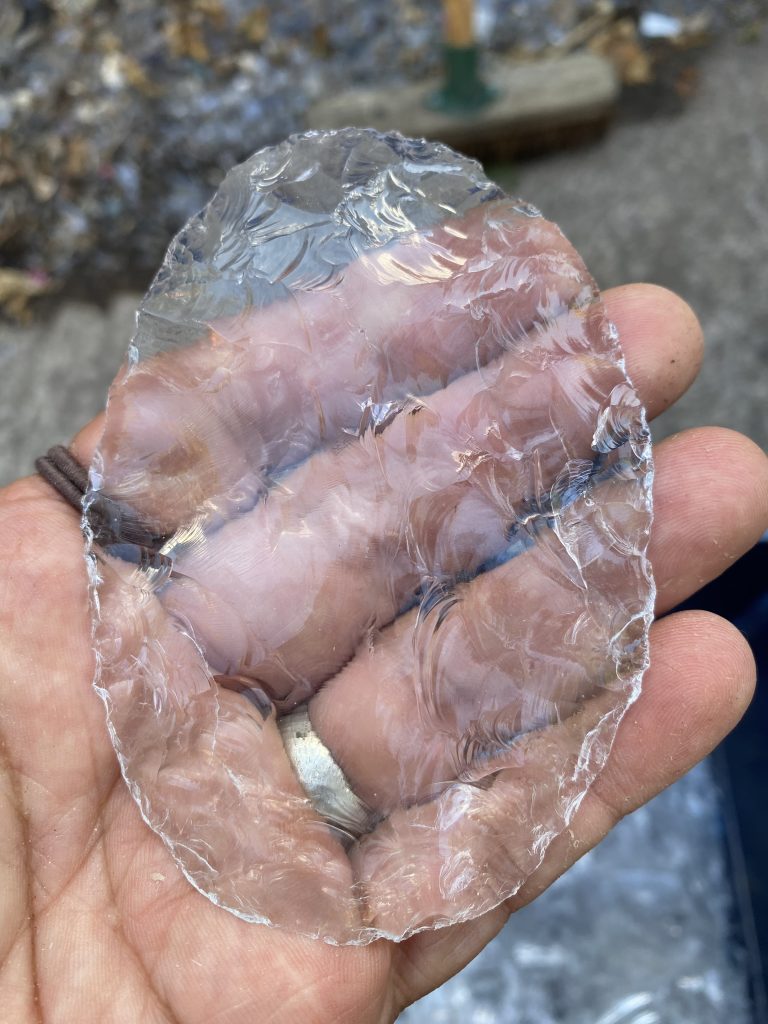
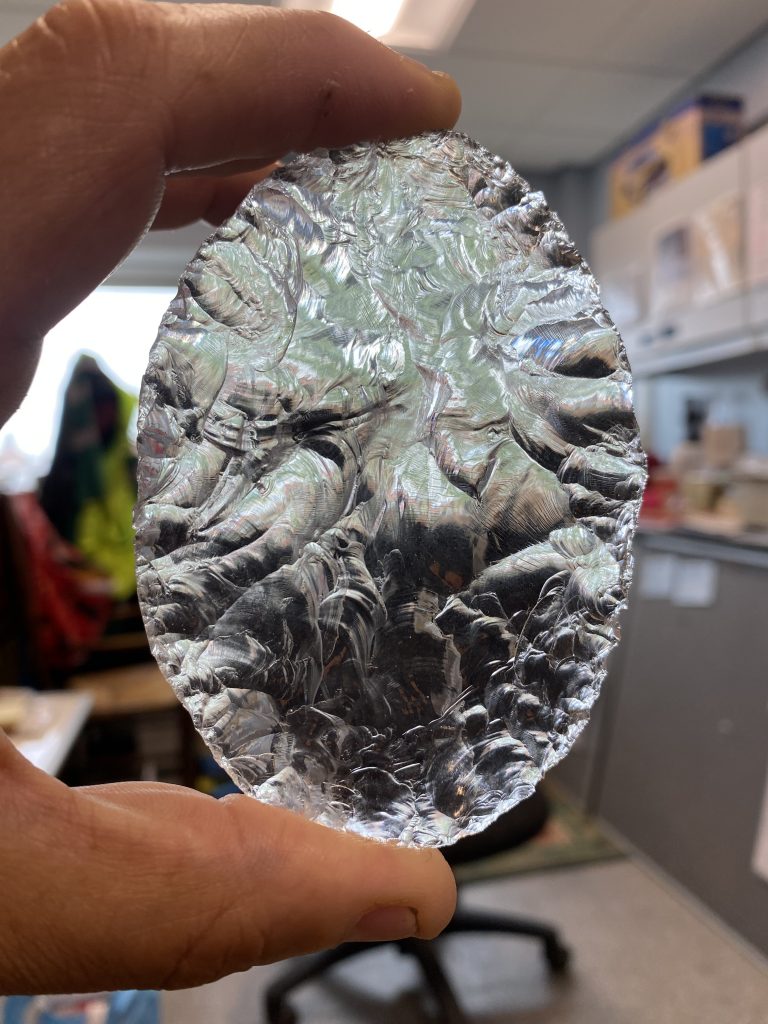
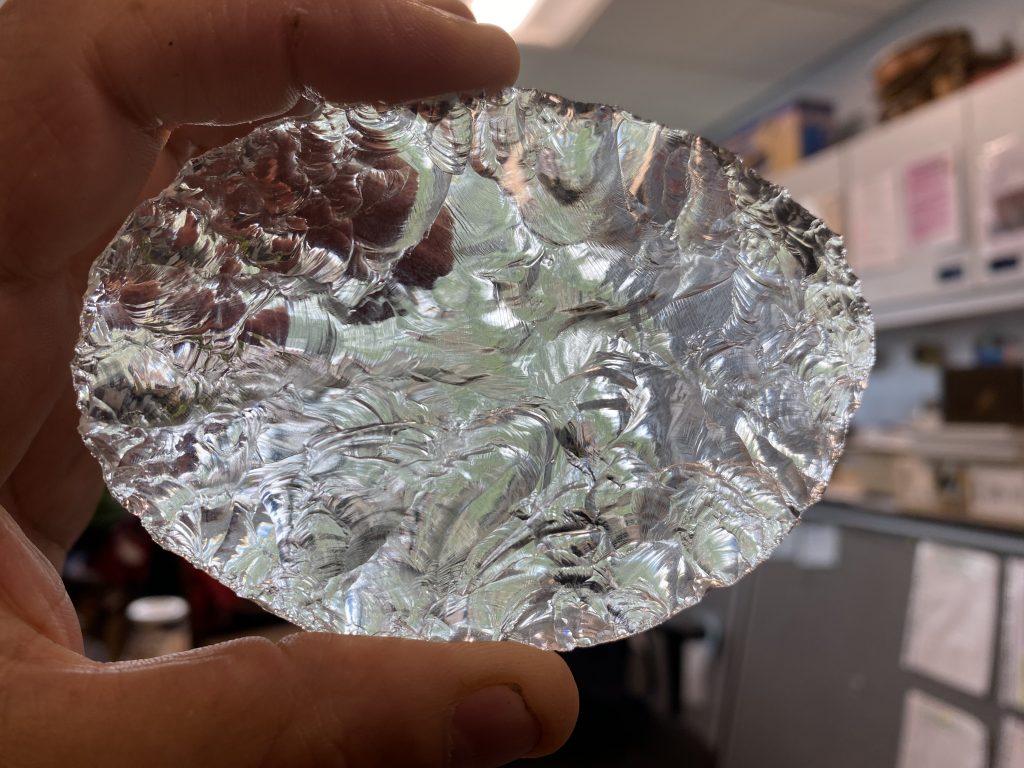
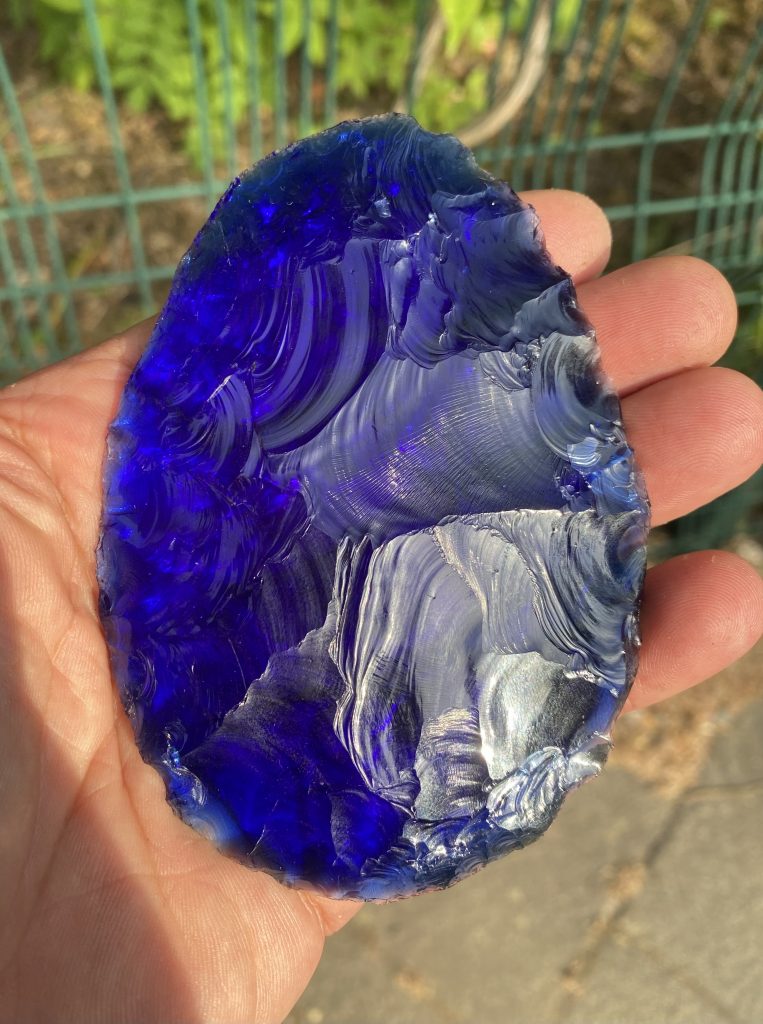
This particular handaxe is not perfect, but I love it. I actually love its idiosyncrasies’, the lumpy central line I couldn’t remove. It fits together perfectly for what it is, in spite of not being something else? By something else I am thinking of my last blue handaxe, classically aesthetic, with smooth, long and clean removals.

I immediately thought, well I collected the glass for this most recent handaxe, and so that must be it. However, I bought the glass disc for the earlier handaxe, from a flea market so although not the same, I was still responsible for acquiring the materials. It may be to do with the extended process, involving mould makers and furnace drivers? It may also be that I am using a waste material, originally abandoned in the 1930s to 1950s, and then again in the recent past, by the bottle diggers who have left the fragmented glass bottles on the surface for me to collect.

I don’t know. As an archaeologist I feel this object should be adding some kind of intellectual value to our understanding of the Palaeolithic past, but it doesn’t. So, is it a vanity project? If so then all art could be classed as vanity projects. Perhaps this is a piece of art rather than a piece of archaeology? I also love the recycling of materials that goes into this, to highlight a different approach to valuing materials.

So perhaps what I am saying here is; this is a piece of art; inspired by Palaeolithic crafts people; and using the making process to highlight a different attitude and set of values to modern ‘waste’ materials. Perhaps that is what I am doing, and that is what this handaxe is doing.

Well now!

Well now. Lots of thanks to Holly Flannaghan, my technician comrade in Geography who has access to a furnace, and also does her research!

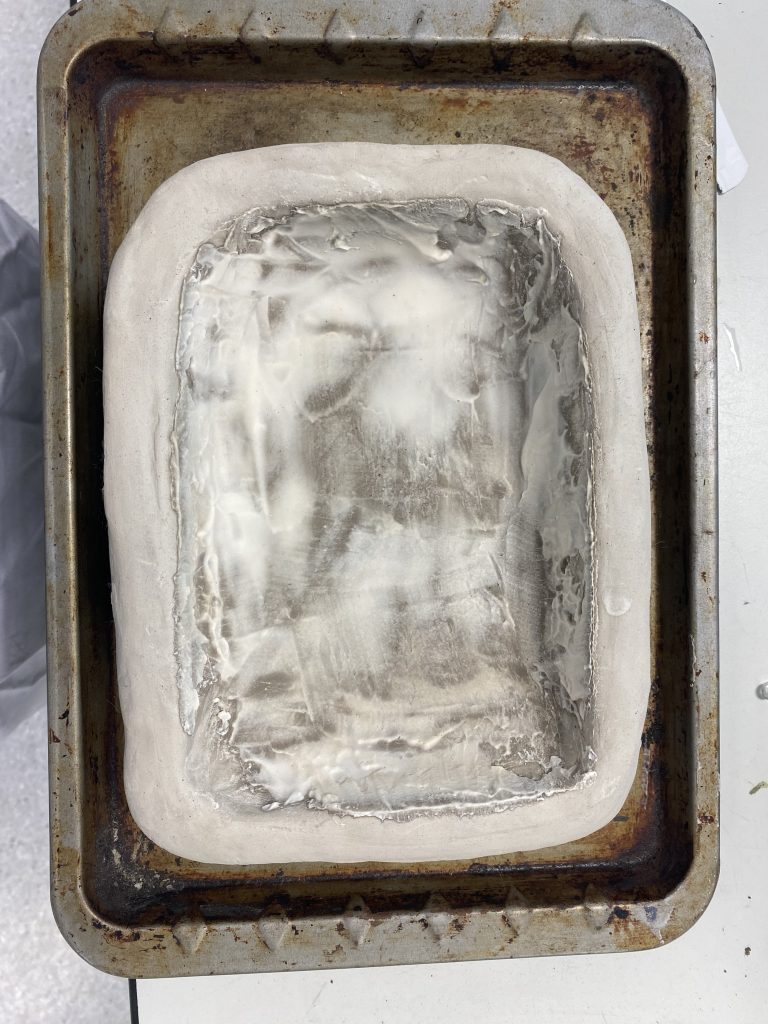
This is Alice la Porta’s mould painted with the Aluminium Kiln Wash to stop the glass adhering to the mould. It did more or less work. The mould was unfired and next time we may use an already fired ceramic mould.

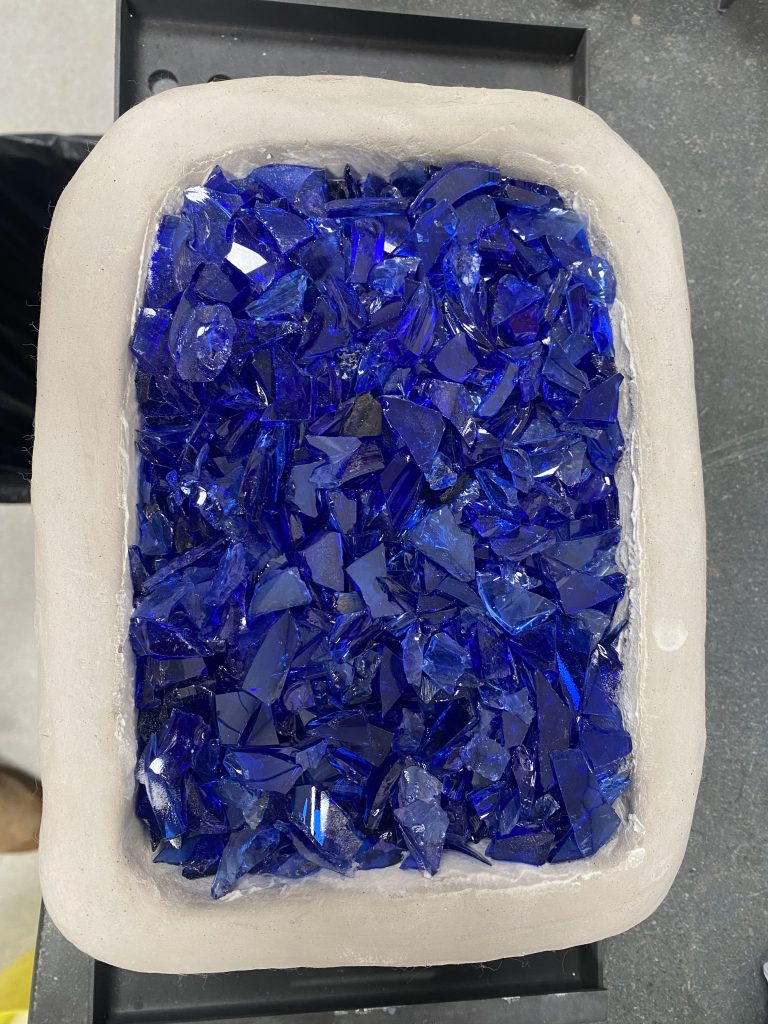
I had three grades of glass cullet. Sand, sub-1cm, and above 1cm. We used the sand and sub-1cm cullet on the top to fill up the mould.

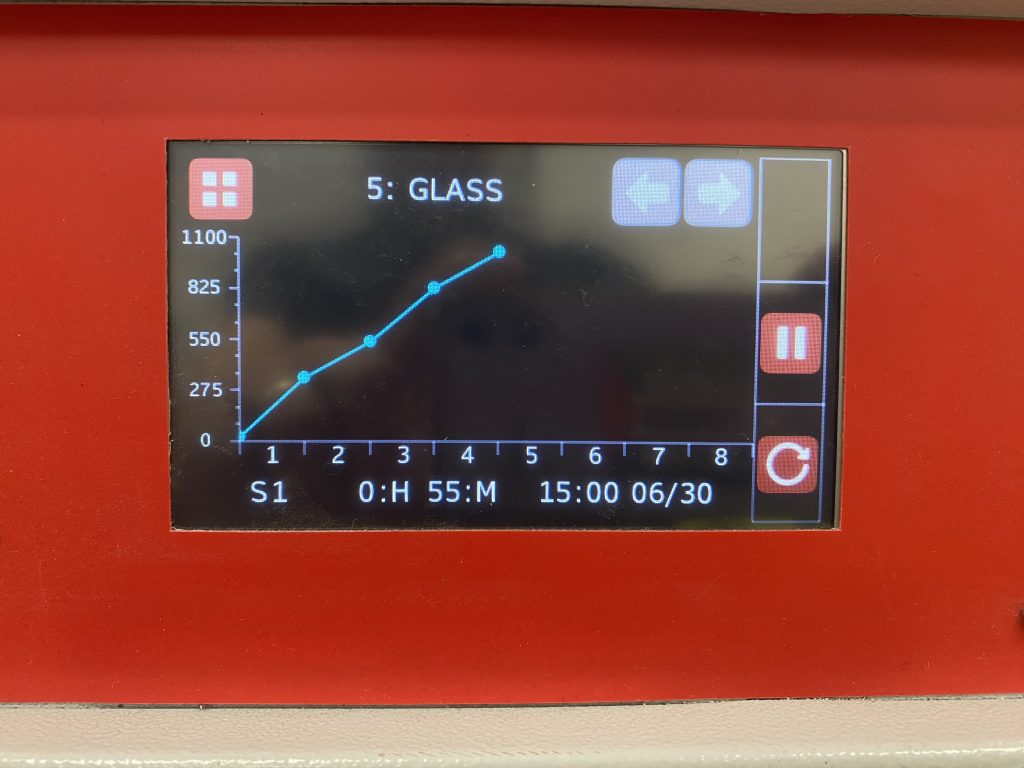
Then Holly performed her magic. Over four hours the temperature was gradually raised to around 1000 degrees Centigrade, and then kept there for two hours or so before starting the slow cooling process.

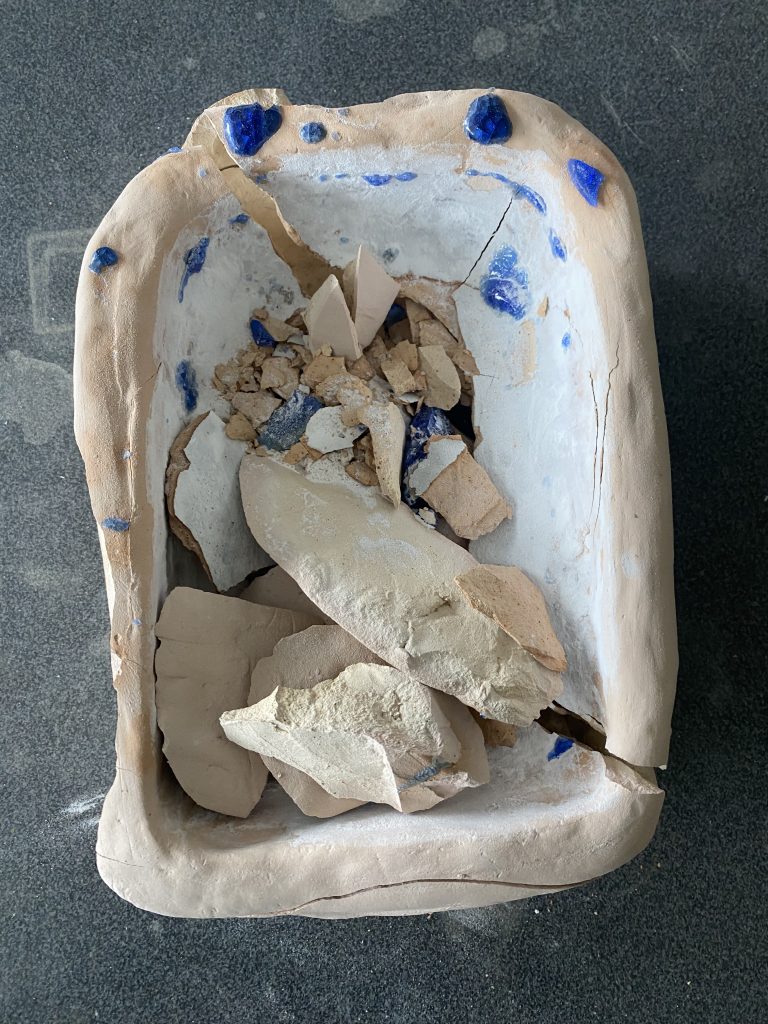
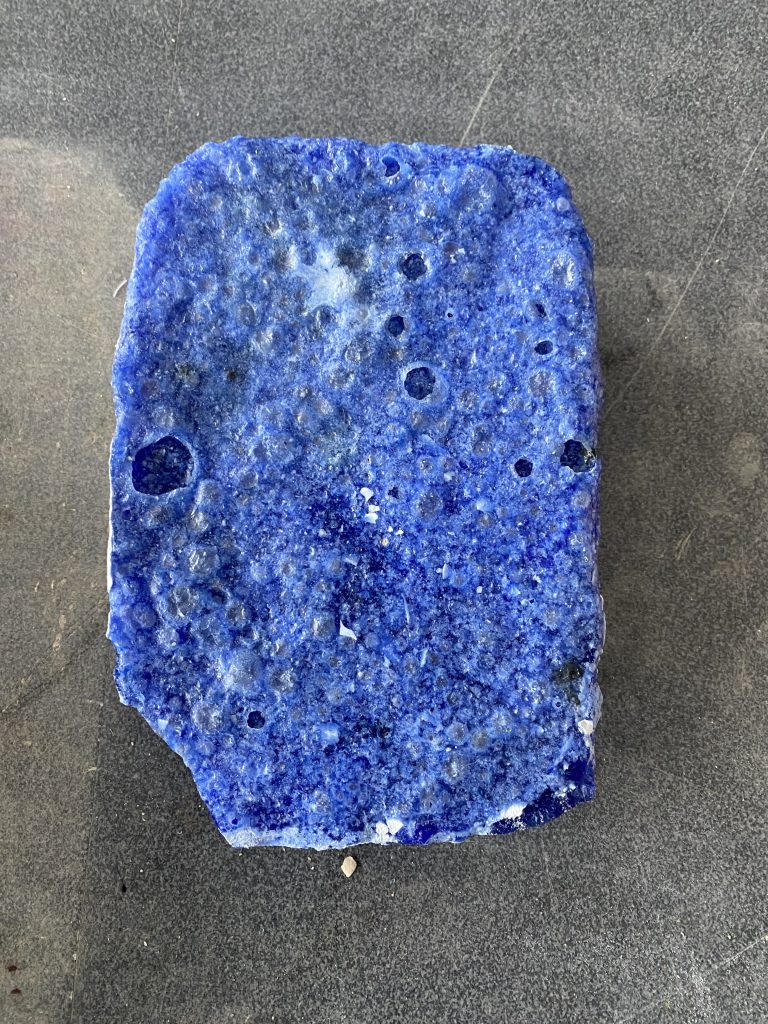
And one day later here we are. The Aluminium Kiln Wash worked but we had to break up the mould to get access to the glass. Once out the glass was actually thinner than I anticipated. The sub-1cm cullet must have had a lot of gaps that it had to fill. Next time we will use the sand only and a slightly higher mould to give the slab more depth.

The glass appeared not ideal. It looked similar to the fused glass blocks produced using Nacho’s kiln. However, once I started to work it I realised that it actually had very good internal cohesion. It flaked well although crumbly.

And this is it. The outcome but also a starting point. We need to adjust the mould size and make sure it’s already fired. Use sand rather than sub-1cm cullet and perhaps keep it at 1000 degrees Centigrade for around four hours before allowing a very slow cool off period.

I am actually super happy with this handaxe. Many thanks Holly!

The return of the blue handaxe, possibly

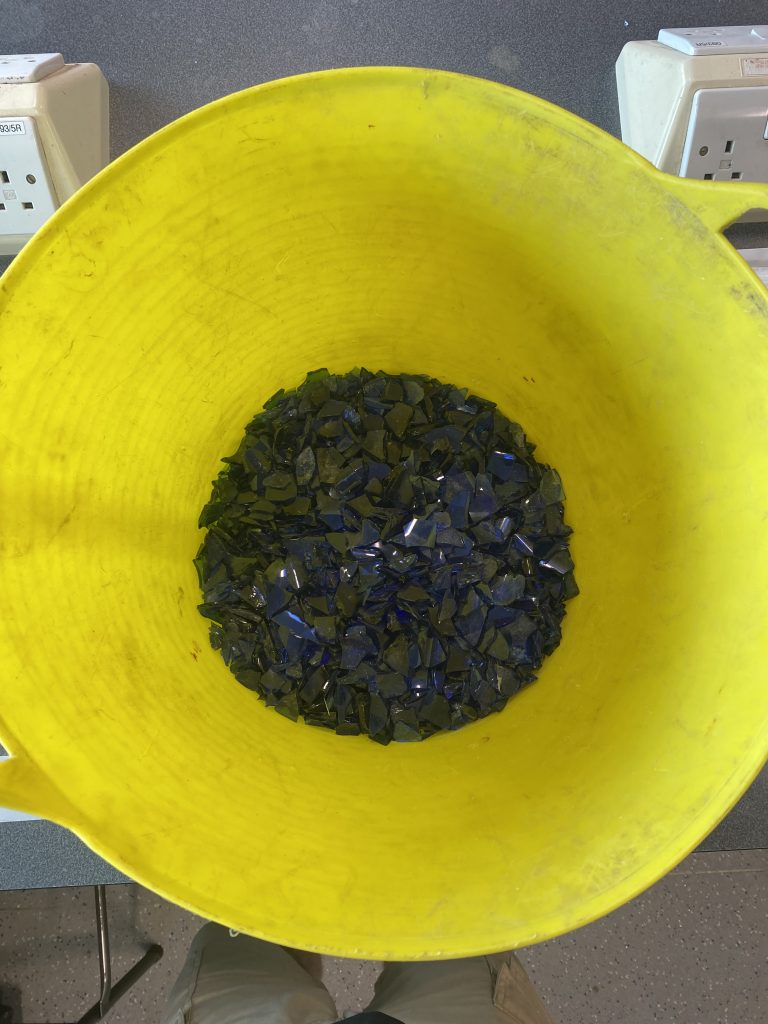
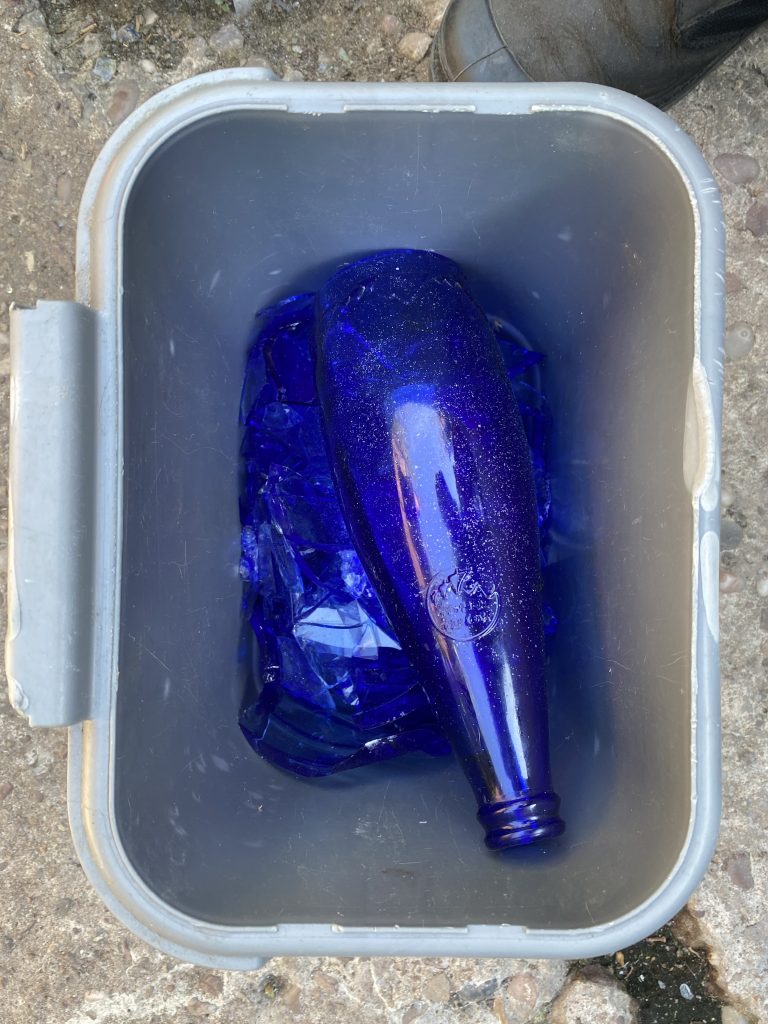
Today we had an Archaeology Open Day which was surprisingly quiet. Consequently I had quite a bit of free time in the lab on my own. I had also had about five blue glass bottles cluttering up my office for what seemed like ages, and so I added two and two together and came up with a trug of blue glass cullet.

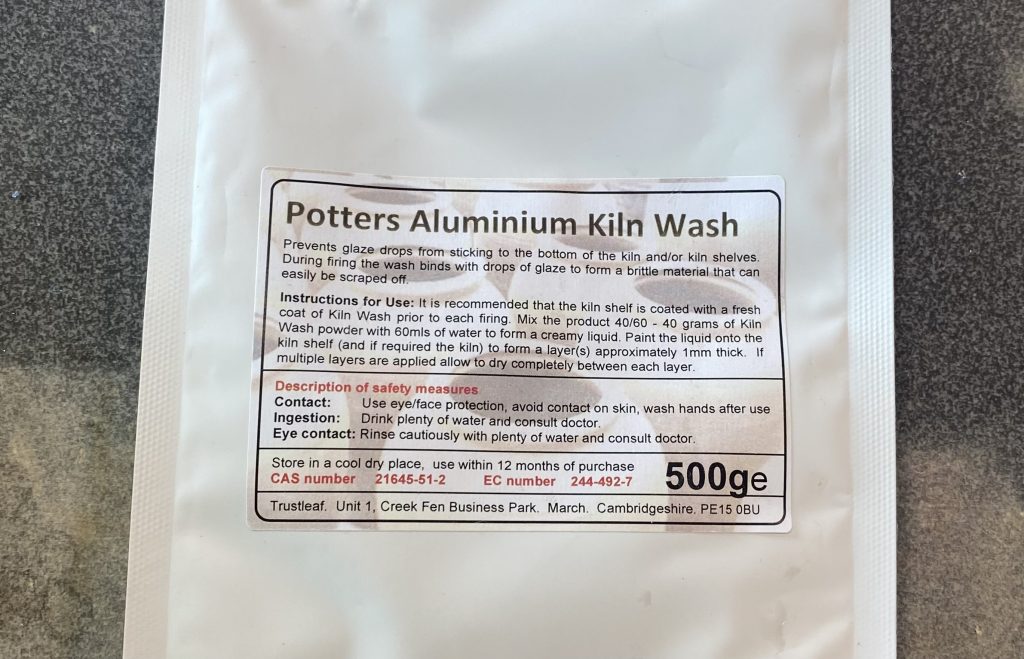
This wasn’t completely out of the blue (pardon the pun). My colleague in Geography, Holly, is in charge of a small furnace and we have discussed the possibility of melting my glass bottles to produce a slab of glass, and Tuesday next week may be the opportunity to do so. However, based upon previous experience I needed a method of stopping the melted glass block adhering to the clay mould. Enter Potters Aluminium Kiln Wash.

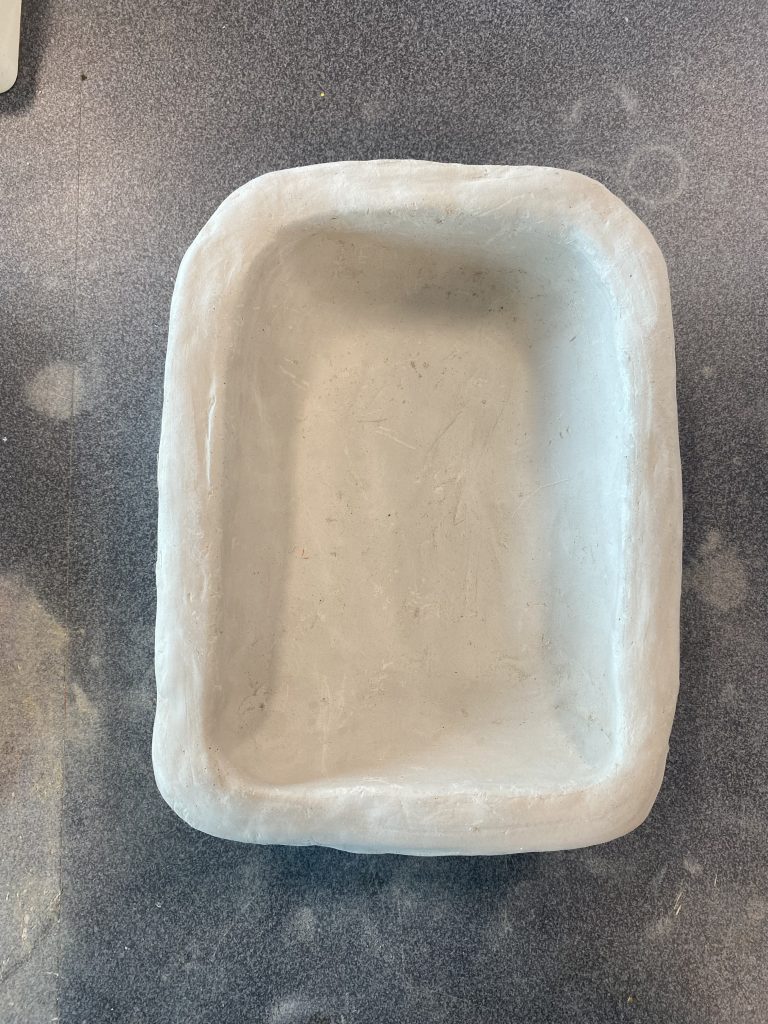
The experiment next week is to use the clay mould given to me by Alice la Porta, and use the Potters Aluminium Kiln Wash to form a layer between the mould and the glass cullet to be melted in the furnace. Holly is going to be in charge of times and temperatures, I will be in charge of keeping my fingers crossed.

This is the mould Alice gave me, let’s see how it goes…

Making an Appleby Bronze Age glass arrowhead

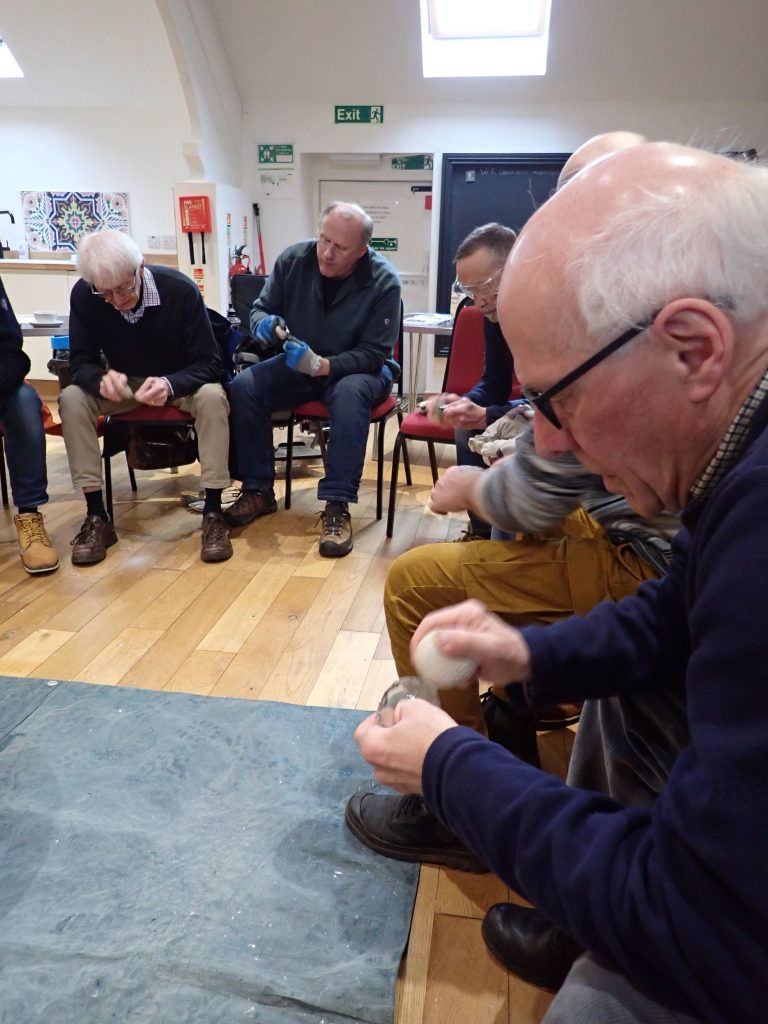
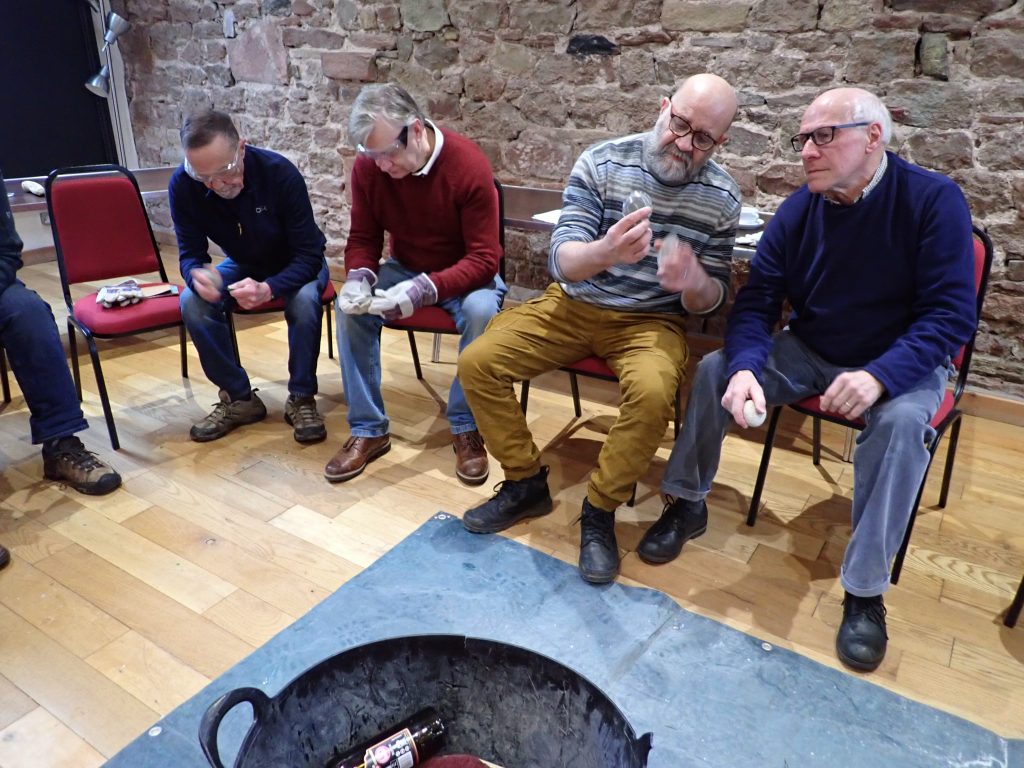
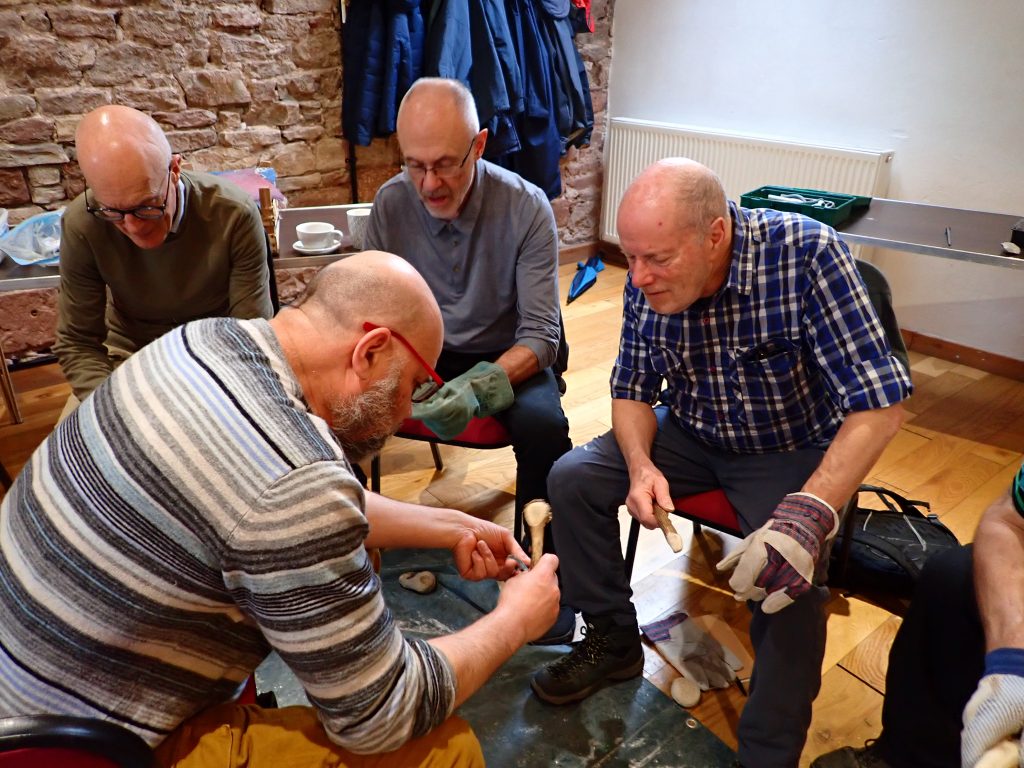
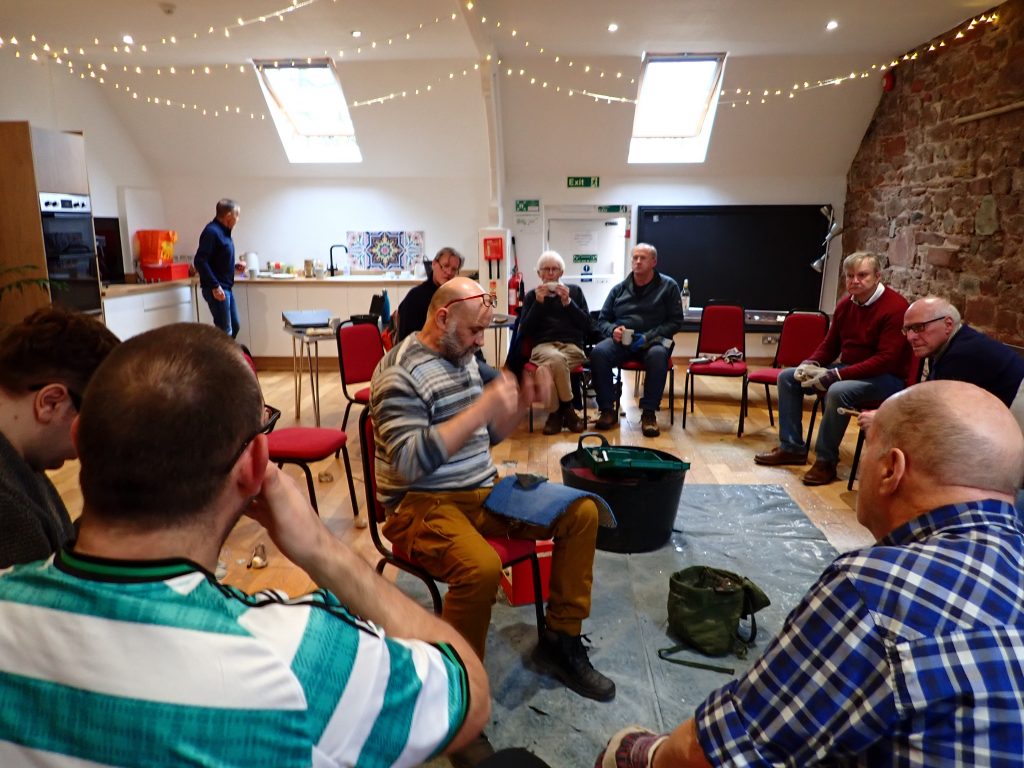
In February this year Karen and I had a trip to the Lake District courtesy of the folks at Oxford Cotswold Archaeology and National Highways. Oxford Cotswold Archaeology (OCA) were delivering a series of community engagement workshops called Common Ground as part of the A66 Northern Trans-Pennine Project, with the aim of linking together aspects of Archaeology and Wellbeing. My friend Nick Overton suggested a Bronze Age arrowhead workshop might do the trick, and that is how I found myself on a Wednesday morning in February sitting in a lovely community space called the Appleby Hub. Chloe and Ned from OCA were there to facilitate the session, take photos, make arrowheads, and after the event garner feedback. The attendees were members of the local community interested in learning about local history and archaeology. The following photos and comments were kindly forwarded to me by Ned.

“A very good session and the instruction was clear & helpful. The instructor’s knowledge was very impressive – Thank you“

“Really enjoyed [the] session, making a glass arrowhead. And enjoyed the experience interacting with other class members & the session leader. Good conversation – relating to process & relevance of time and how the flint version could have been made and used.“

“Brilliant, fun, and very informative!”

“Brilliant session. Enabled to do something I never thought I would be able to do. Good activity for social interaction.”

As the feedback suggests, the session went really well. Thanks to Nick Overton for introductions, Jessica Elleray for organising, Chloe Brownlee-Chapman and Ned Baker for facilitating, the Appleby Hub for hosting and the folks from Common Ground for a great session and the fantastic feedback.

< Older posts

© 2026 Learning Through Making. All Rights Reserved.

Up ▴