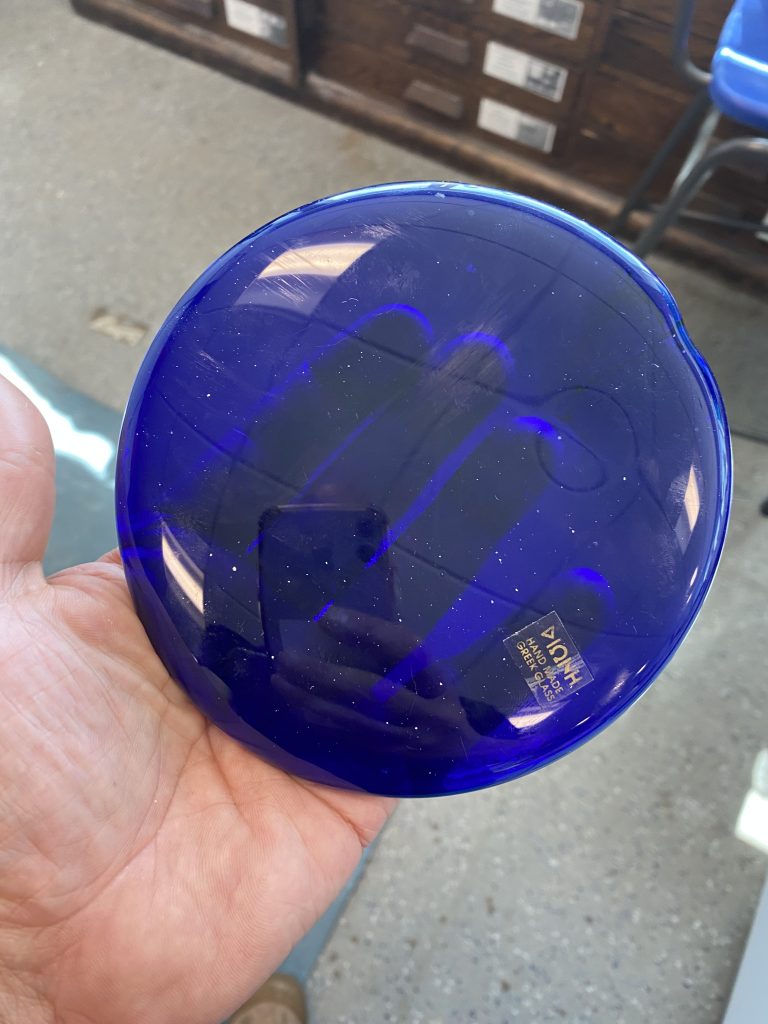
We have just come back from a week in Athens, and the main thing I brought home was a large disc of blue glass, bought at the flea market for five Euros.
Anyway, I found time to hide in the lab for an hour or so and came away with this very nice blue ovate handaxe.
Everything worked well. Turning the edges with a hard hammer, and then thinning using an antler hammer. This is the second iteration, initially it was larger but wonky.
I brought the wonky version home, lived with it for 24 hours and then the following day finished it off so that it is a shape I can live with. I am currently thinking about the difference in experience between my work with emails, spreadsheets and budgets, and escaping into the lab and the satisfaction of making something beautiful. I suspect it is something to do with what that famous stone tool specialist, Karl Marx, termed ‘Alienation’. To be continued!
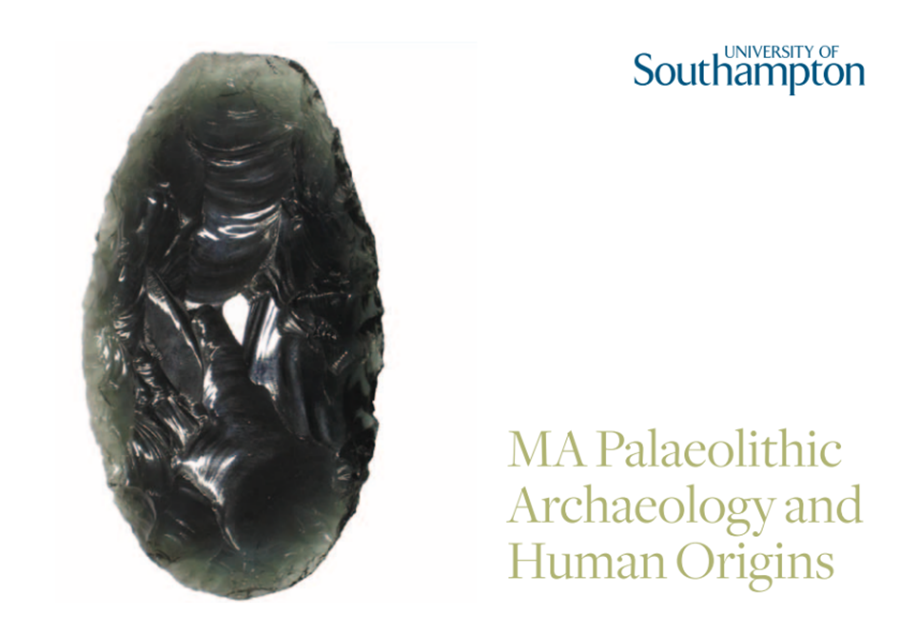
The image above is from a postcard I picked up in 2011 (I think) whilst at an archaeology conference at the University of Southampton. It has been framed and sat on my wall since then and I only recently found out the the glass replica of a Boxgrove handaxe featuring on the postcard was made by a knapper called Tim Ace. Tim’s handaxe inspired me then and has been instrumental in my enthusiasm for glass as a material to work with now.
Fast forward to 2016 and I had finished my stone tool based PhD and found I had time to learn how to flintknap. This was something I had failed to do up to then, in spite of working closely with both John Lord and Karl Lee. The main issue was lack of practice due to a lack of access to flint in the north west of England where I live. The above video was really useful in reminding me of the value of using glass to practice, and it was this video that got me going with arrowheads.
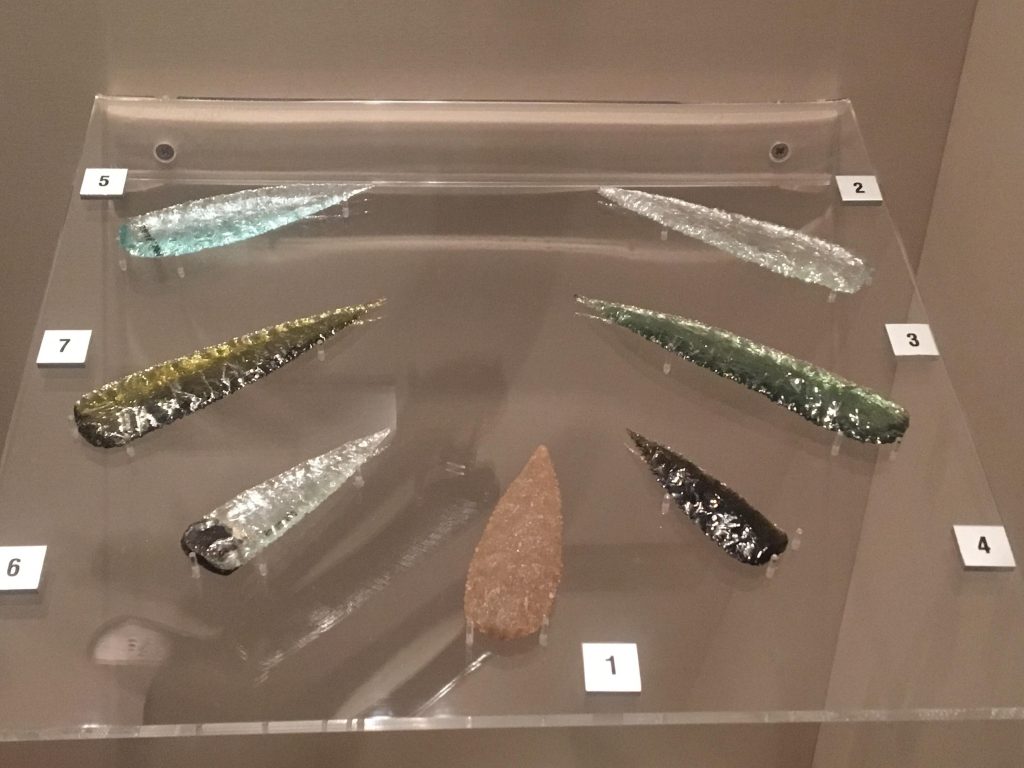
The above image was taken in the Liverpool World History Museum in 2017 (I think) and is of their collection of glass and stone Kimberley Points. When I realised Australian Aboriginals also used glass I became really excited about researching their points and methods. A number of people helped me on this learning journey as discussed here, but as well as helping me develop my pressure flaking skills, this journey provided me with a real insight into the social aspects of stone tools and their production.
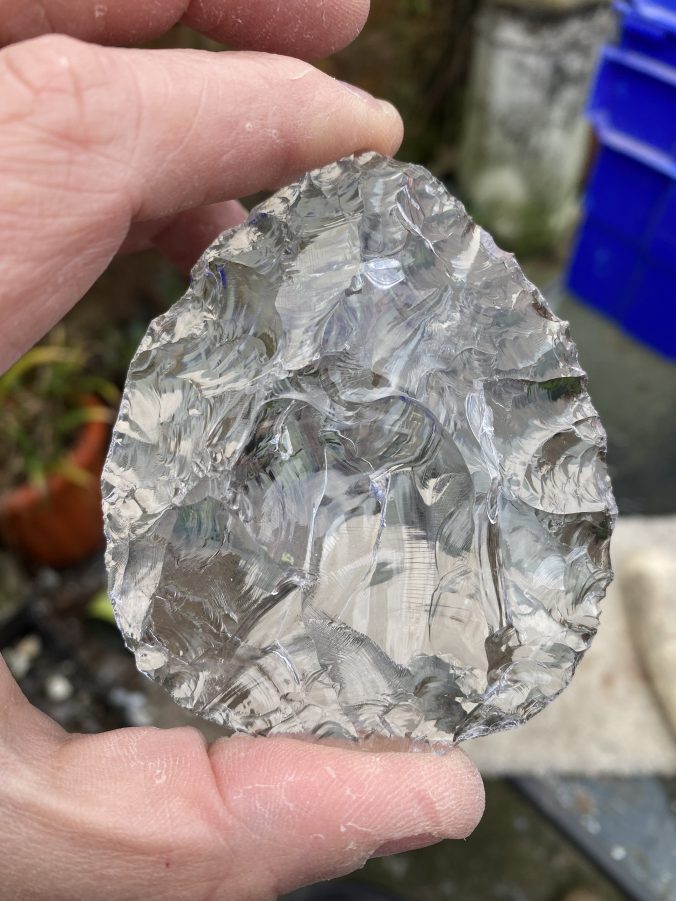
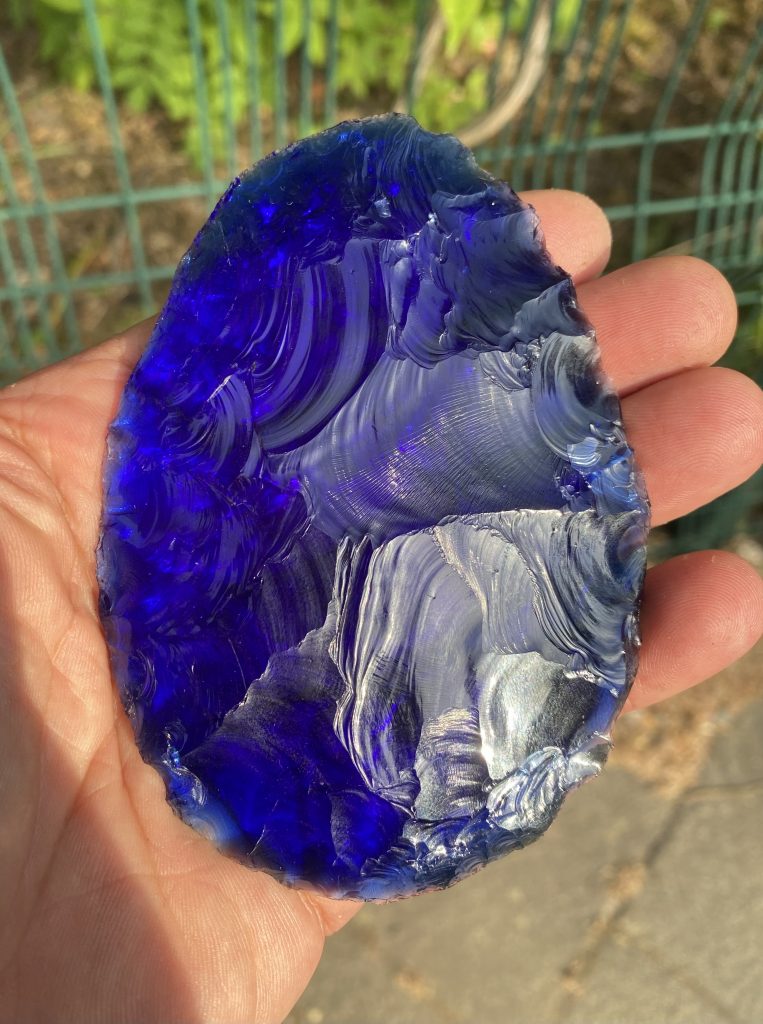
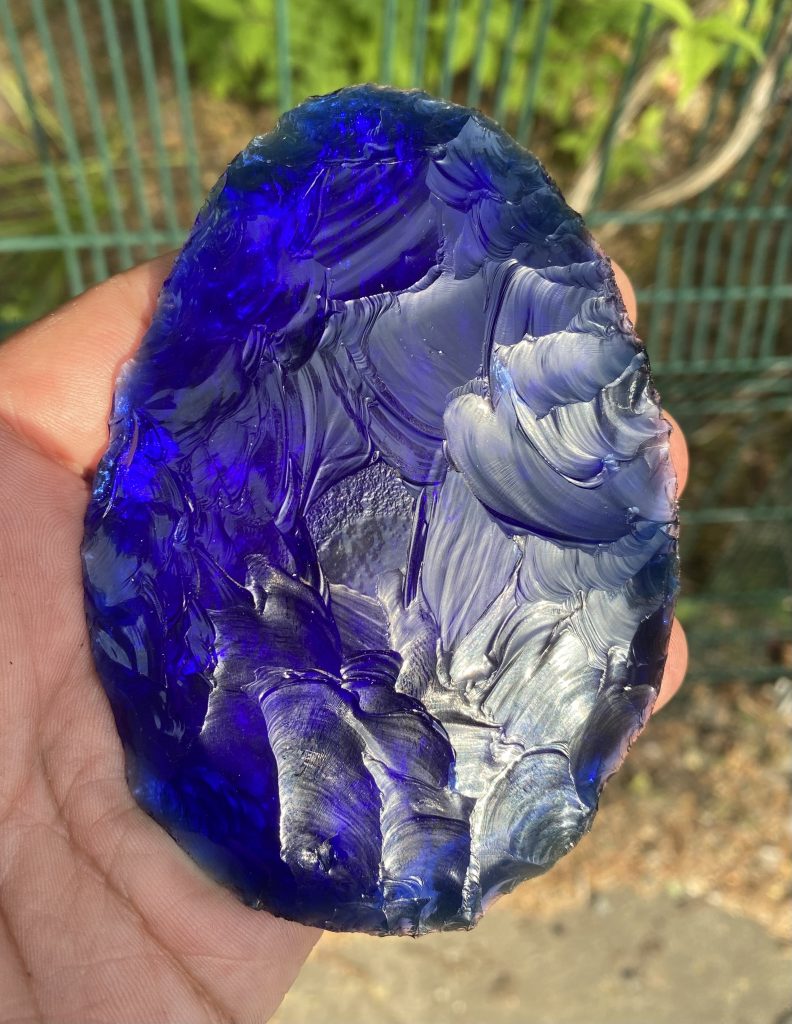
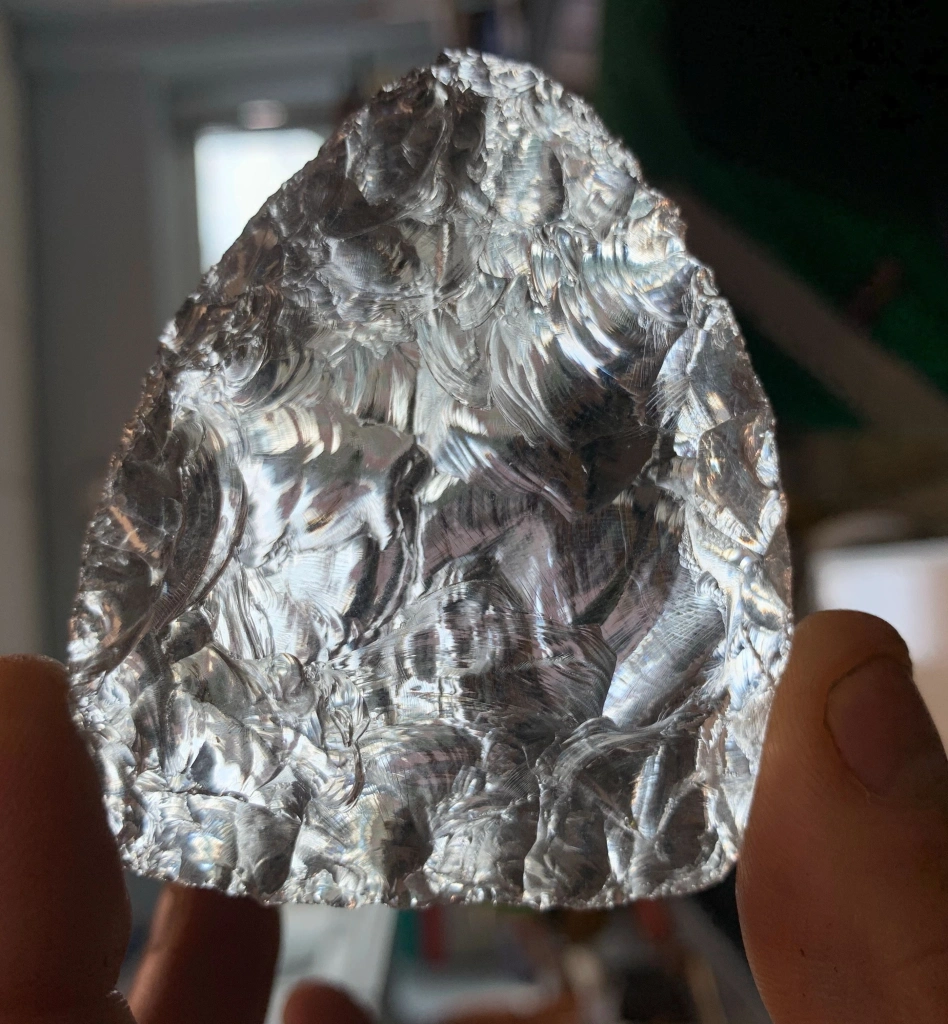
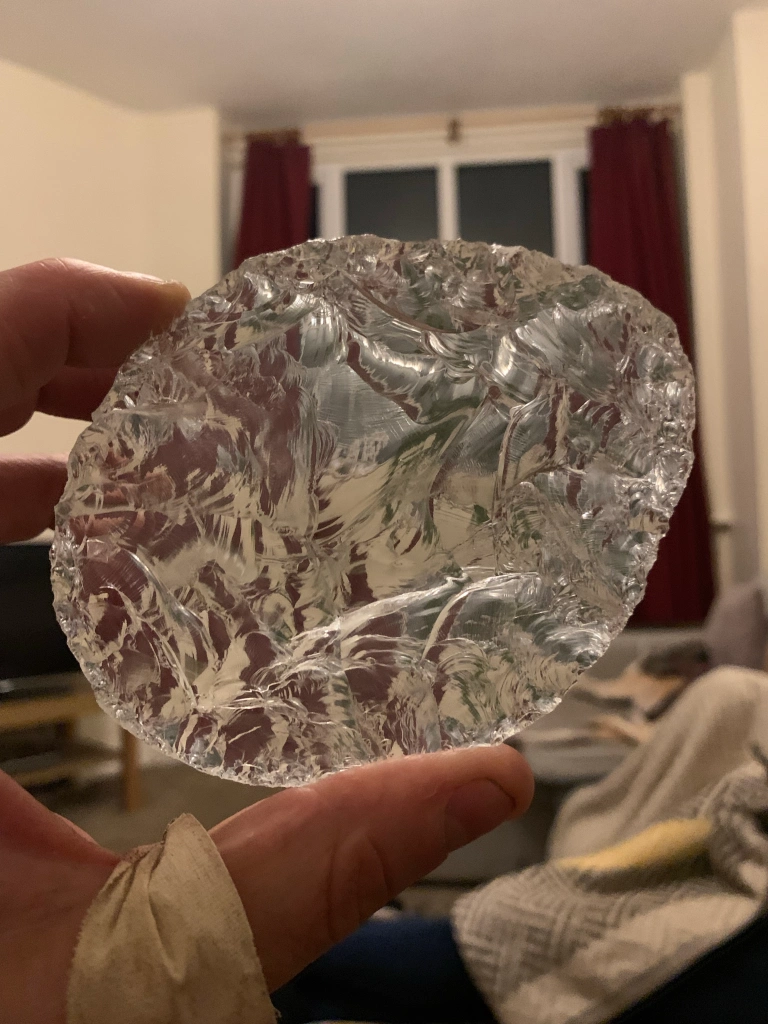
And now it is 2024, and after many years spent hunched over in my back yard, I sort of know what I am doing. The above was a big flat slab of good quality glass from the Didsbury Oxfam shop (£3) and it is now a large pointy handaxe. We are in the lovely Spanish city of Valencia at the moment, and today I came across a woman in her studio making glass to produce her own glass jewellery. That would be like a dream for me. Having my own small studio space in a lovely city like Valencia, and being able to knap beautiful glass handaxes all day, interrupted only by the occasional cafe con leche.
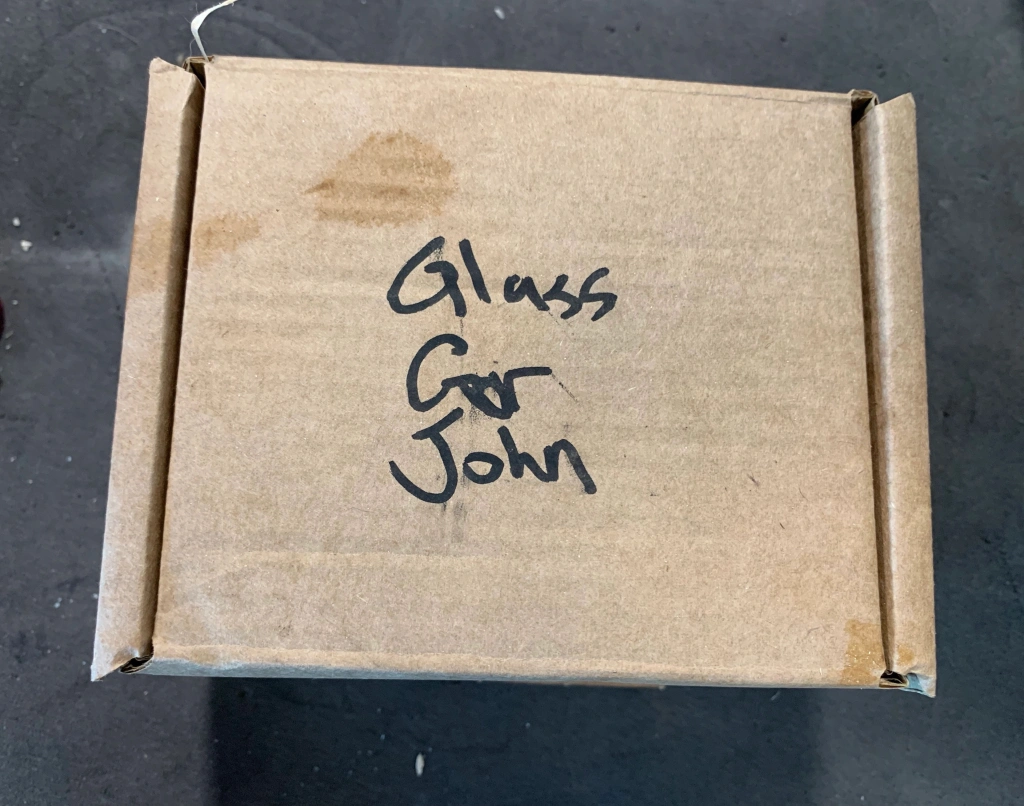
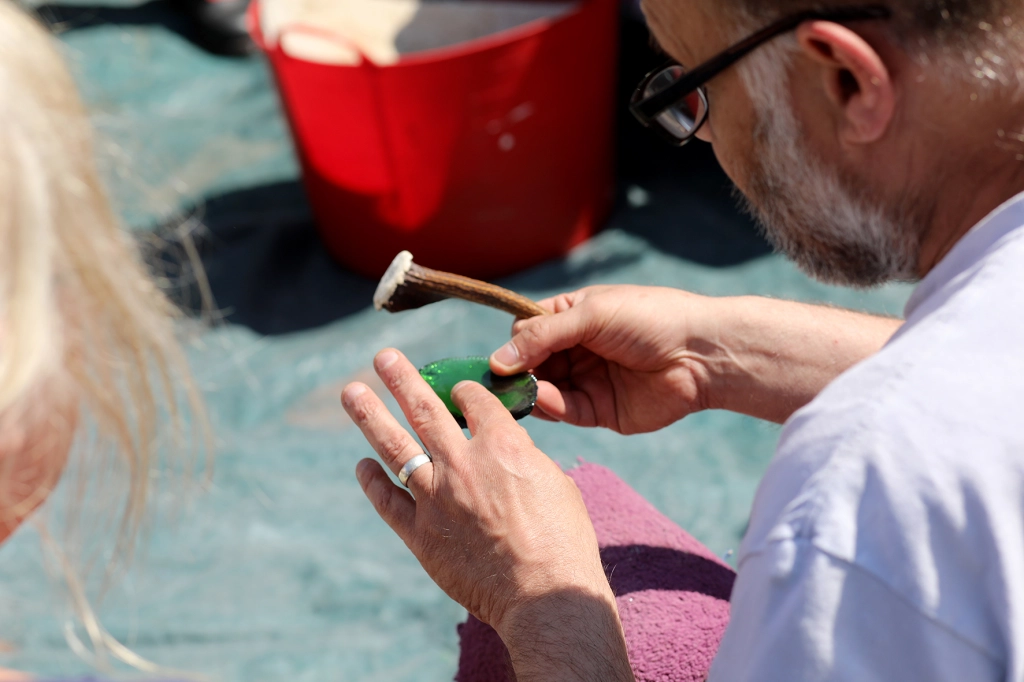
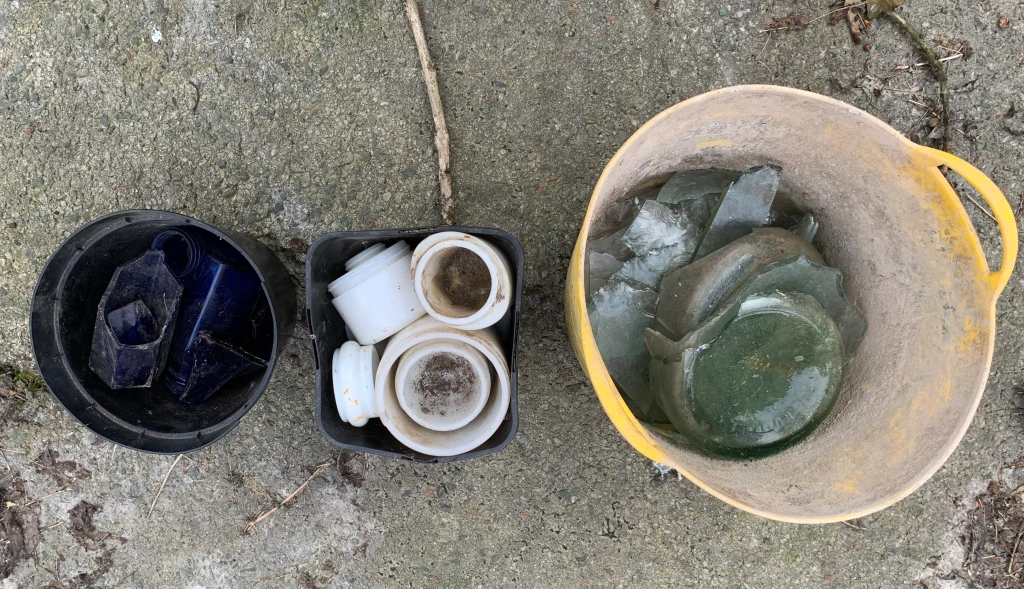
Since coming back from fieldwork I have slowly been sorting out stuff at home and in the labs. In doing so I came across this box given to me by Pete Yankowski at the Chorlton Arts Festival knapping session (see previous post).
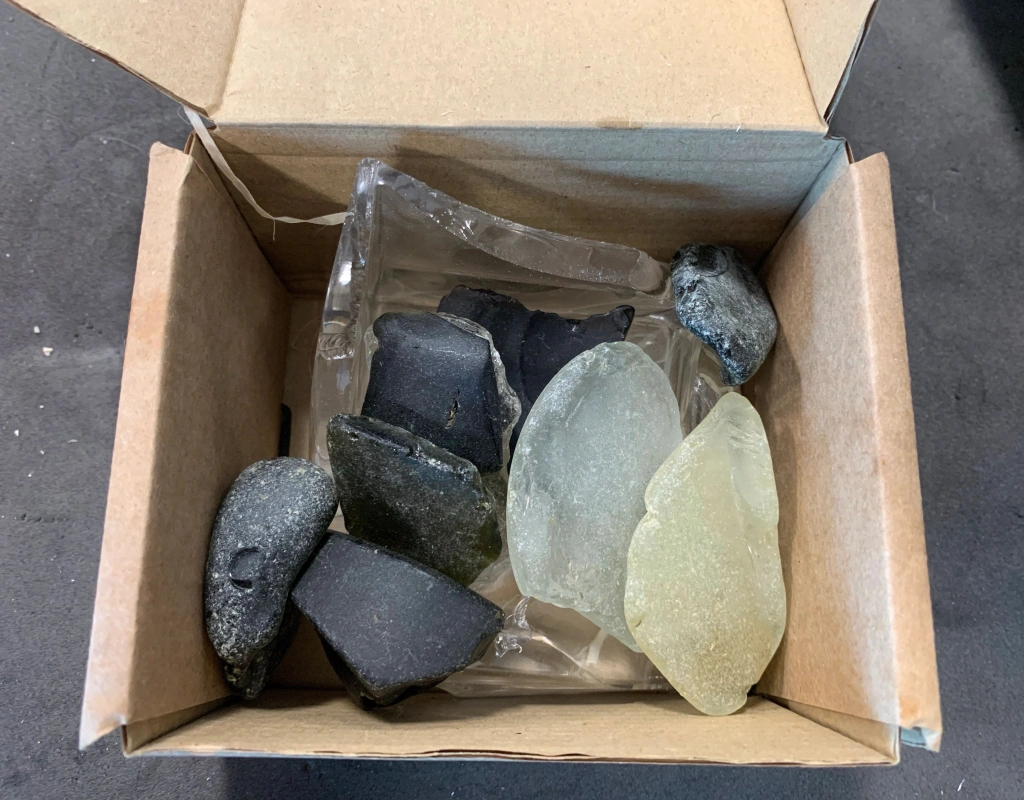
As you can see it is full of treasure, however the thing that caught my immediate attention was the modern broken vase base, languishing at the bottom of the pile.
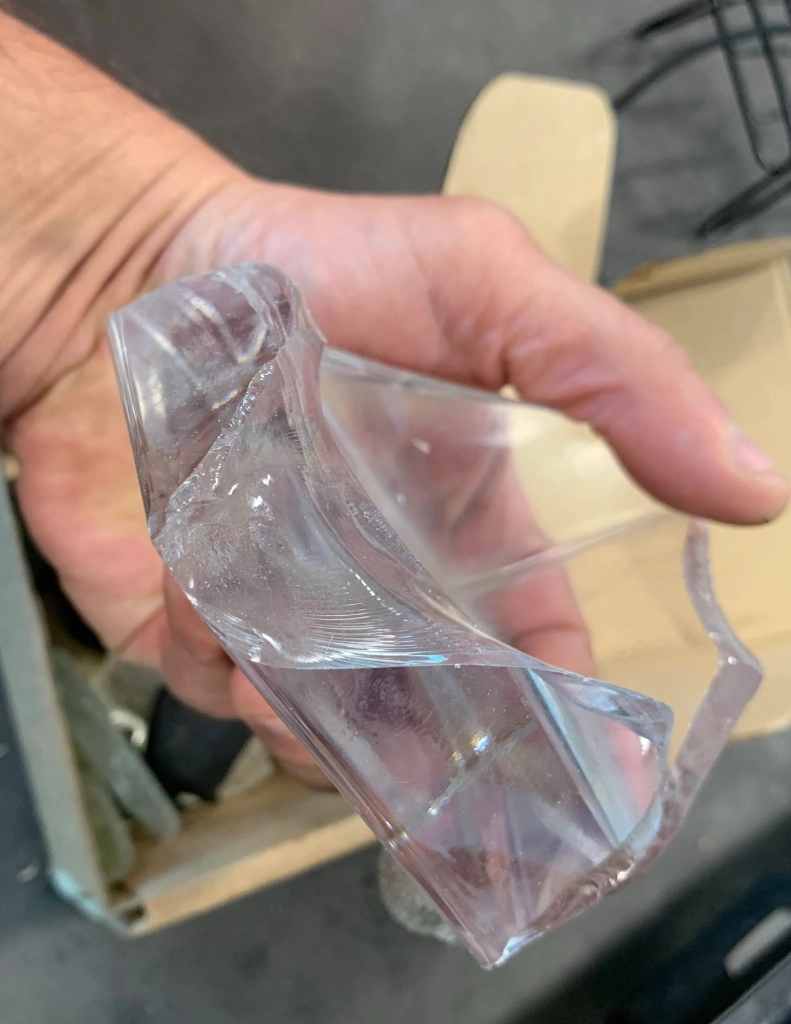
As you can see, it is both thick and has a way in, and so I spent a little time with this yesterday. A day earlier I had worked on another glass base, but hadn’t prepared the edges as well as necessary. Consequently I ended up with an artefact with a ‘step fracture island’ on one face, and some original surface left on the other. Most unsatisfactory! Consequently, I spent quite a lot of time on this one, turning the edges as well as possible.
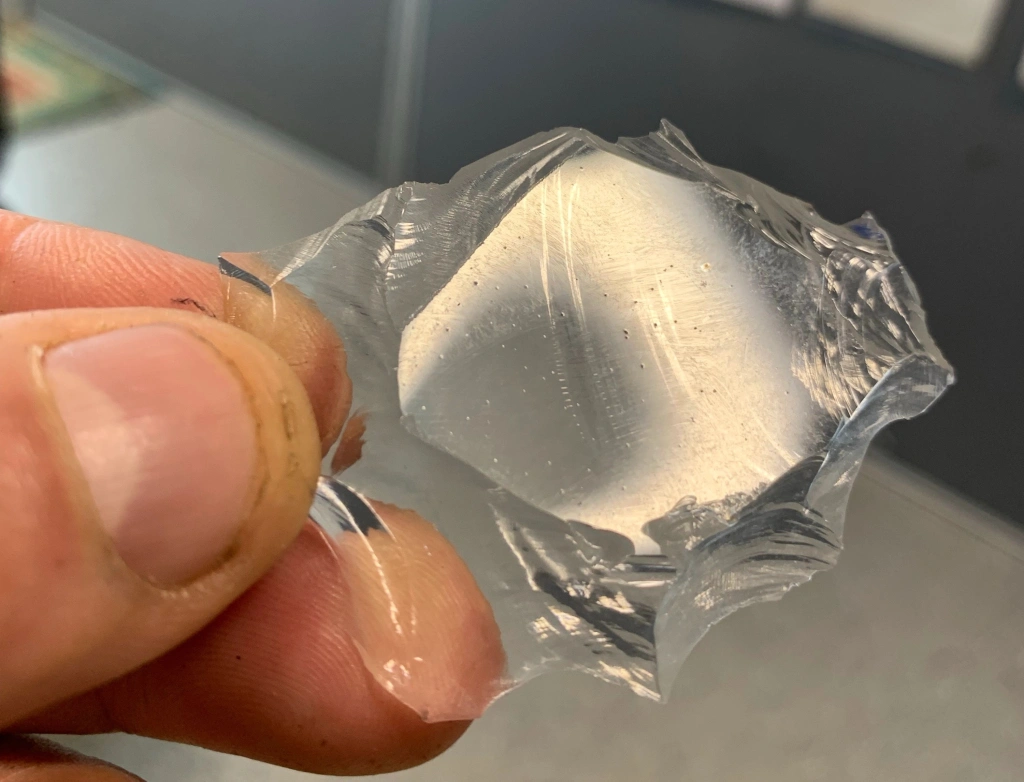
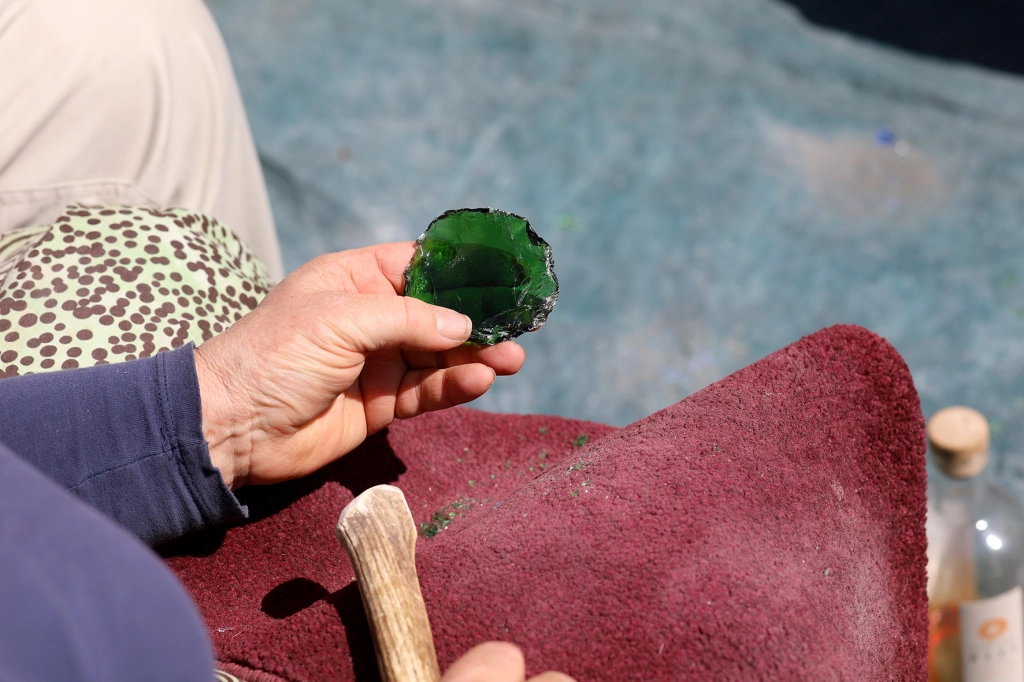
This particular flake has a story. The reflective bit is a section of original surface that was sitting at the centre of one face, and it needed to go. Because I had spent time creating well prepared edges and platforms I was able to remove it with one accurate and hard blow of the antler hammer. This meant both faces were fully bifacially worked. Most satisfactory!
Anyway, the result is a small and wonky cordate handaxe. There are a couple of small step fractures that I could get rid of, but that would mean losing width, so I am going to live with them. Or should I say, Pete is going to live with them, as the handaxe and flake are now winging their way to him, as a thank you for the original box of treasure.
Last week Nacho, Howard and Jex made some time to record the smashing and melting processes for the glass collected from the bottle tip. Above you can see a birds eye view of Nacho’s home made kiln that we were using for the experiment.
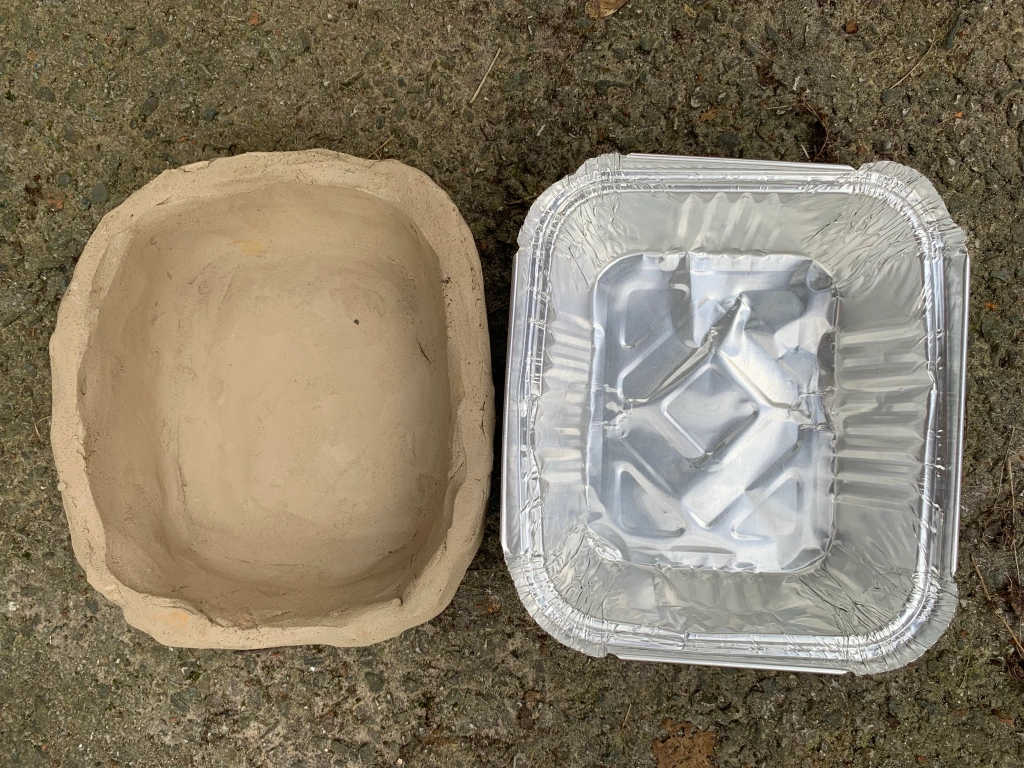
In total we had six clay moulds lined with aluminium takeaway containers. The take away containers function was to stop the melting glass adhering to the clay mould. In relation to the kiln we had an upper and lower section, and were interested to know if location within the kiln was going to be a factor. As you can see, we also had glass of different colours and Nacho thought the milk glass, based upon its density, would be the most difficult to melt.
The above photograph shows the kiln just as it reached 1000 degrees. I was told in Spain that glass melts at around 850 degrees, and so in theory 1000 degrees would be more than enough. However, it was possible to see into the kiln, and although the glass had adopted a sheen, it clearly had not yet liquified. So we carried on upping the temperature.
Above is the sample Nacho had made so that we could pull it out and see how things were progressing. When he pulled this out the glass was red hot, however, as it cooled it became apparent that the clear glass fragments had liquified whilst those of milk glass were still recognisable as fragments. The differing colours were indeed behaving differently.
I had to be in university by 5pm and so at 4pm Nacho switched off the heat source and allowed the kiln to start the cooling process naturally. We could see that some of the glass had indeed melted, whilst other glass hadn’t. The mix above of clear and milk glass had the texture of a rice cake, rather than the smooth and solid block we were looking for. On the plus side, it did release from the clay mould easily, in spite of the fact that the aluminium tray had melted.
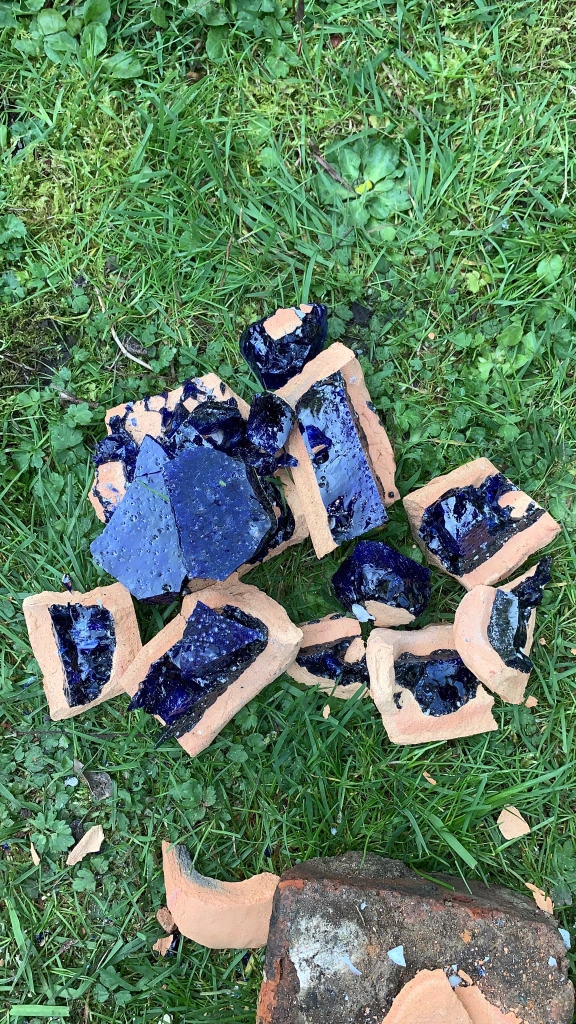
This blue example was perhaps exactly the opposite. It seemed to have melted well, although upon close inspection a crack could be see running diagonally across the block.
Because this looked like a promising candidate we tried to release it from the clay mould, but this one had attached itself to the clay, and you can see the results of our attempts.
This blackcurrant glass also looked promising, but the thing to note here is the bubbles. This must have cooled very (too) rapidly to capture the bubbles like this. Perhaps, if we don’t want bubbles then the heat should be turned down rather than turned off in order to make the cooling process more gradual.
This second blue one looked similar to the blackcurrant glass on the surface, however, when I tried to release it from the mould the internal structure was revealed, and that also contained bubbles. None of the six slabs were suitable for Knapping, so what did we do wrong?
I think we should have kept increasing the temperature to above the maximum of 1018 degrees that we got to on the day, in order to identify when the most difficult milk glass will melt. A second thing is to slow the cooling process so that bubbles have the chance to settle before the glass starts to solidify. We also need to consider alternative mould methods, as the aluminium takeaways, whilst not the main issue, didn’t help by melting.
We didn’t get what we wanted, but we did get plenty to think about!
I have said before I don’t like destroying things to make my stone tools. Well, I am not really sticking to my principles.
The ovate below is not my best as I had issues with step fracturing, and the shape is ‘quirky’. Plus still some original on one surface. However, I enjoyed the two hours in the lab, and stayed fully engaged throughout.
With glass blocks like this I need to improve the early stage turning of the edges, as that is what later leads to the step fractures. Still, not complaining as I am at a stage I am very happy with. I could improve this but lose size, so I think for now it is fine as it is.
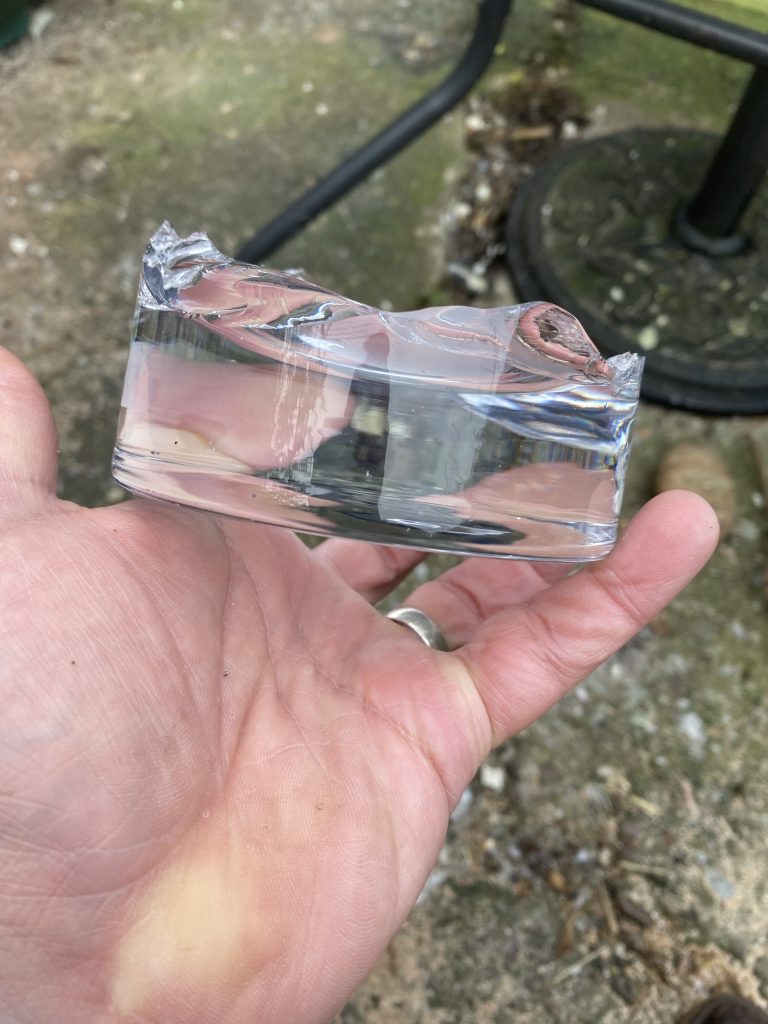
I have been collecting glass from the bottle tip for our melting experiment, and along the way found some nice thick pieces.
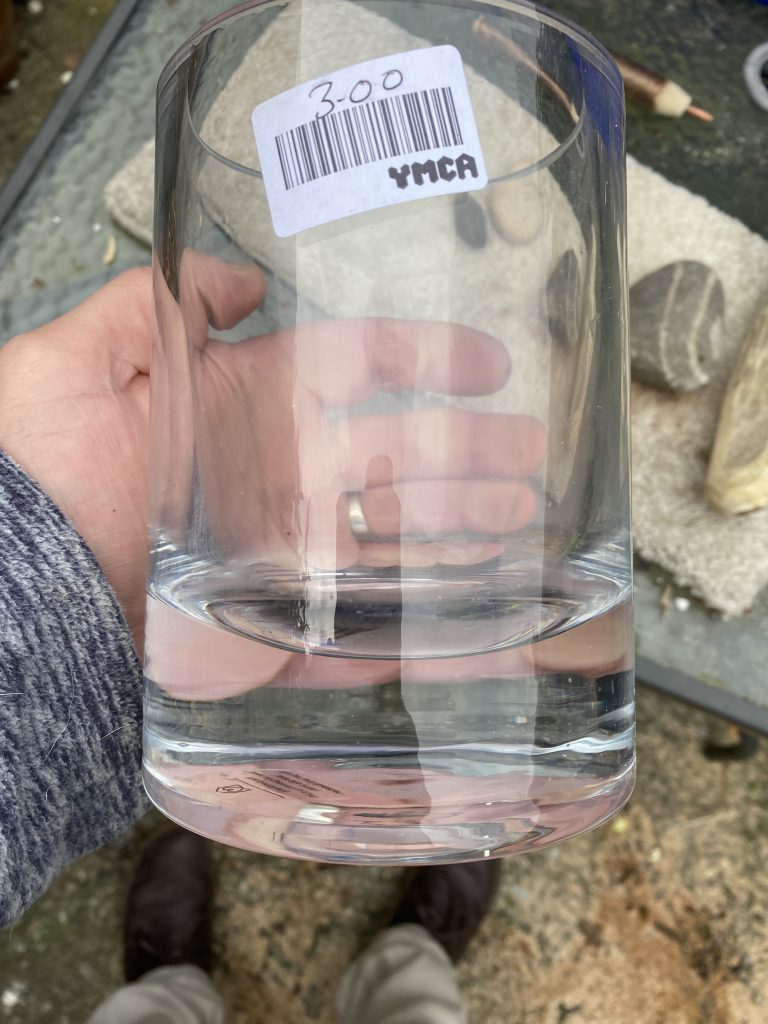
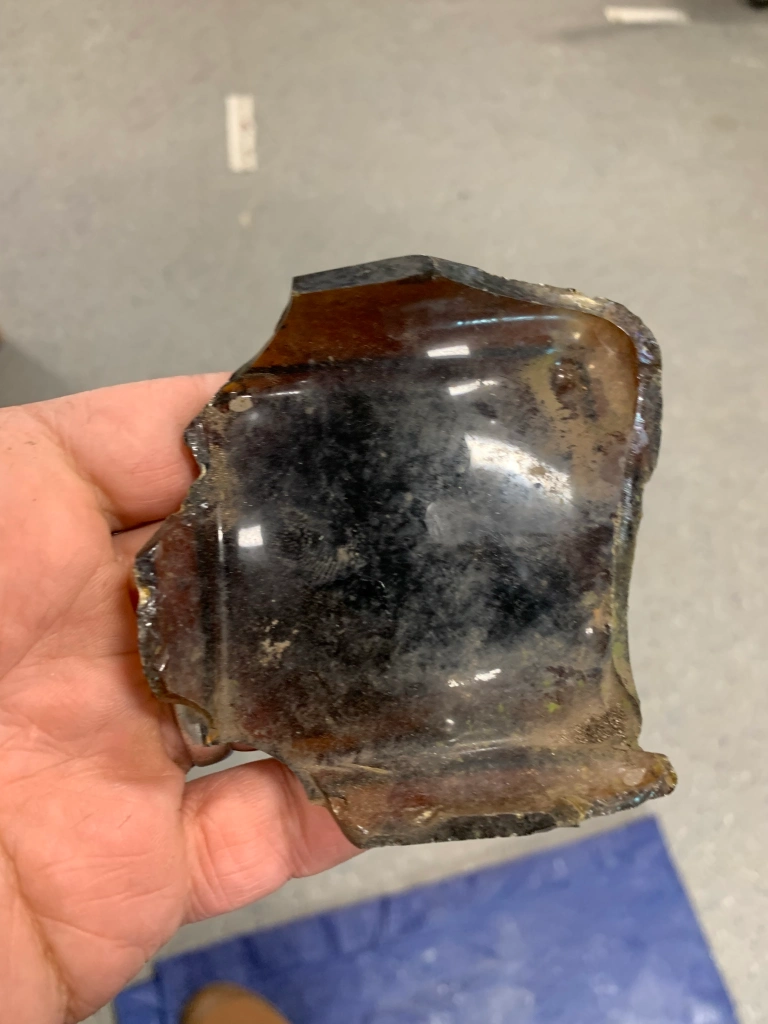
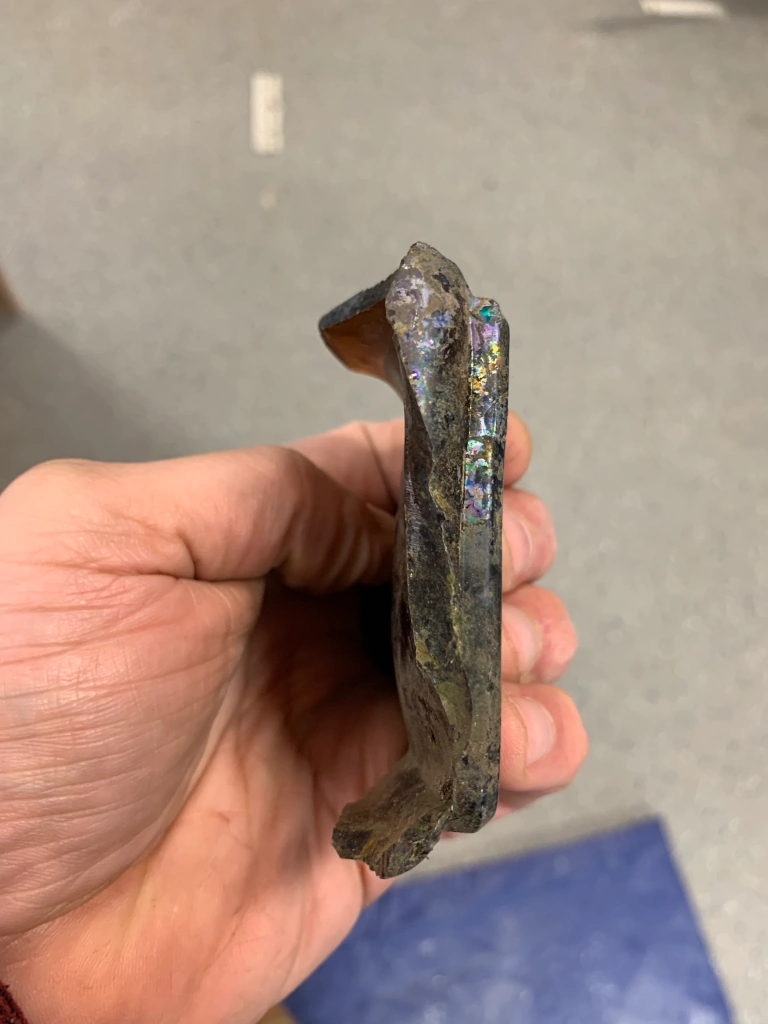
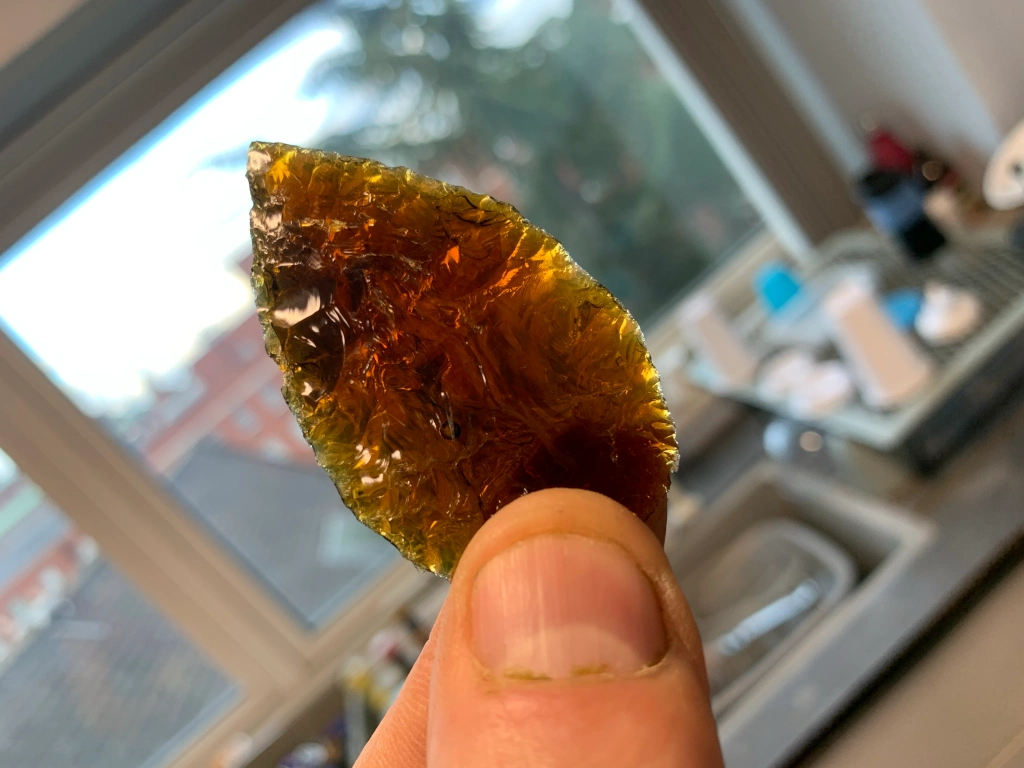
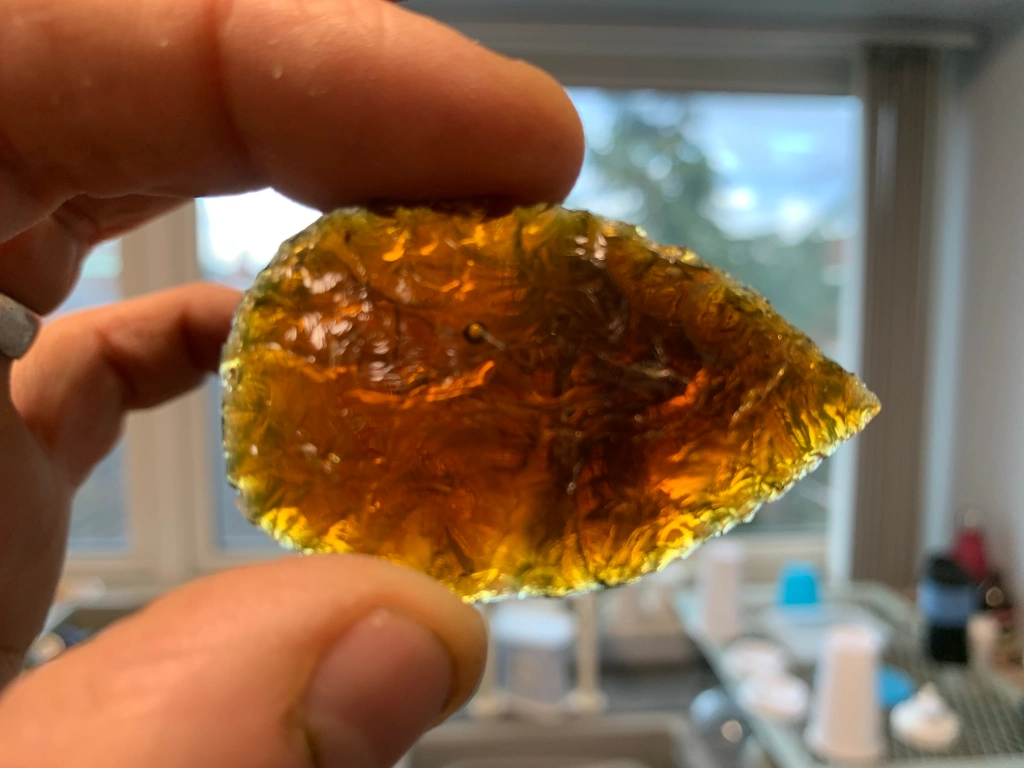
I was in the lab Saturday working on flint, and so today (Monday) I had an hour or so working on this brown glass base.
It took a while to get into it, and once in I had to sacrifice size in order to get rid of some horrible step fractures.
I used stone, antler and finally a copper pressure flaker to finish it off. It flaked really well and I am happy with it. I also have a nice green piece so let’s see if I can find the time tomorrow as well.
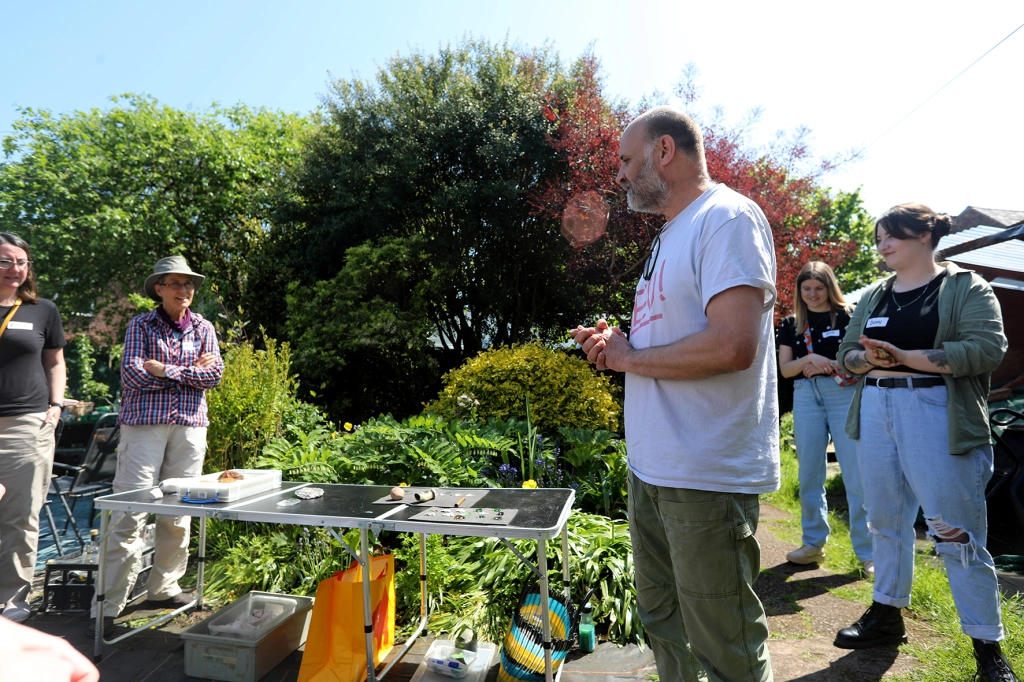
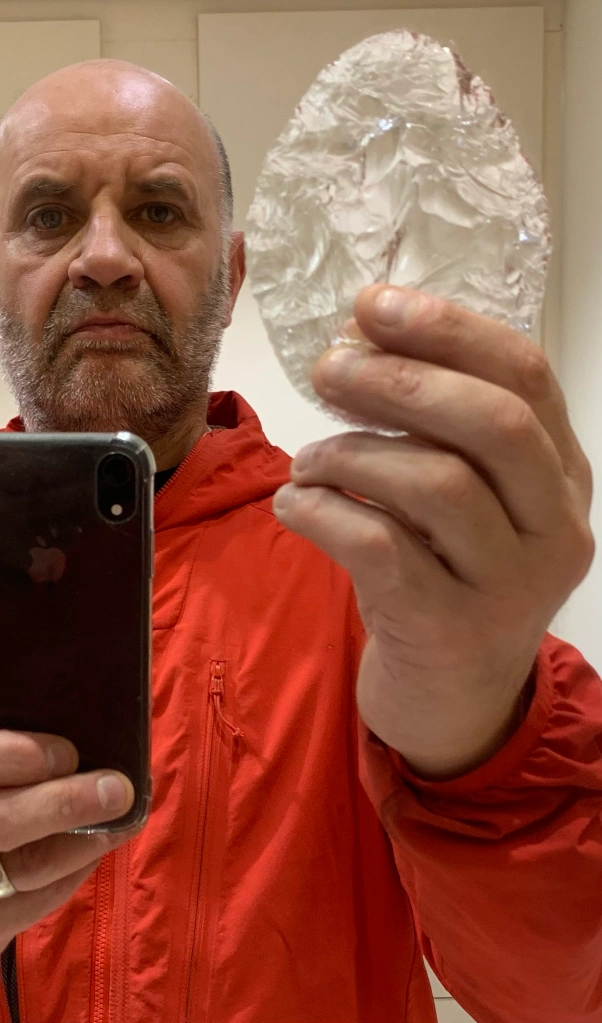
Yesterday we did some filming. Howard (film maker) and Jex (sound person) at the bottle tip. I had brought some props with me to explain the overall idea. Enter, my current favourite large handaxe (above) to illustrate where I want to go with things.
Next up was my best glass handaxe made from the base of a vase. This was to illustrate the limitation of size of materials, with this being exceptional, but still not very big.
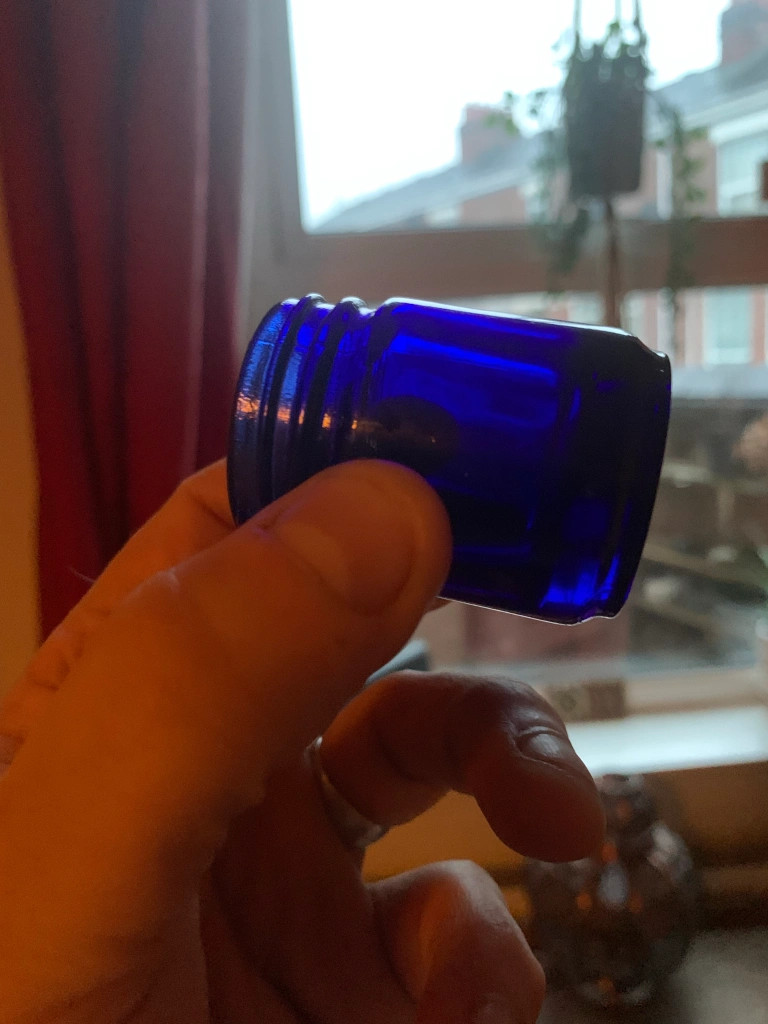
Third up was this (presumably) 1950s Vicks bottle of amazing blue glass. This was to illustrate the rare blue material I wanted to collect in order to then work with Nacho to produce a blue glass block.
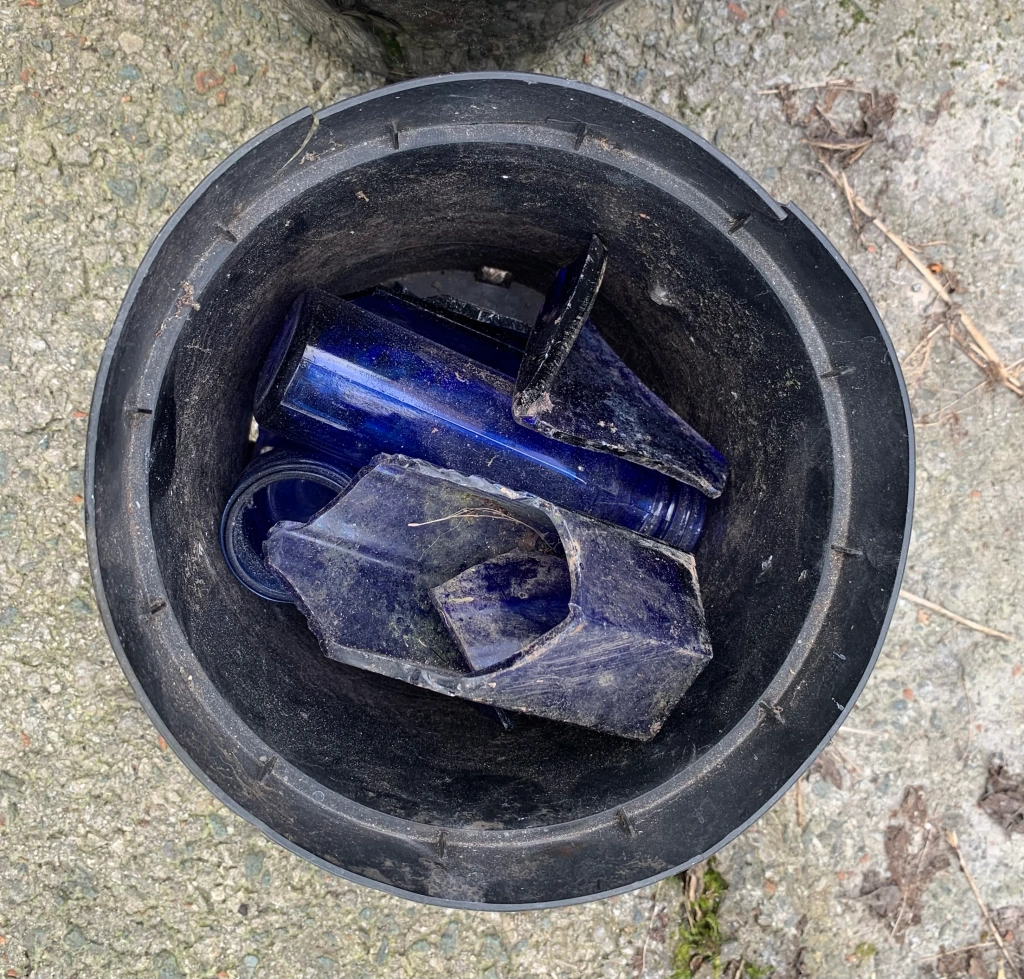
Anyway, after the above introduction and some bottle tip footage Howard wanted some live action blue glass finding moments. This was going to be difficult as over many visits I had picked the area clean, or so I thought. I found quite a lot, mainly a pale or lighter blue, but nevertheless illustrating the material gathering process authentically, which is what we both wanted. Let’s see what Howard makes of phase one.
I have a new project in mind inspired by a number of factors. The first one is the fragments of blue glass that I find at the bottle tip. Blue glass is pretty rare I have realised.
The second was seeing the melted glass bottle in Spain last year and realising I could produce a glass block, with the help of Nacho and his kiln. Talking to a friend Howard, he thought it would make an interesting three part film: gathering materials; making the glass block; knapping the handaxe.
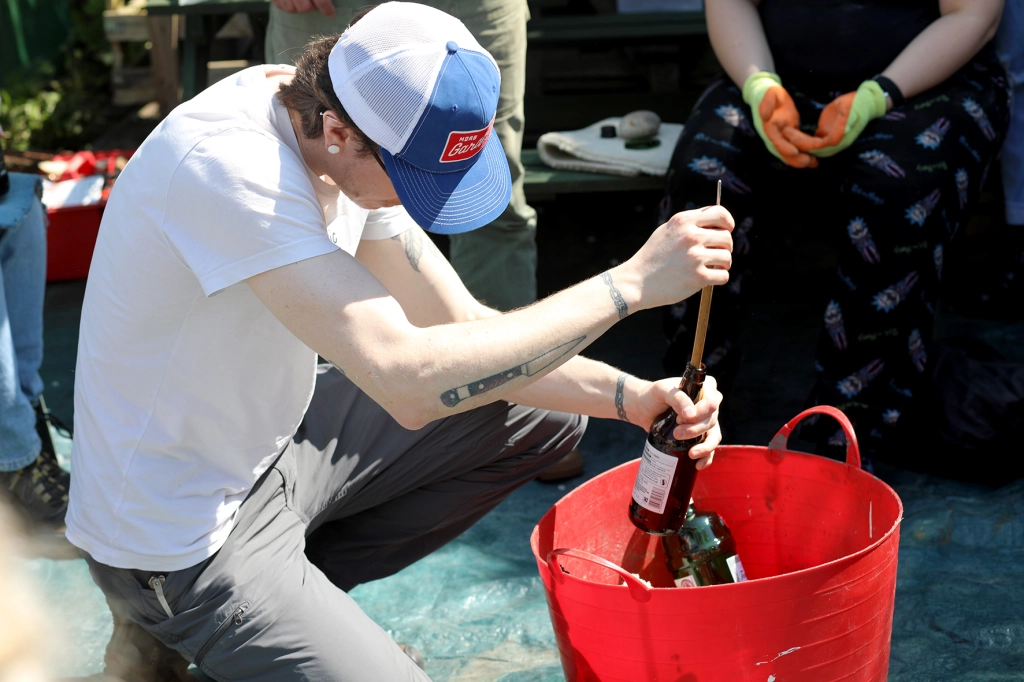
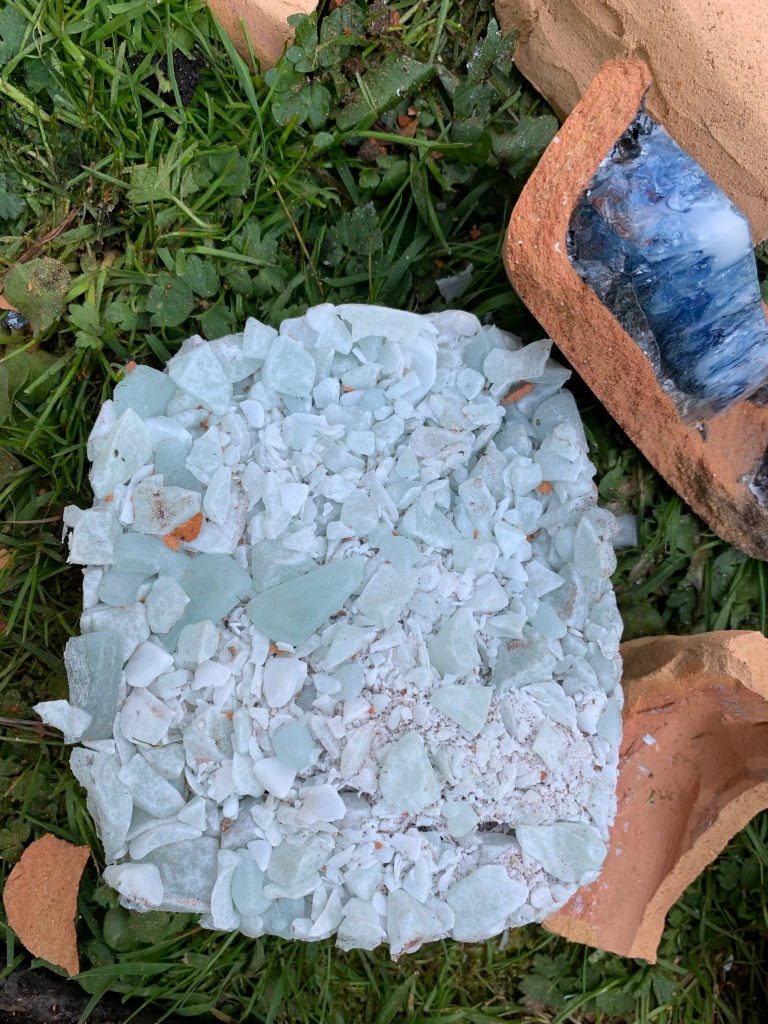
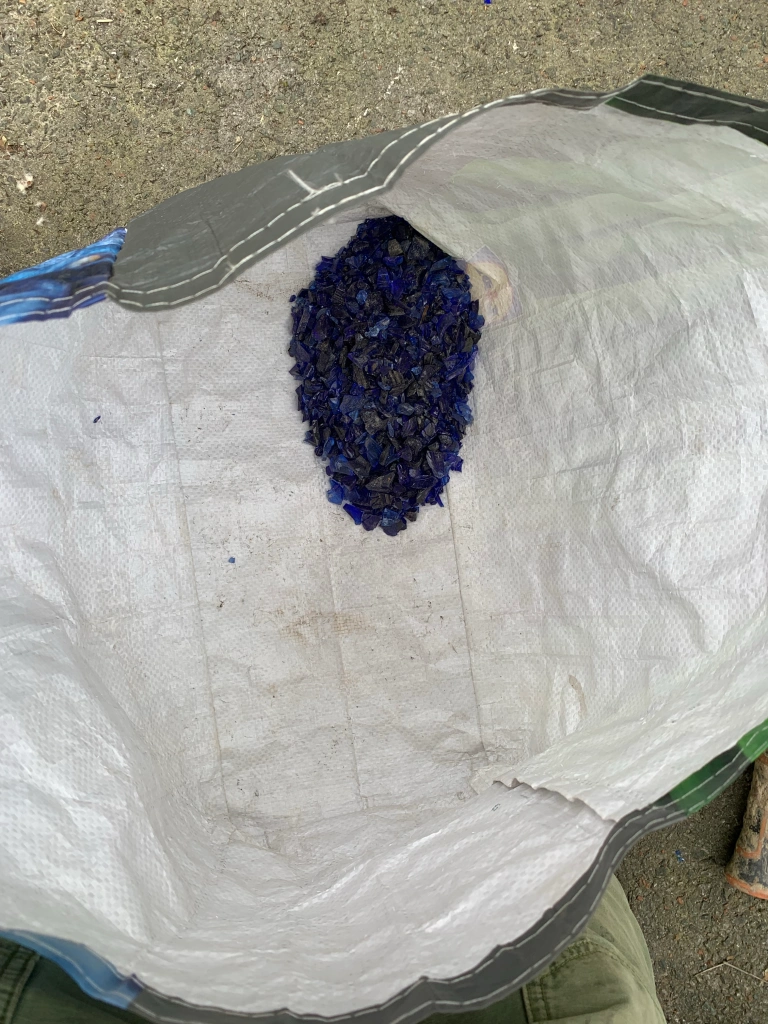
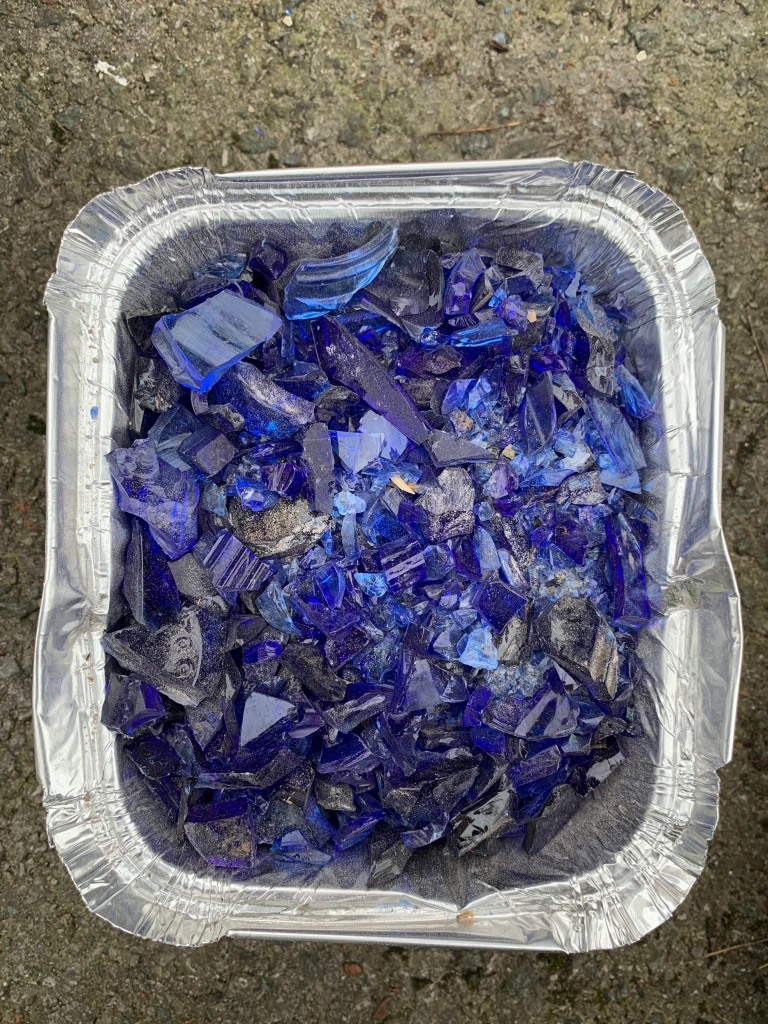
That is how I ended up at Nacho’s this afternoon smashing the glass fragments I had previously collected and sorted, and making them into easily meltable pieces. Nacho, for his part has produced some clay moulds to get the shape, but as clay is porous the glass would bind to the clay. The aluminium food trays are to line the clay mould and stop the glass sticking.
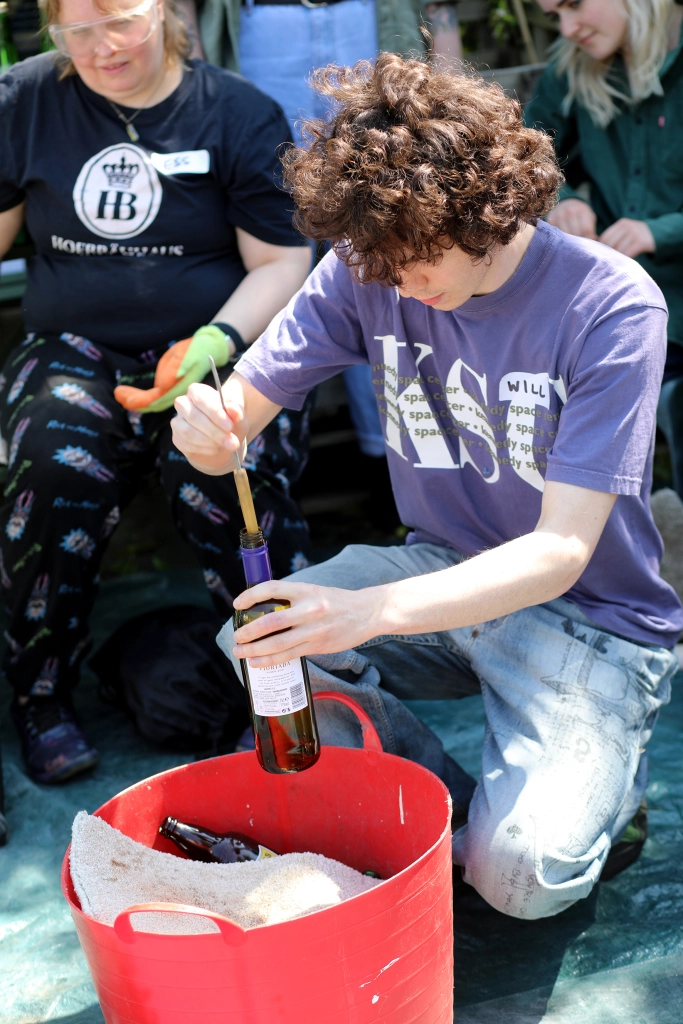
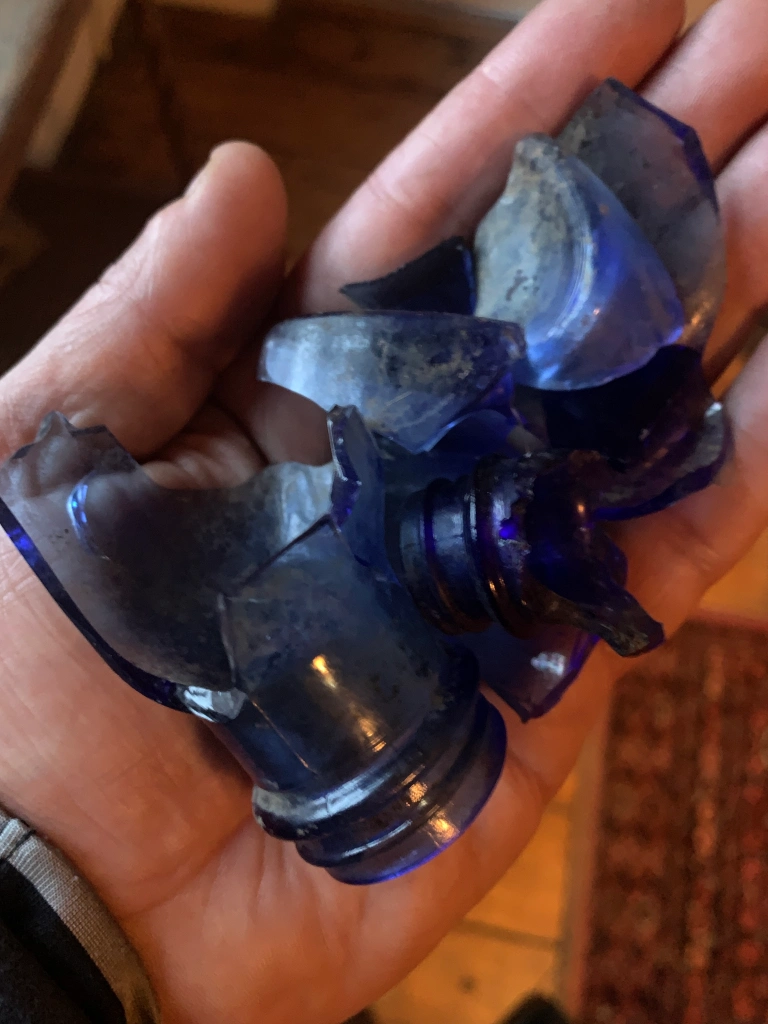
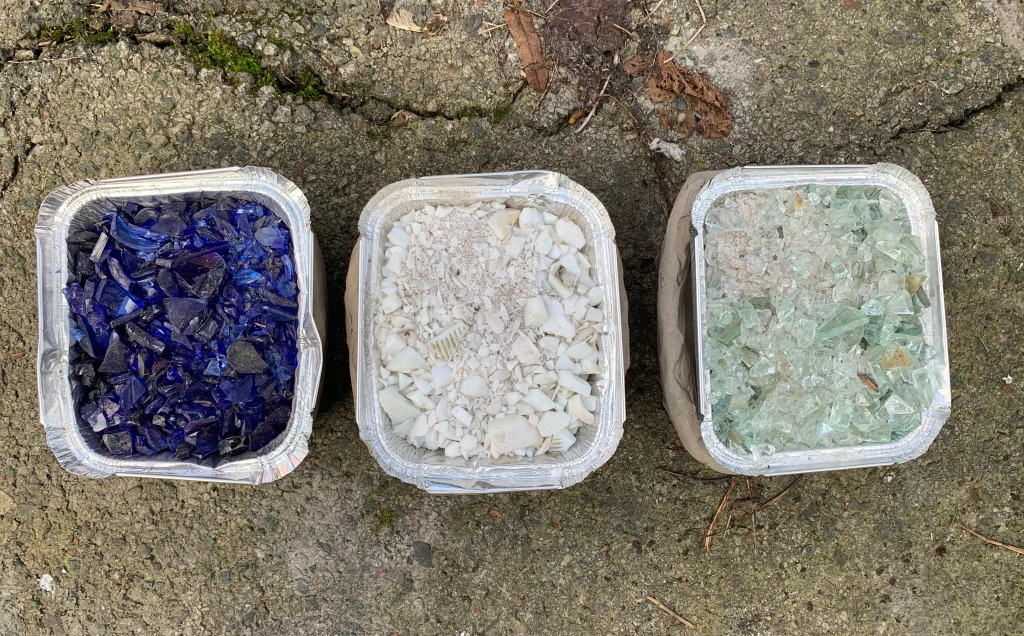
This is obviously all theoretical at this stage, anyway, after putting the glass into a carrier bag and hitting it repeatedly with a lump hammer we managed to get one blue glass container filled.
After that we did a milk glass, and then clear glass container. And after that we went back to the bottle tip to get some materials for brown and green handaxes as well. There is a lot that can go wrong with this project, so let’s see how it goes!