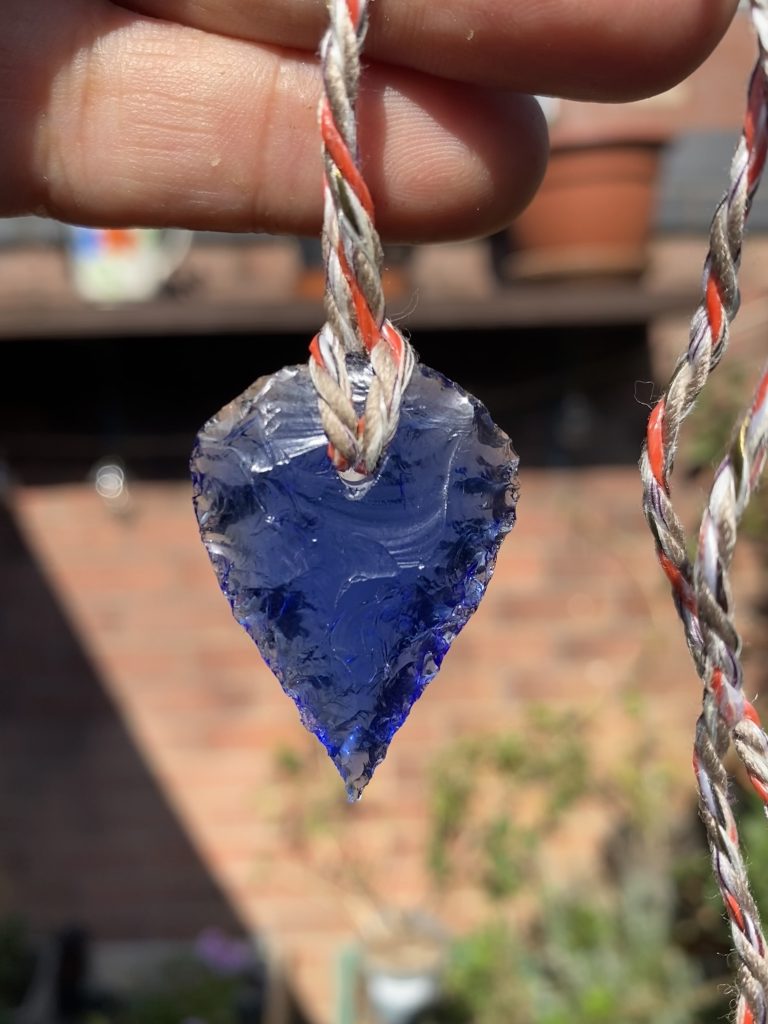
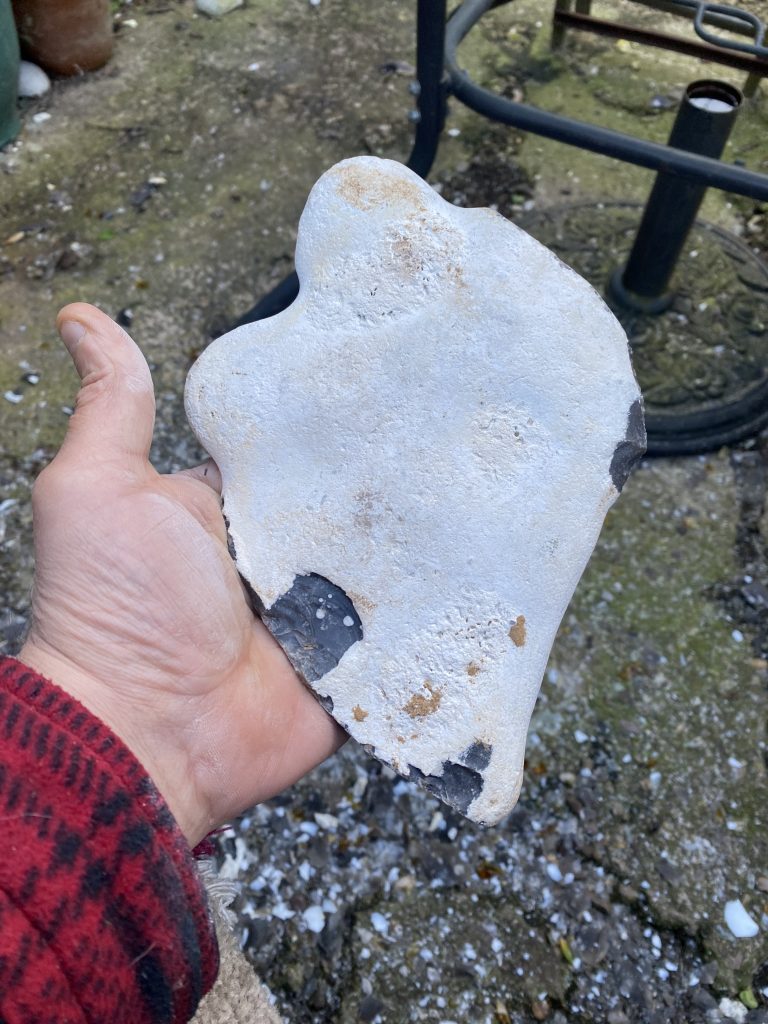
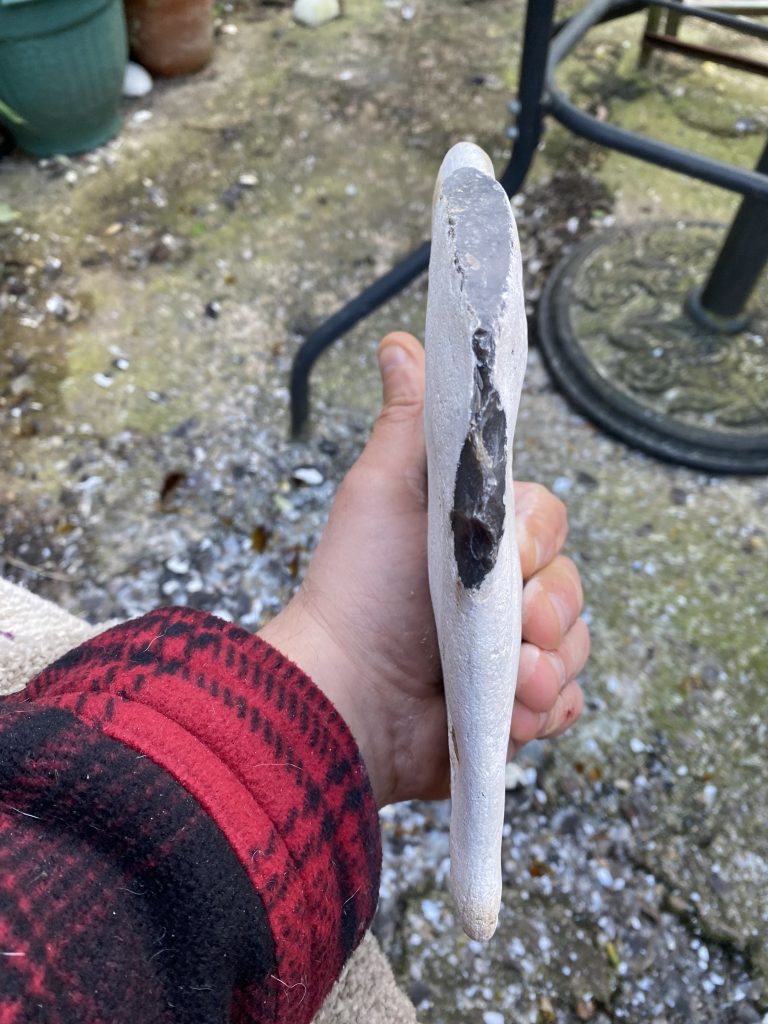
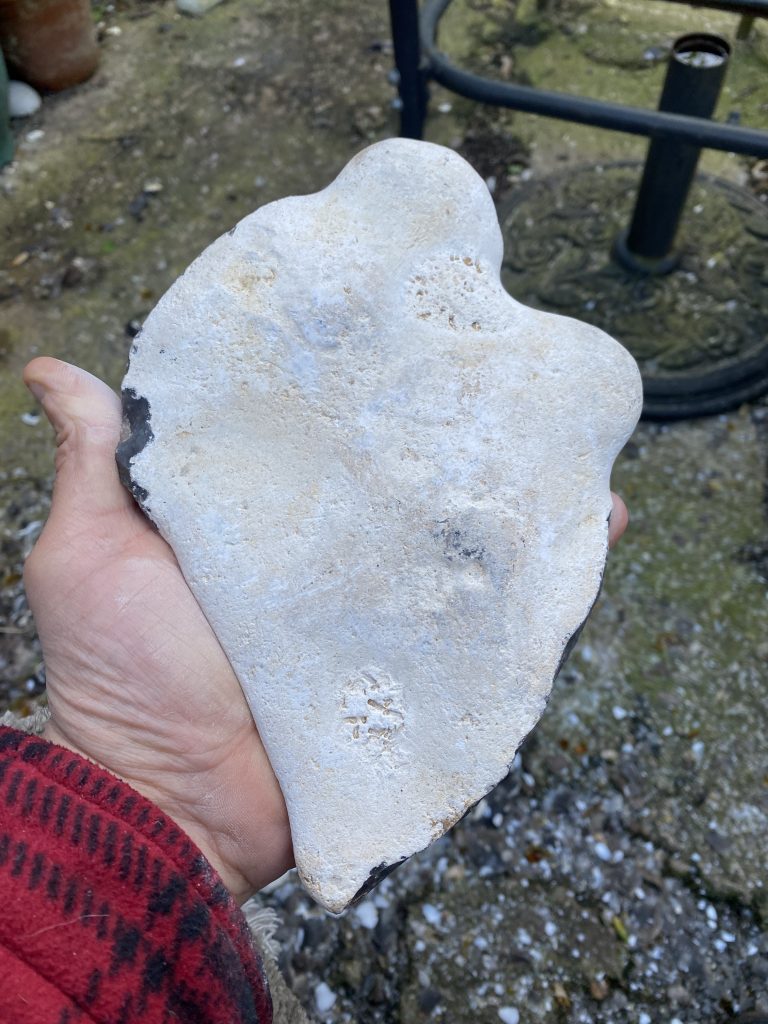
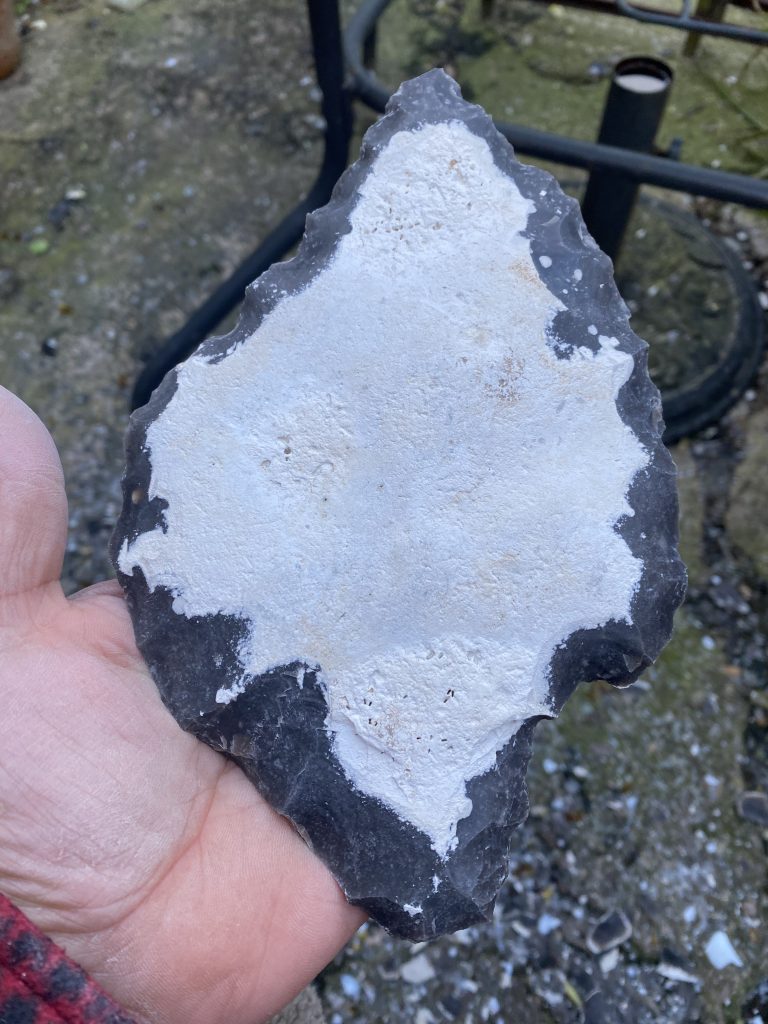
Following guidance from my friend Laura Thompson I bought a Dremel hand held drill with a diamond bit for drilling glass.
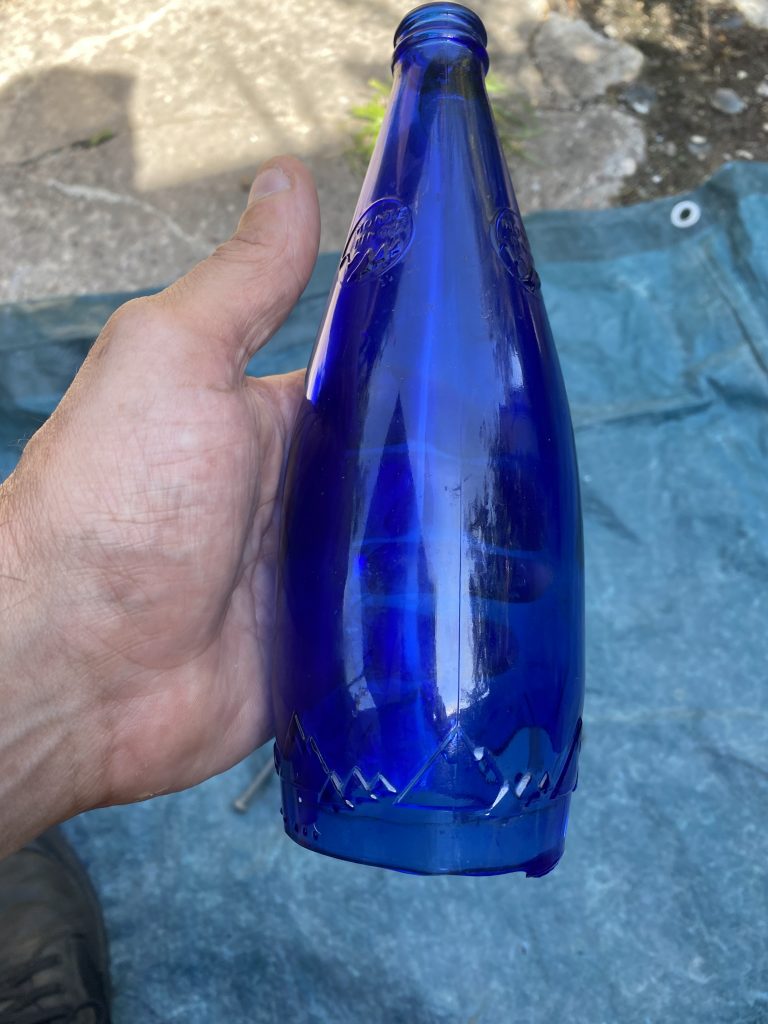
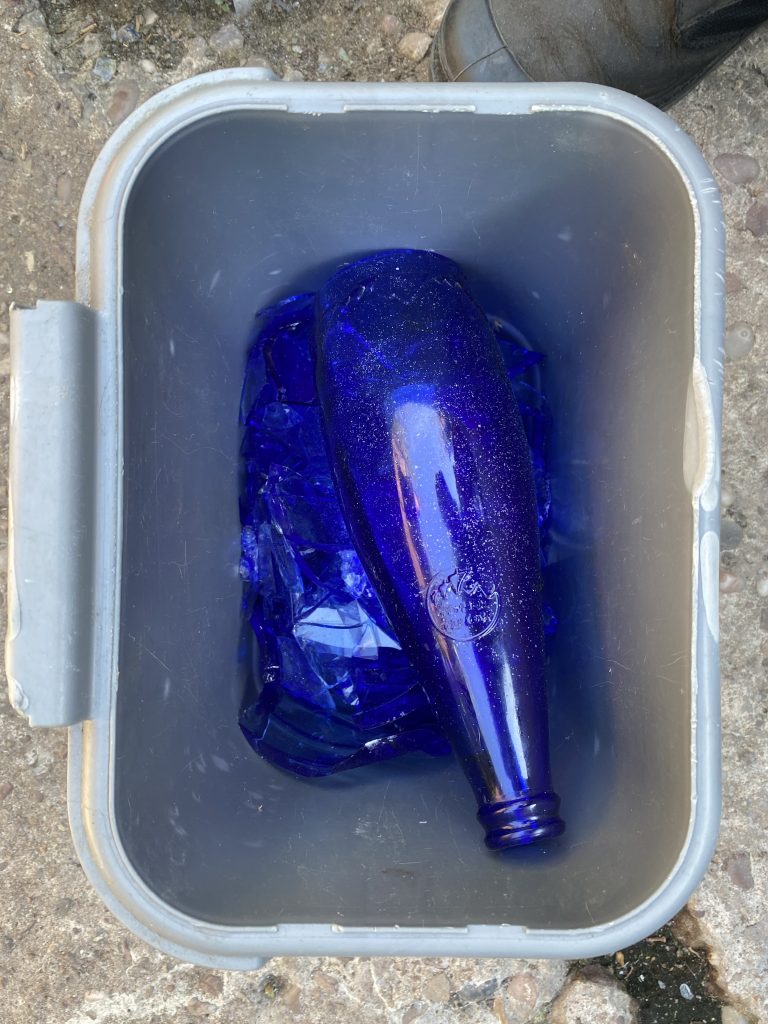
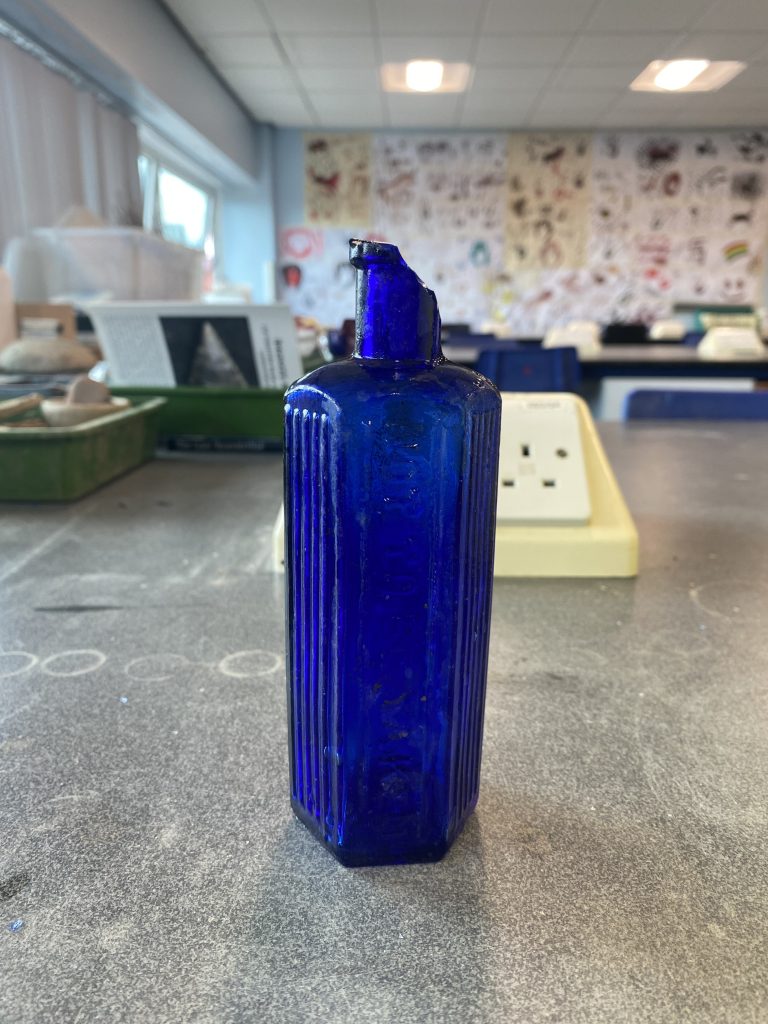
And this blue bottle has been sat in my wood store / shed for a good few months. It is also my friend Teresa’s birthday coming up. A series of happy coincidences.
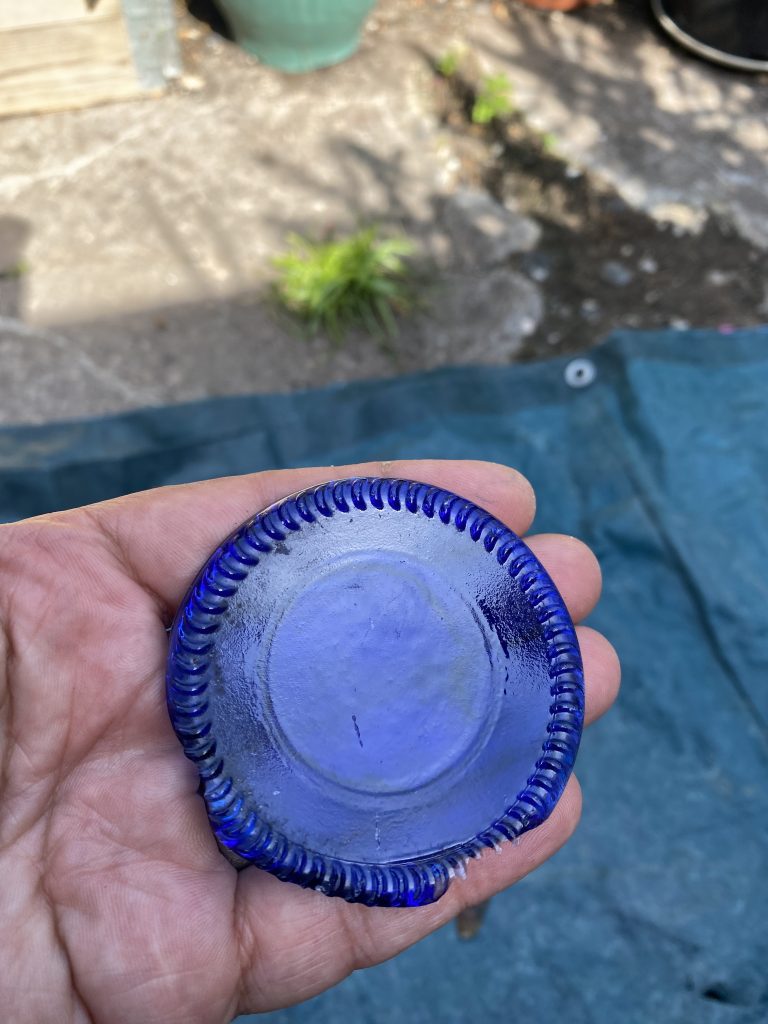
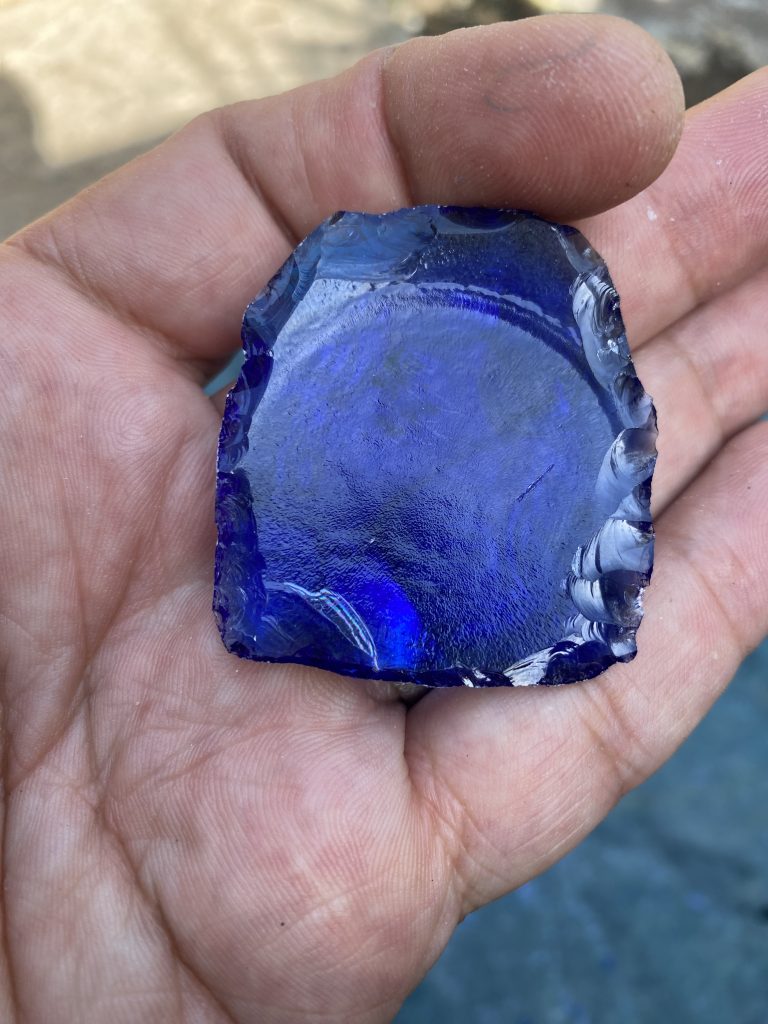
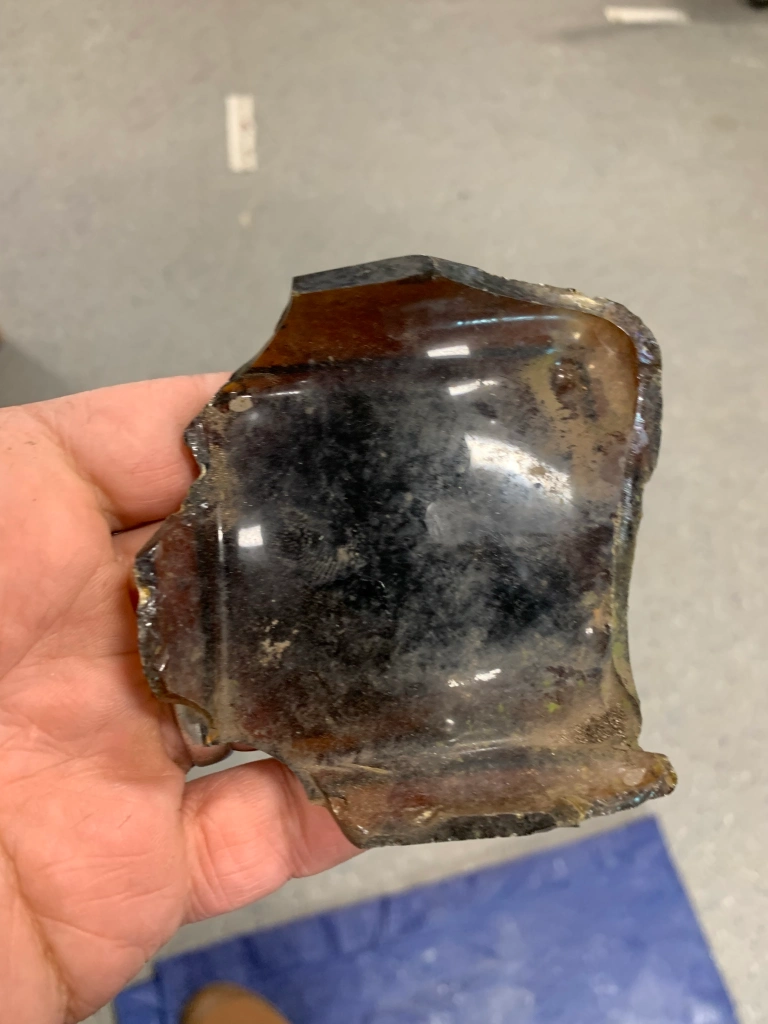
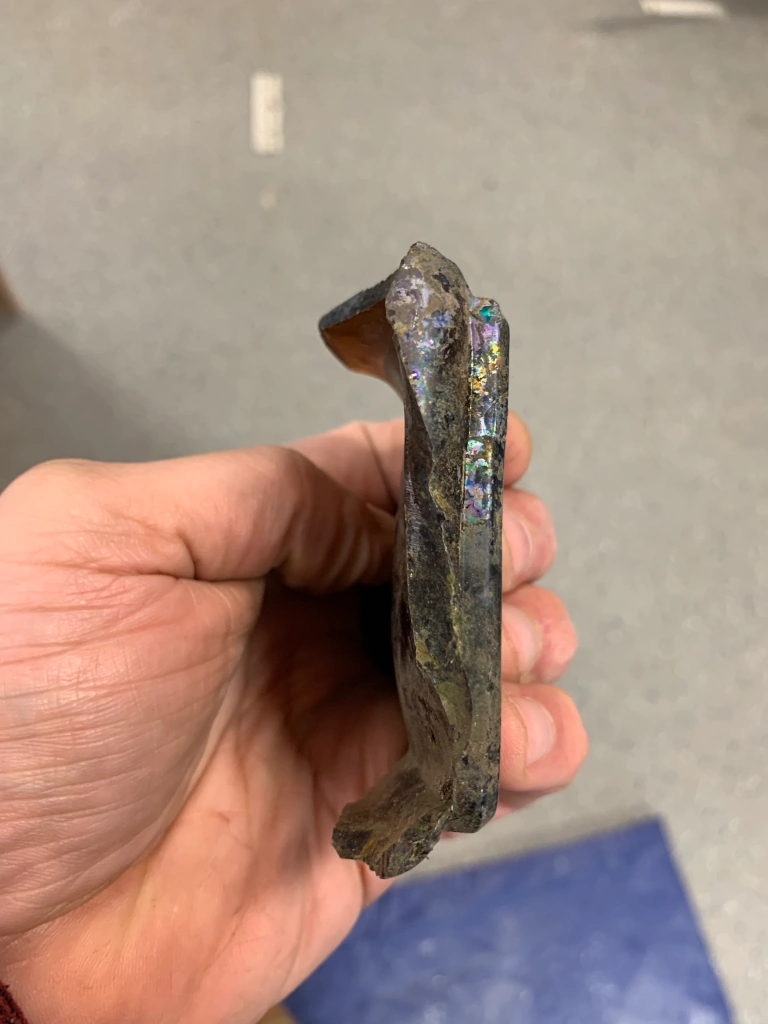
The base came out using a nail and was very convex and concave. Following on from my previous post, I focussed upon the more difficult concave surface.
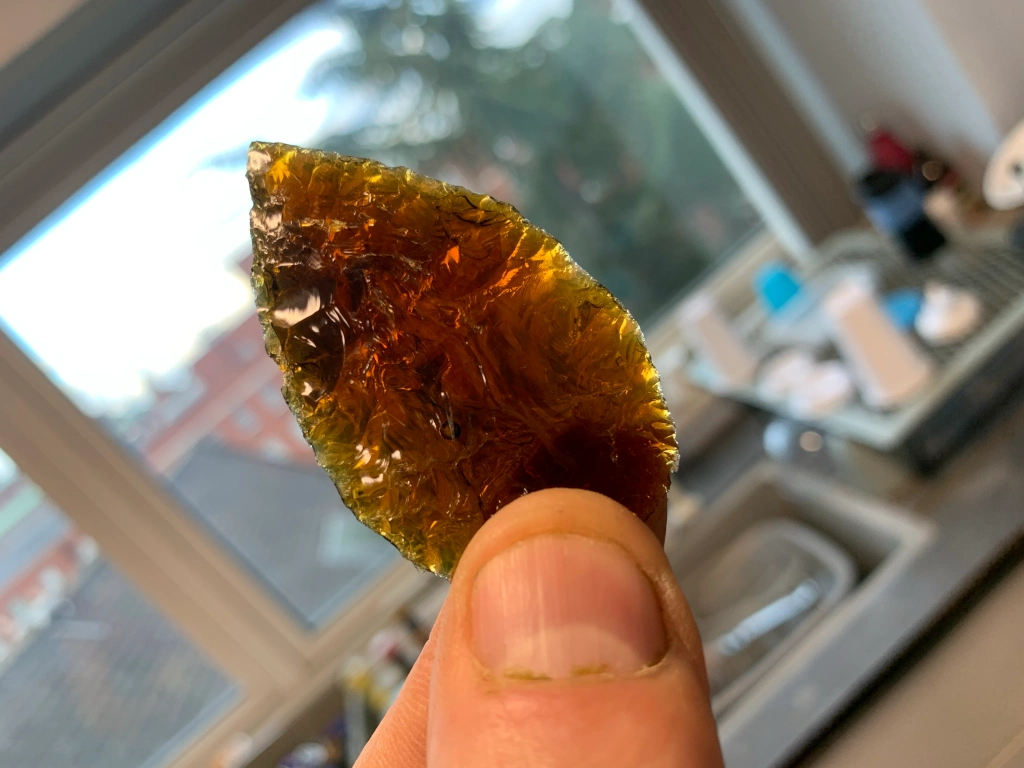
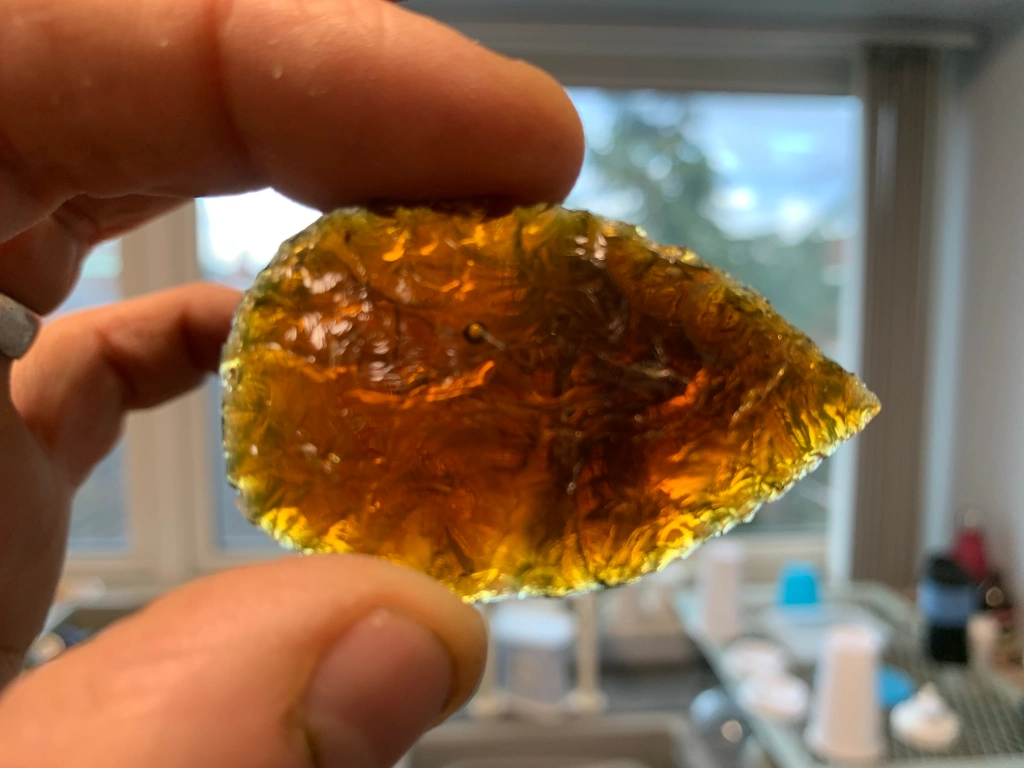
there was still a little original surface left at the end but I am happy enough with the results below.
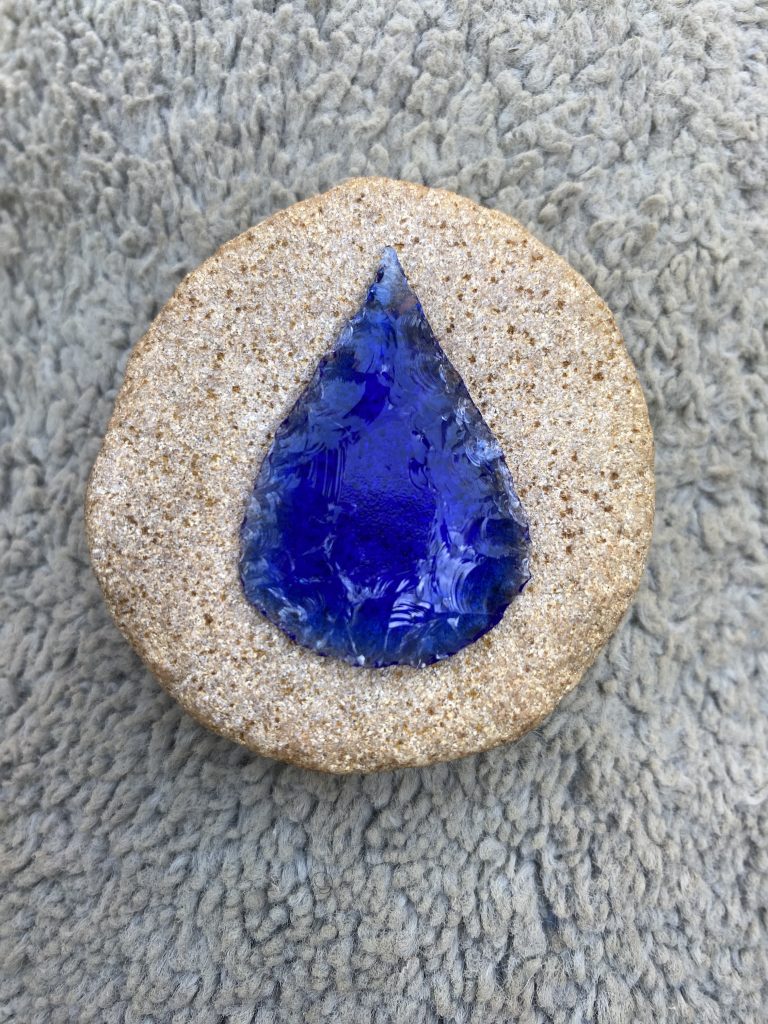
However, this story doesn’t end there. I submerged the arrowhead in a shallow tray of water, drilled the hole.
I then suspended the arrow head using some recycled cordage I found somewhere at some point.
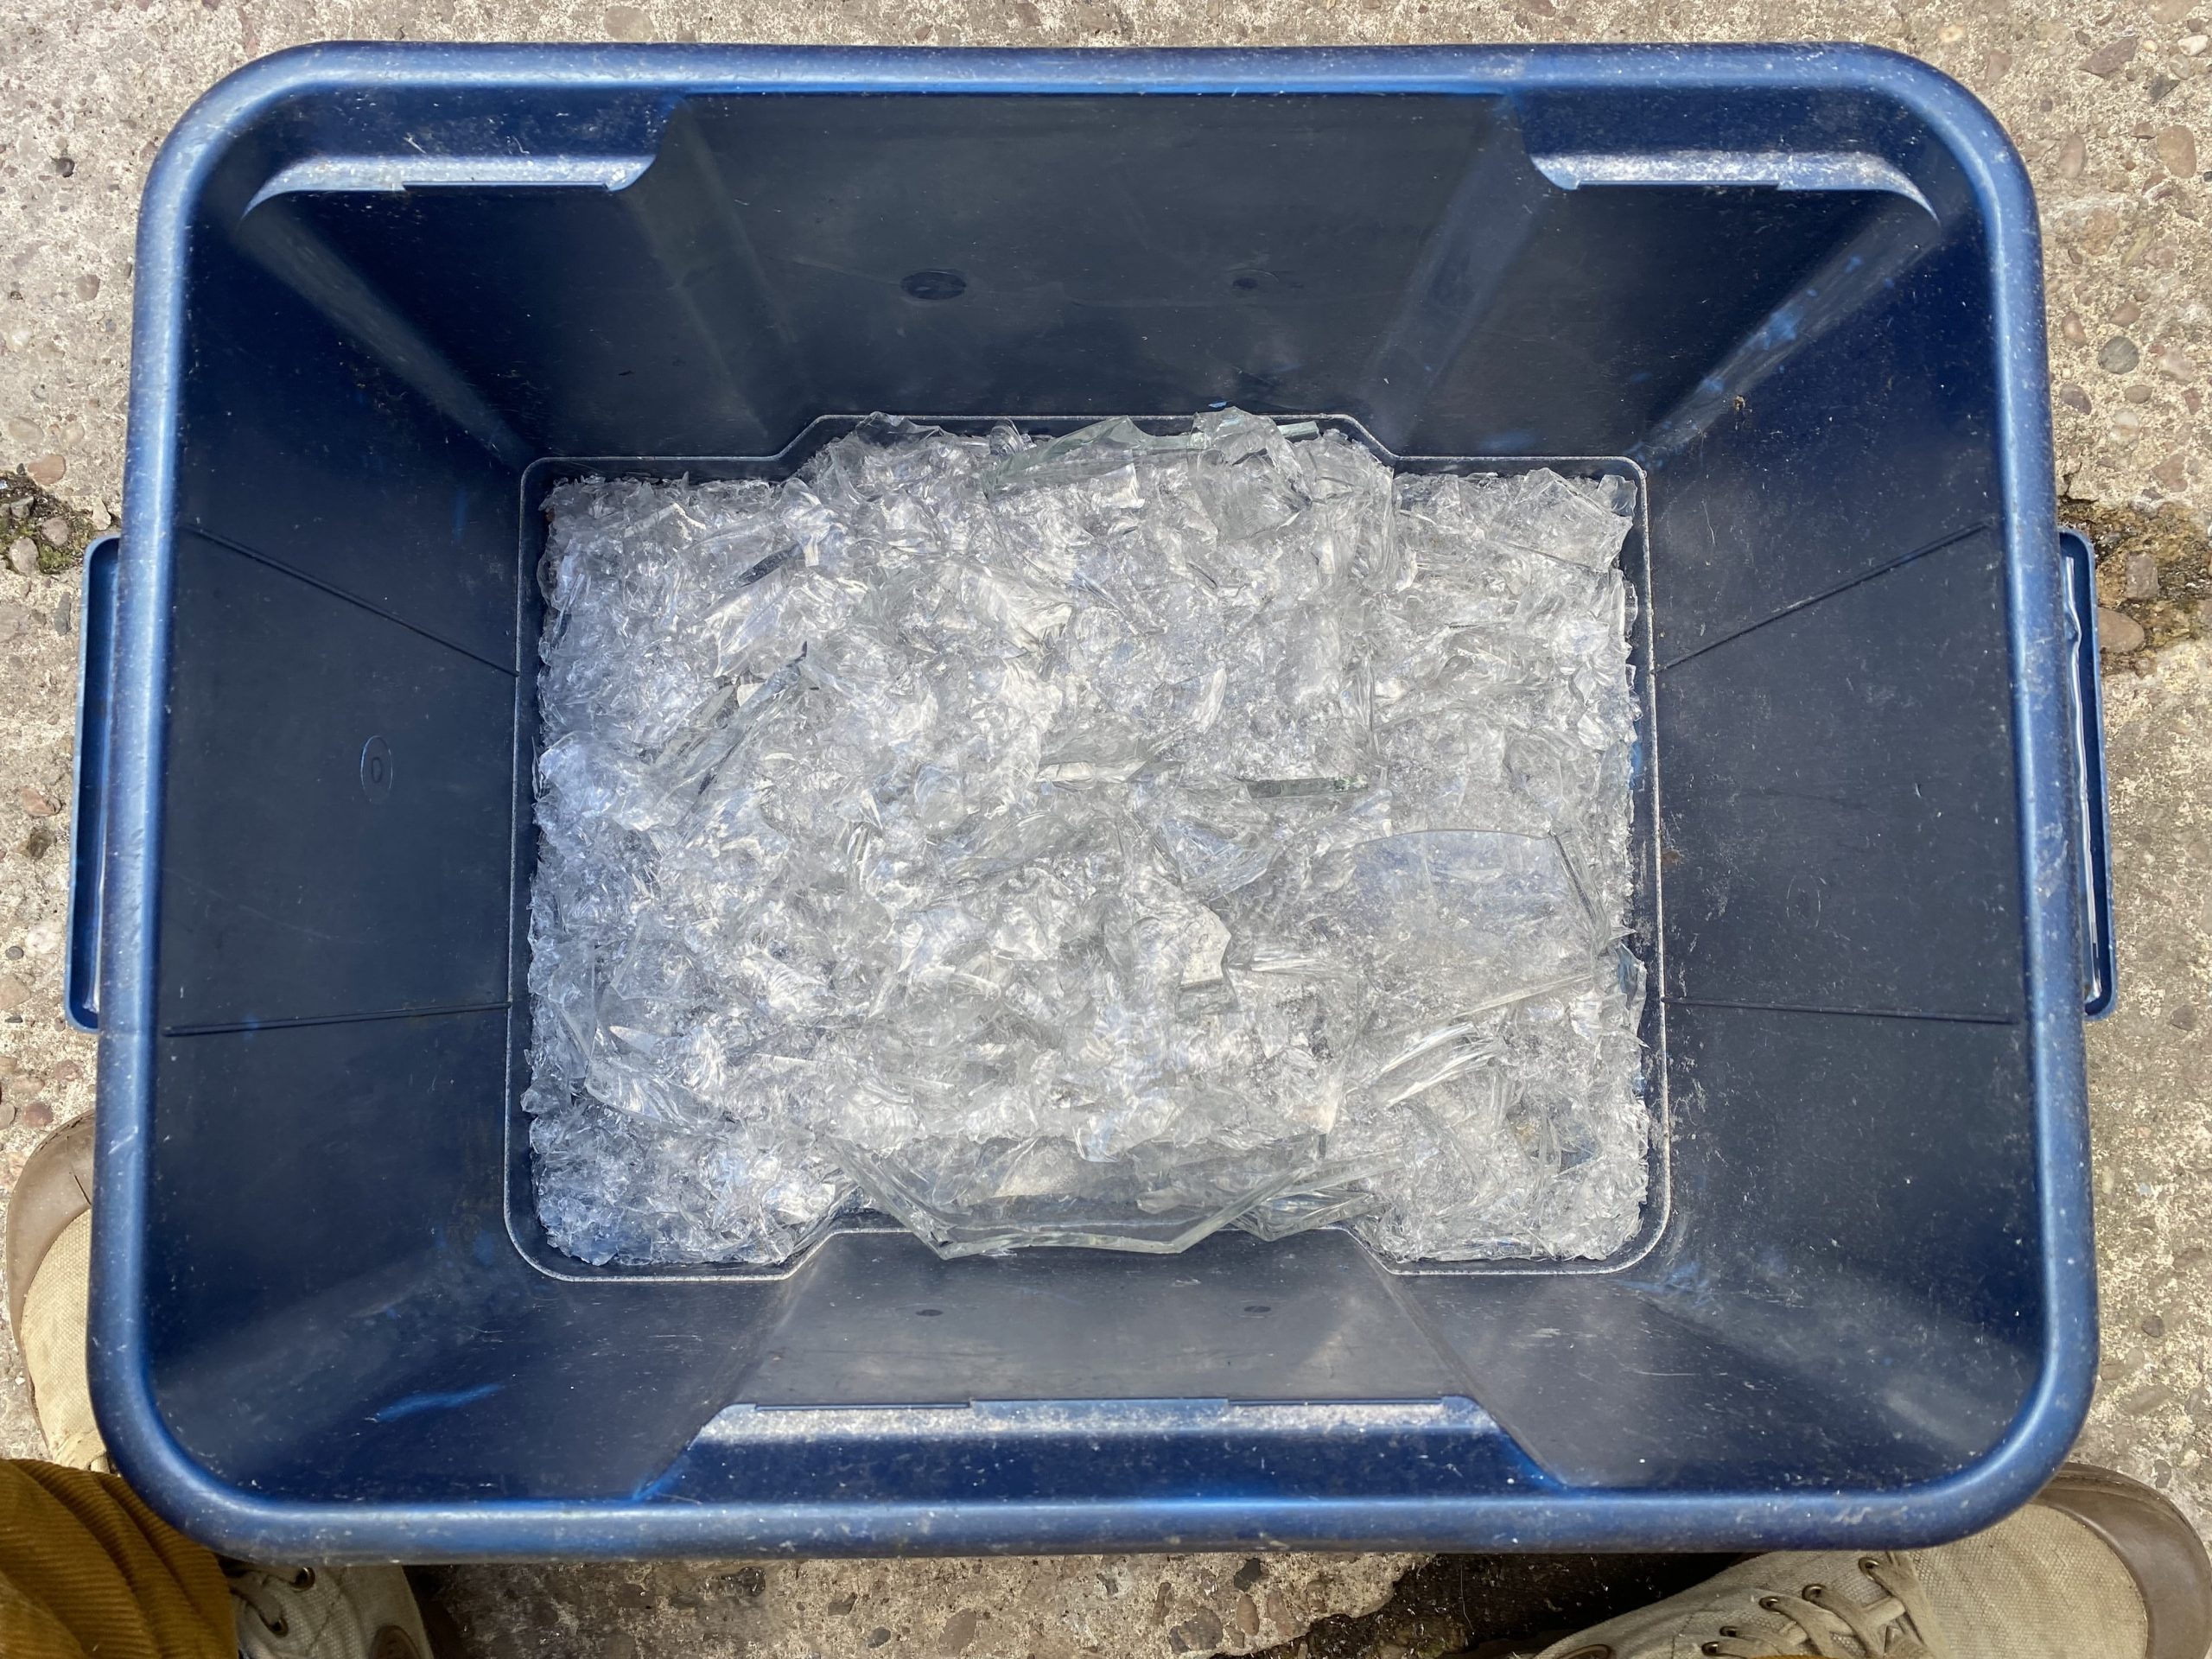
And the blue glass debris has gone into the blue glass handaxe cullet collection container. Waste not want not!
As you can see, I have been doing a fair bit of glass knapping this week.
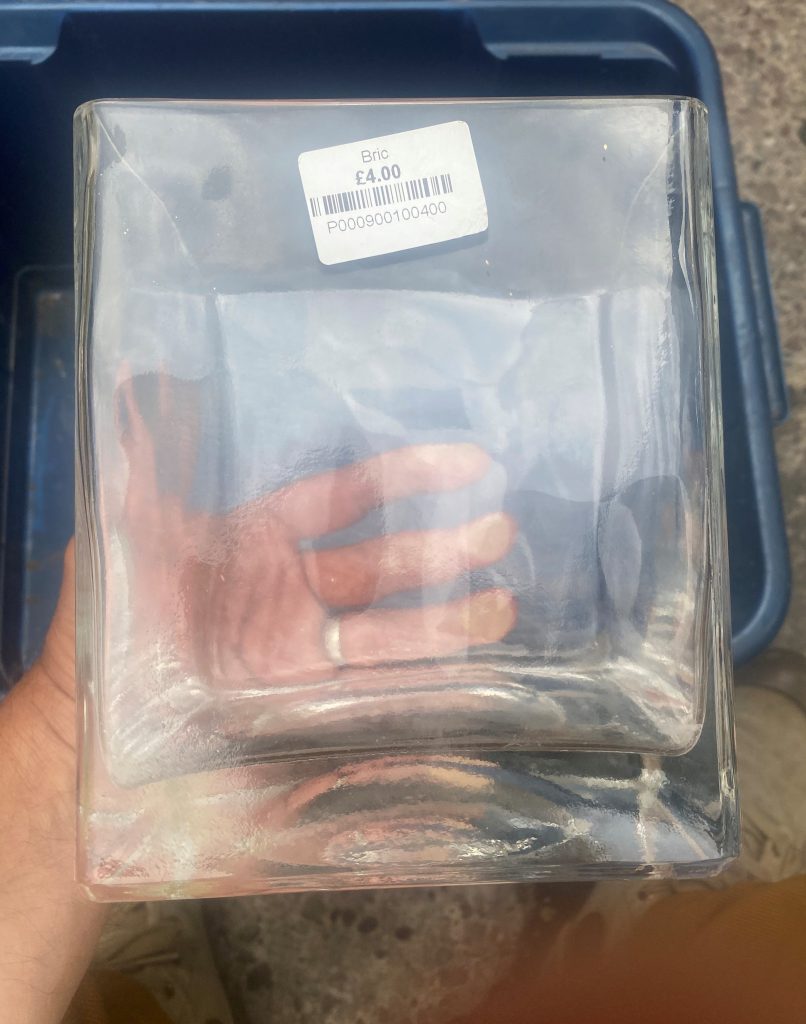
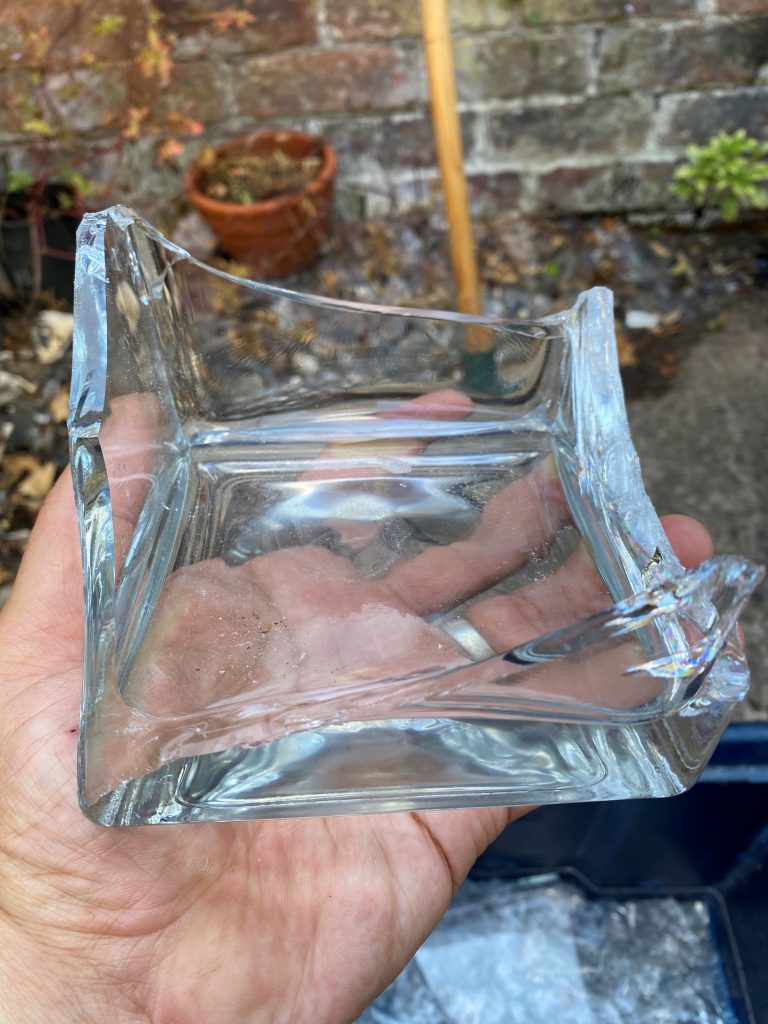
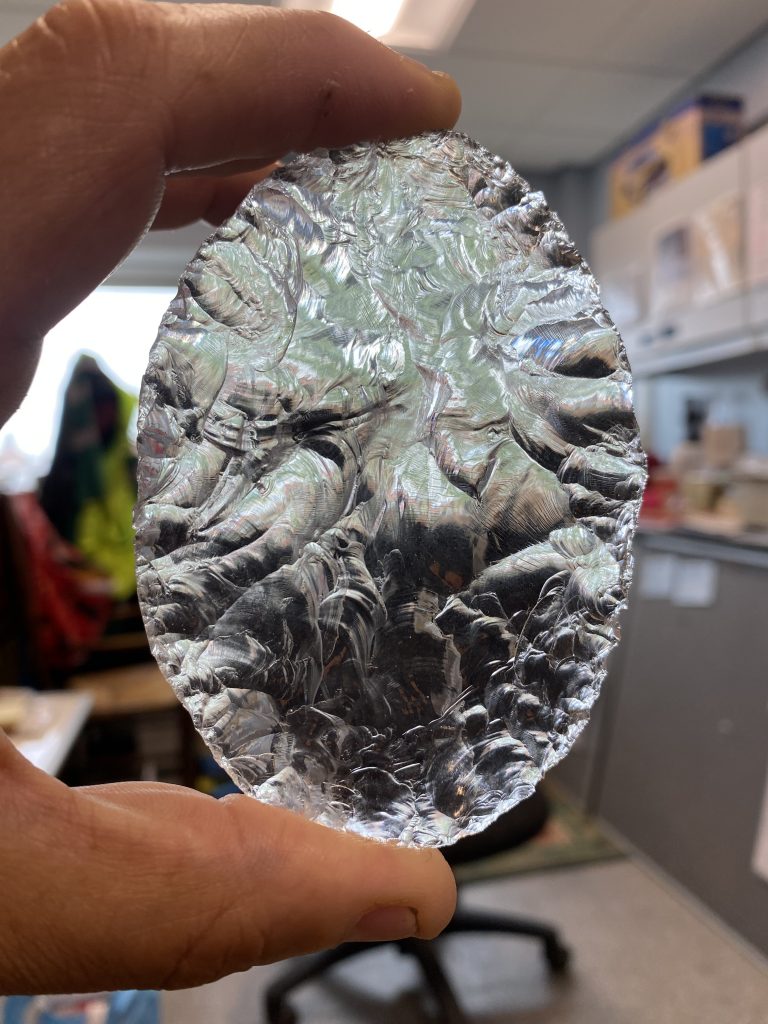
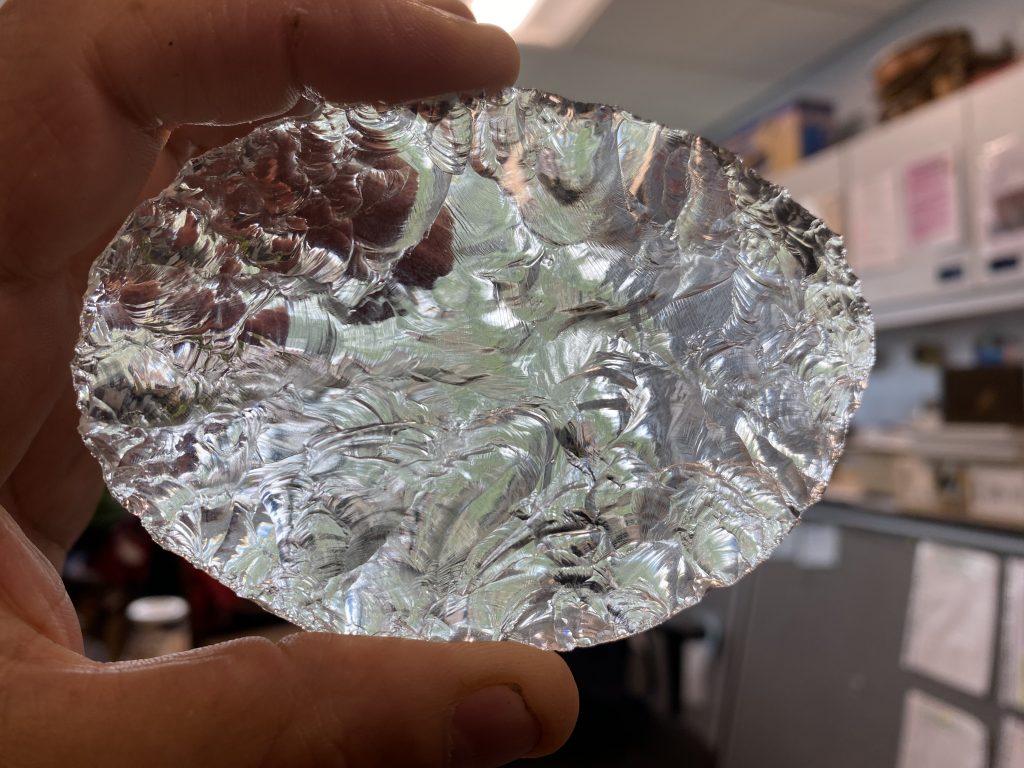
We were away in Lincolnshire and after a number of charity shop and car boot visits I came away with four of these large based vases. It was very interesting having four goes all with the same starting point. All attempts were successful, handaxe wise, but I also learnt something useful.
The first stage is removing the walls of the vase. As you can see above, the bottom left corner fortuitously provided a way in. I have talked elsewhere about ‘step fracture islands’, when one face works well, and the other doesn’t. I have realised this is something to do with where and how I get a way in. With thick pieces of glass such as this the way in makes one side easier to work than the other. I have observed this but never addressed it.
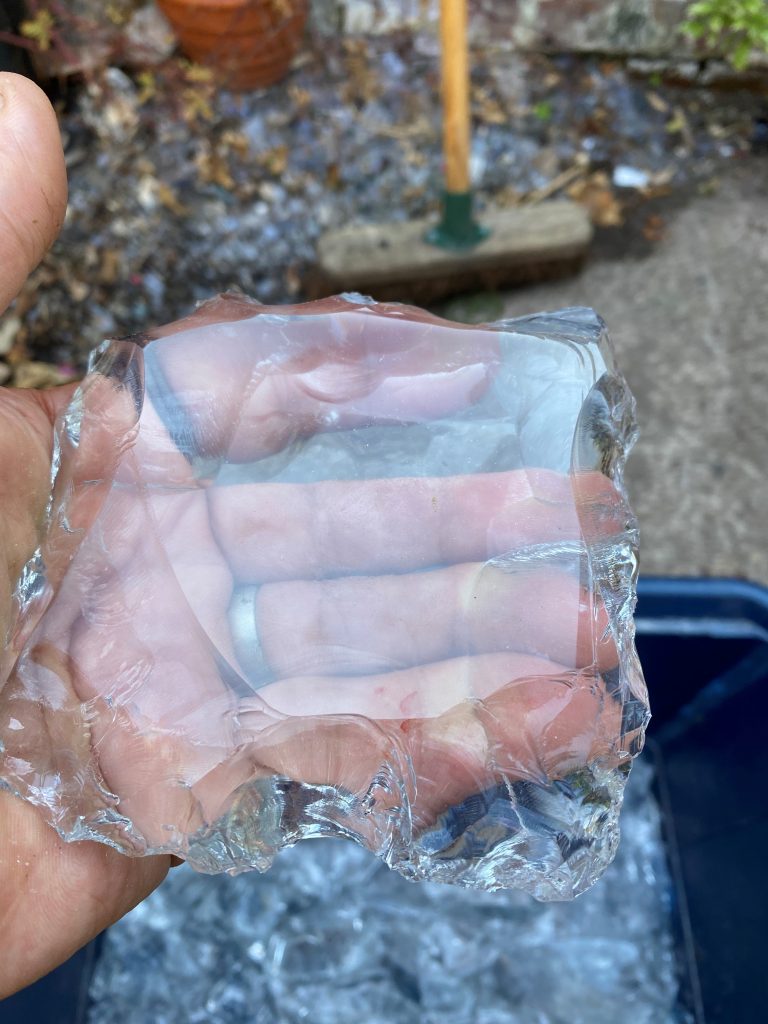
What you can see in the above image is all the edges ‘turned’ but a large concave section on the upper surface, and a convex section on the lower surface. The turned edge allows a way in but the concave section is much harder to reduce or to remove long flakes from. I had this same problem with each of the first three vases I worked. On this fourth one I tried a different method.
Kim Akerman discussed here how Australian Aboriginals managed this same issue with the concave and convex surfaces of bottle glass. They essentially work the most difficult concave face first until the surface is flattened. Only then do they move onto the easier convex surface.
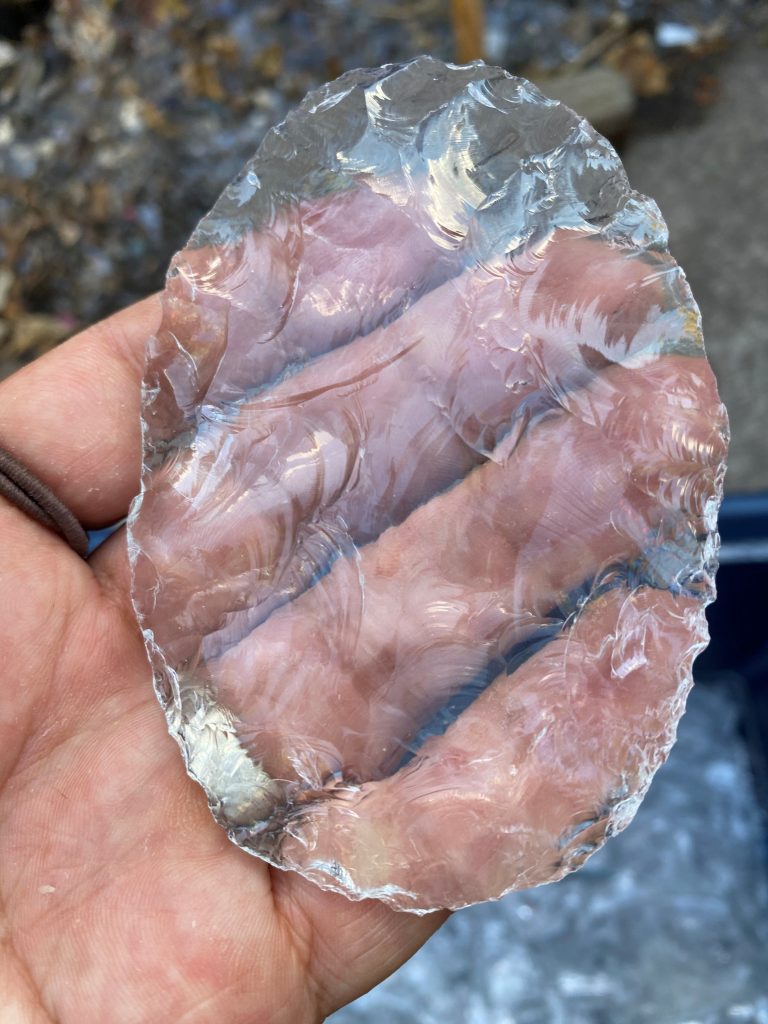
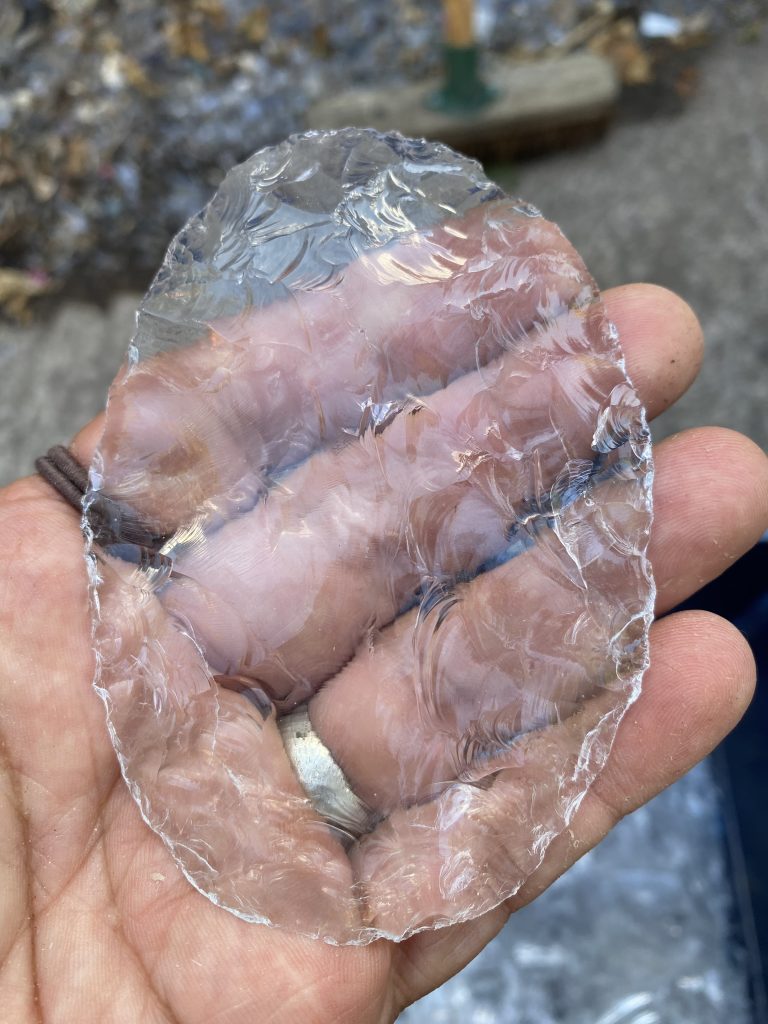
That’s exactly the approach I adopted here, and it worked really well. I normally chase the opportunities the turned edge presents, but as discussed above, I end up with one ‘step fracture island’ face. The step fracture island phenomena is related to the fact that one side is more difficult to work than the other. By prioritising the more difficult side I eliminated that problem.
Symmetry wise I’ve ended up with a wonky ovate handaxe in plan, but what is less visible from the image is the how both faces have been worked similarly and there is no ‘better’ or ‘worse’ face. I may have to get rid of the wonkiness because of my preoccupation with symmetry, but this handaxe represents for me a valuable development in my methodological approach.
This development occurred because I had four similar vases and worked on them over four consecutive days. Approaching the same problem repeatedly allowed this learning experience to emerge, unplanned. I really like this kind of repetitive practice and unplanned emergent learning experience, which seems alien to the more normative idea of having a goal and working systematically towards it. Food for thought!
Well now. Lots of thanks to Holly Flannaghan, my technician comrade in Geography who has access to a furnace, and also does her research!
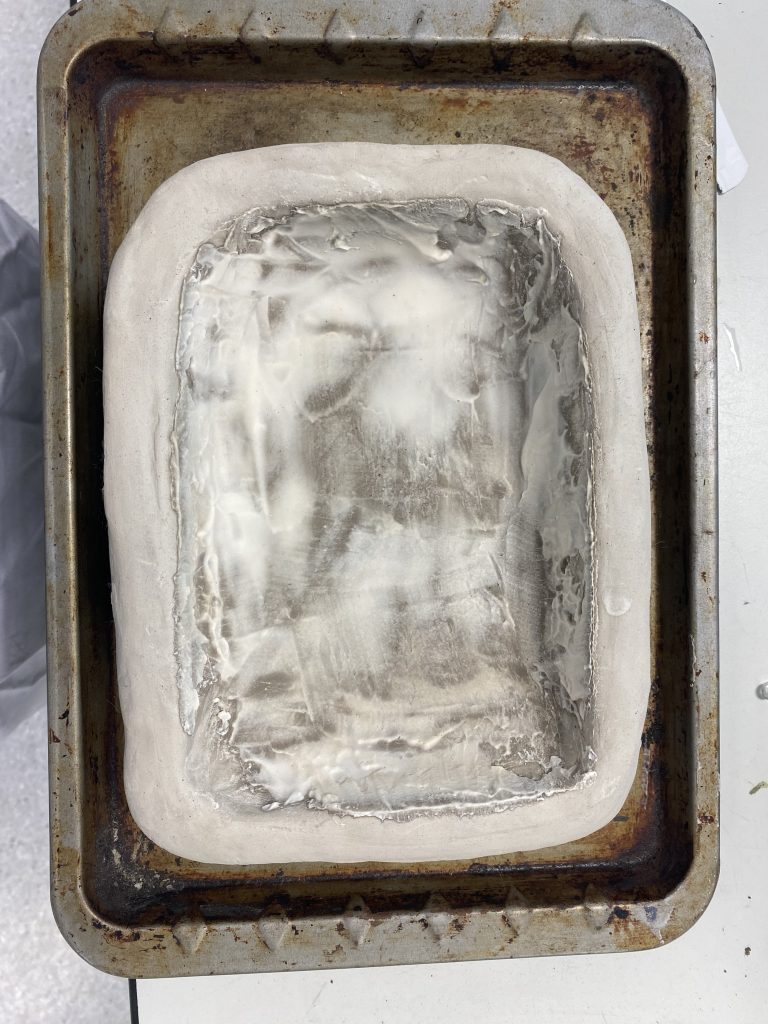
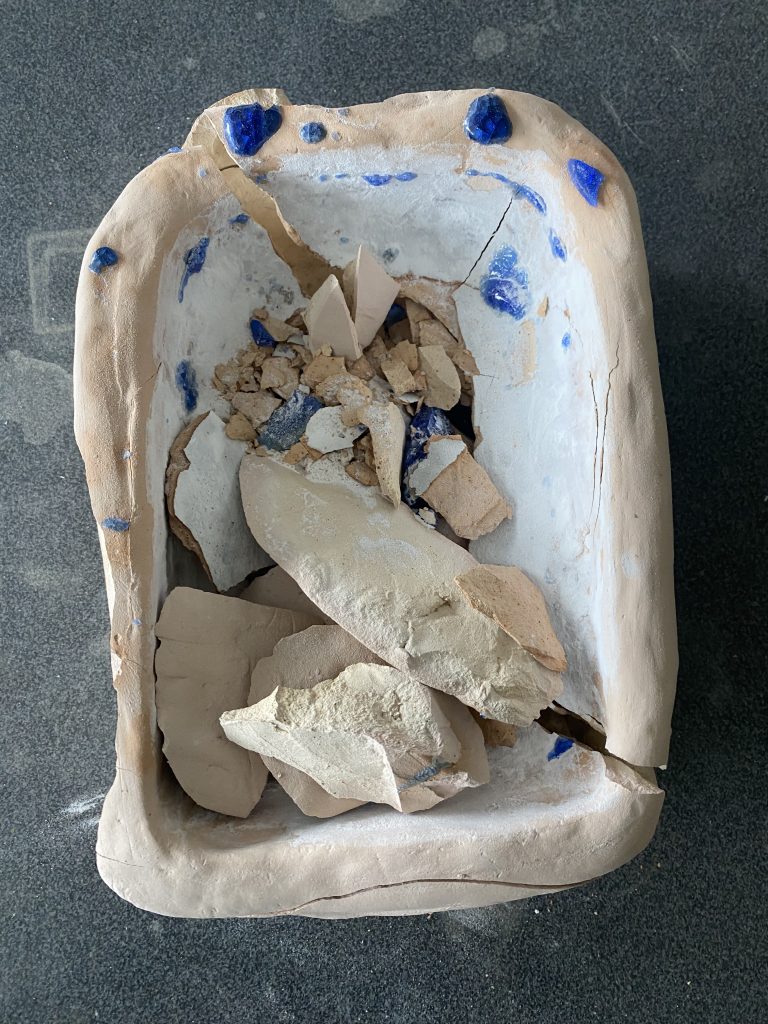
This is Alice la Porta’s mould painted with the Aluminium Kiln Wash to stop the glass adhering to the mould. It did more or less work. The mould was unfired and next time we may use an already fired ceramic mould.
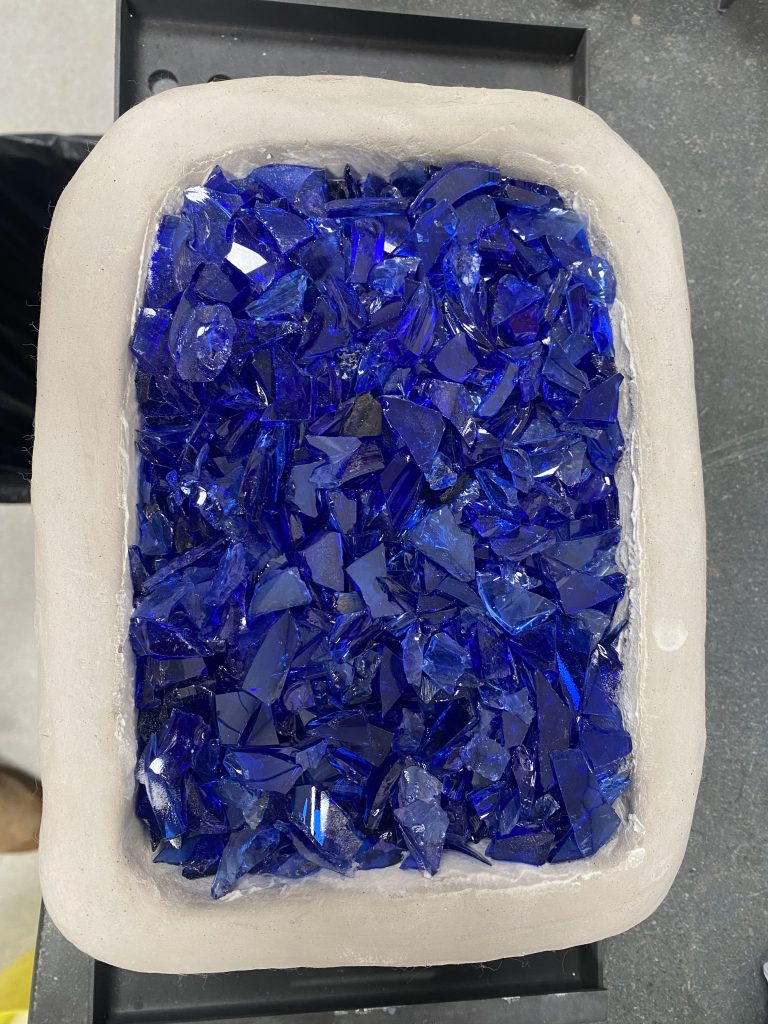
I had three grades of glass cullet. Sand, sub-1cm, and above 1cm. We used the sand and sub-1cm cullet on the top to fill up the mould.
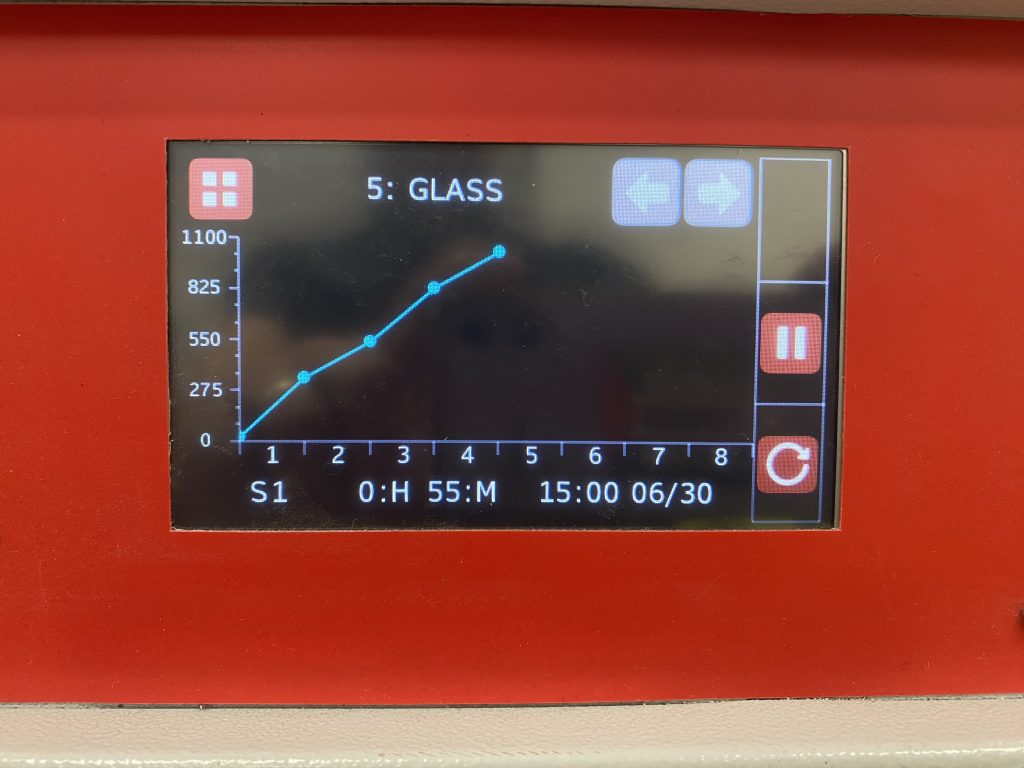
Then Holly performed her magic. Over four hours the temperature was gradually raised to around 1000 degrees Centigrade, and then kept there for two hours or so before starting the slow cooling process.
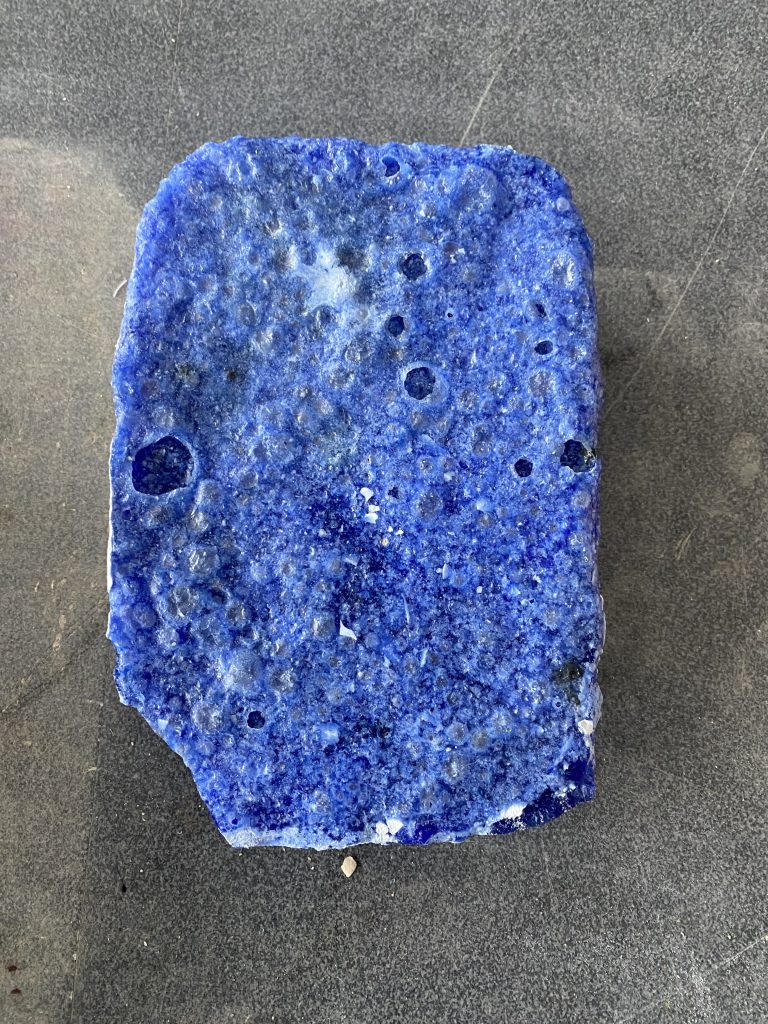
And one day later here we are. The Aluminium Kiln Wash worked but we had to break up the mould to get access to the glass. Once out the glass was actually thinner than I anticipated. The sub-1cm cullet must have had a lot of gaps that it had to fill. Next time we will use the sand only and a slightly higher mould to give the slab more depth.
The glass appeared not ideal. It looked similar to the fused glass blocks produced using Nacho’s kiln. However, once I started to work it I realised that it actually had very good internal cohesion. It flaked well although crumbly.
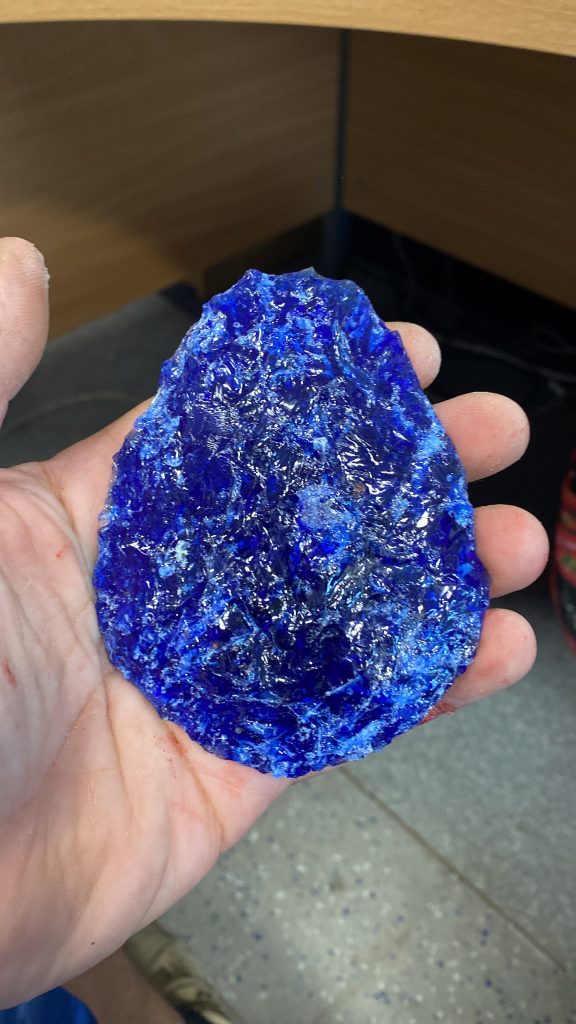
And this is it. The outcome but also a starting point. We need to adjust the mould size and make sure it’s already fired. Use sand rather than sub-1cm cullet and perhaps keep it at 1000 degrees Centigrade for around four hours before allowing a very slow cool off period.
I am actually super happy with this handaxe. Many thanks Holly!
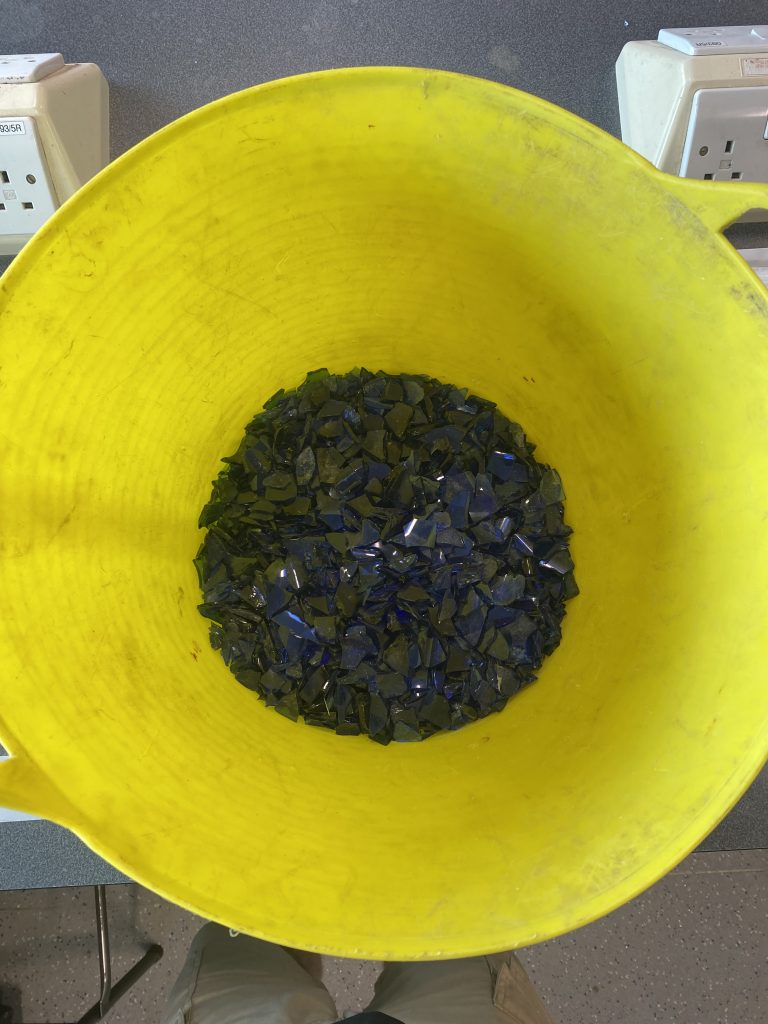
Today we had an Archaeology Open Day which was surprisingly quiet. Consequently I had quite a bit of free time in the lab on my own. I had also had about five blue glass bottles cluttering up my office for what seemed like ages, and so I added two and two together and came up with a trug of blue glass cullet.
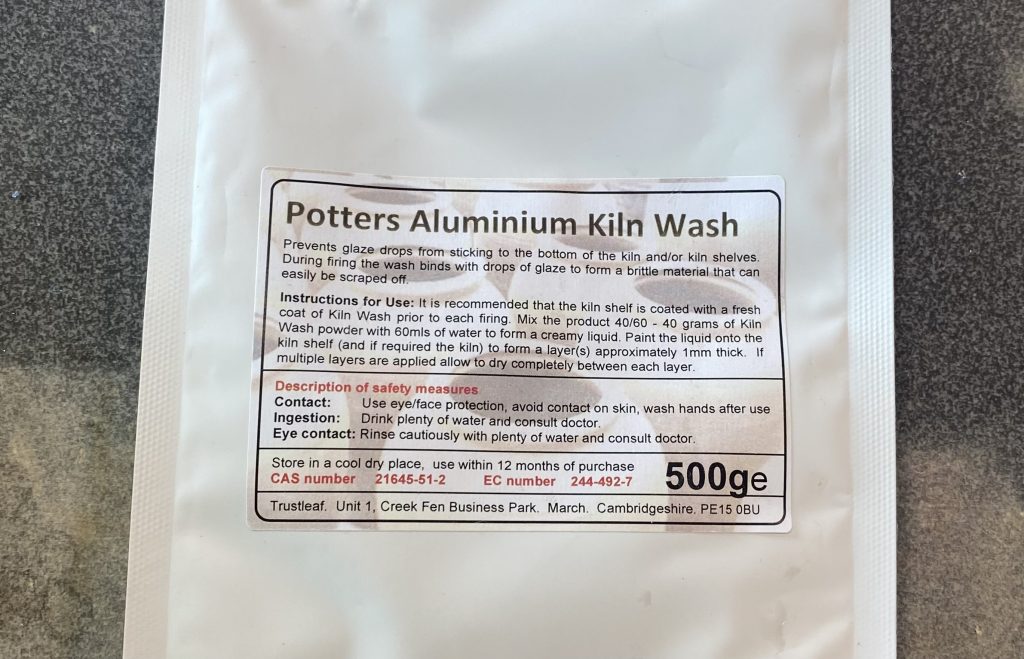
This wasn’t completely out of the blue (pardon the pun). My colleague in Geography, Holly, is in charge of a small furnace and we have discussed the possibility of melting my glass bottles to produce a slab of glass, and Tuesday next week may be the opportunity to do so. However, based upon previous experience I needed a method of stopping the melted glass block adhering to the clay mould. Enter Potters Aluminium Kiln Wash.
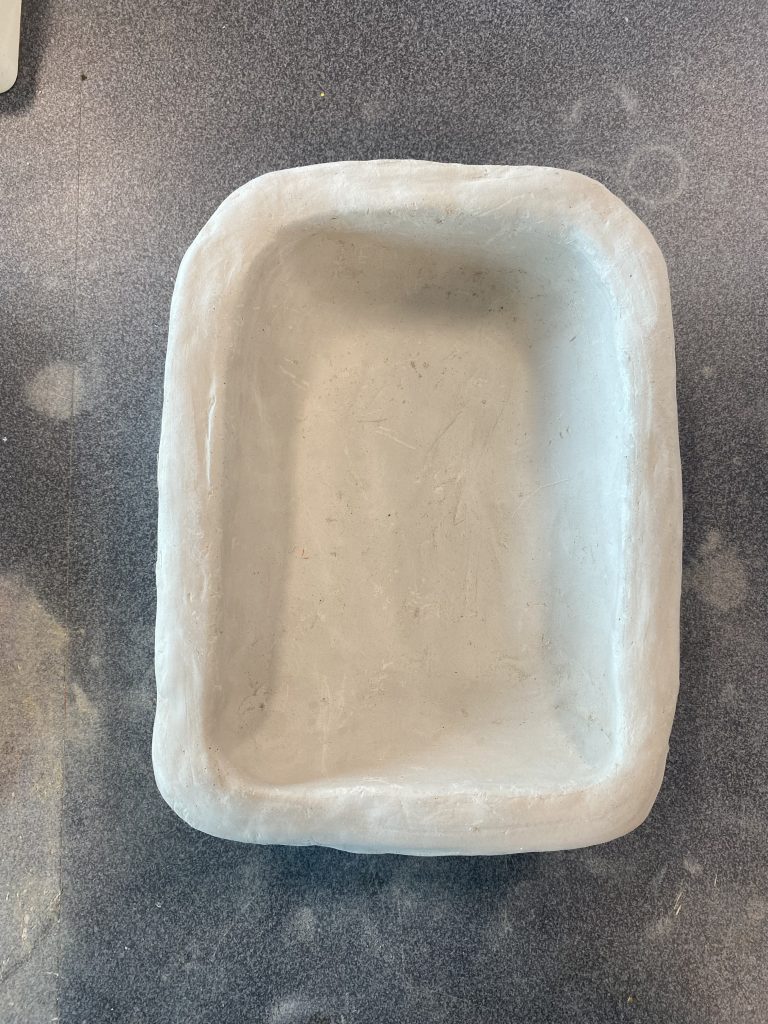
The experiment next week is to use the clay mould given to me by Alice la Porta, and use the Potters Aluminium Kiln Wash to form a layer between the mould and the glass cullet to be melted in the furnace. Holly is going to be in charge of times and temperatures, I will be in charge of keeping my fingers crossed.
This is the mould Alice gave me, let’s see how it goes…
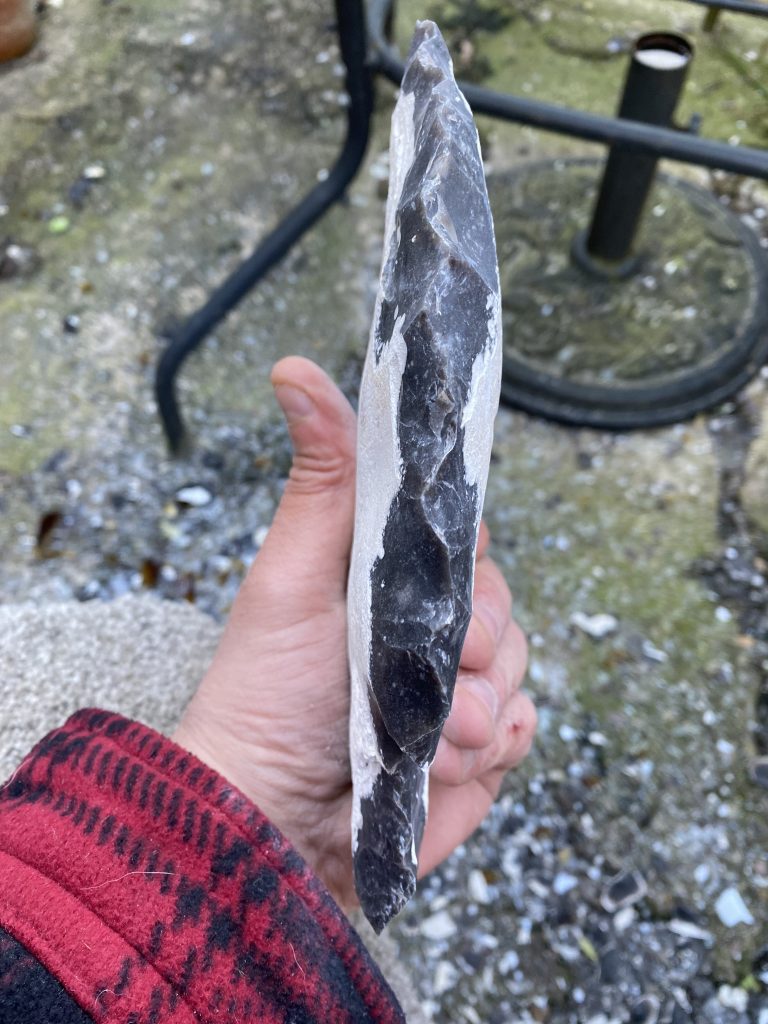
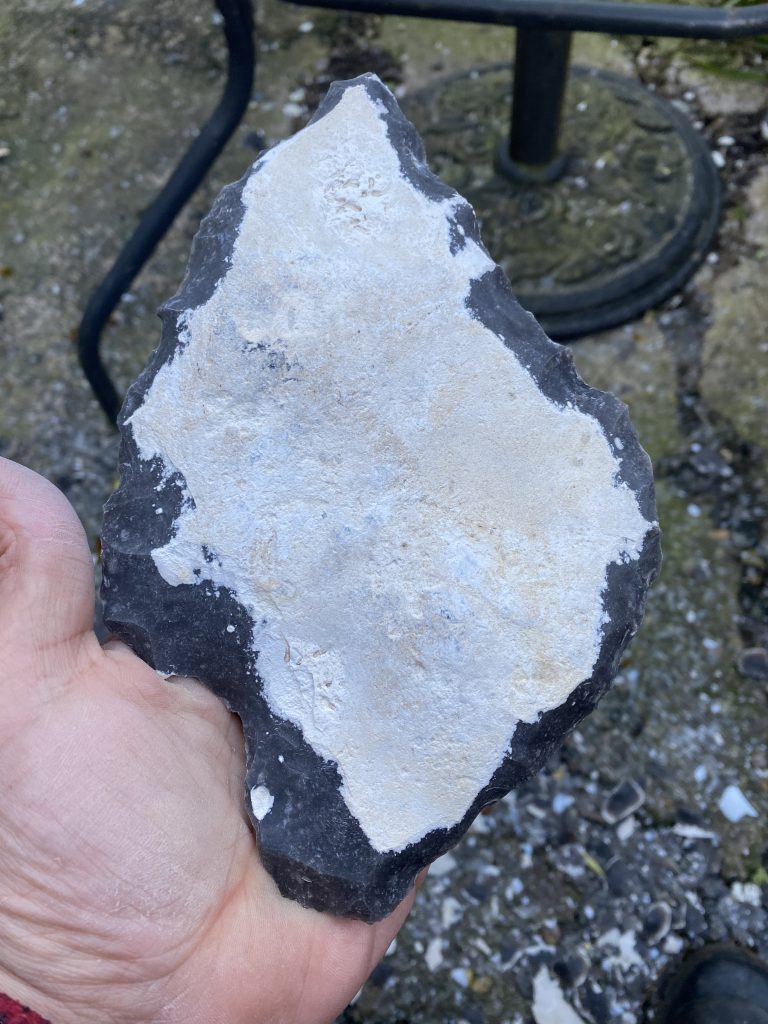
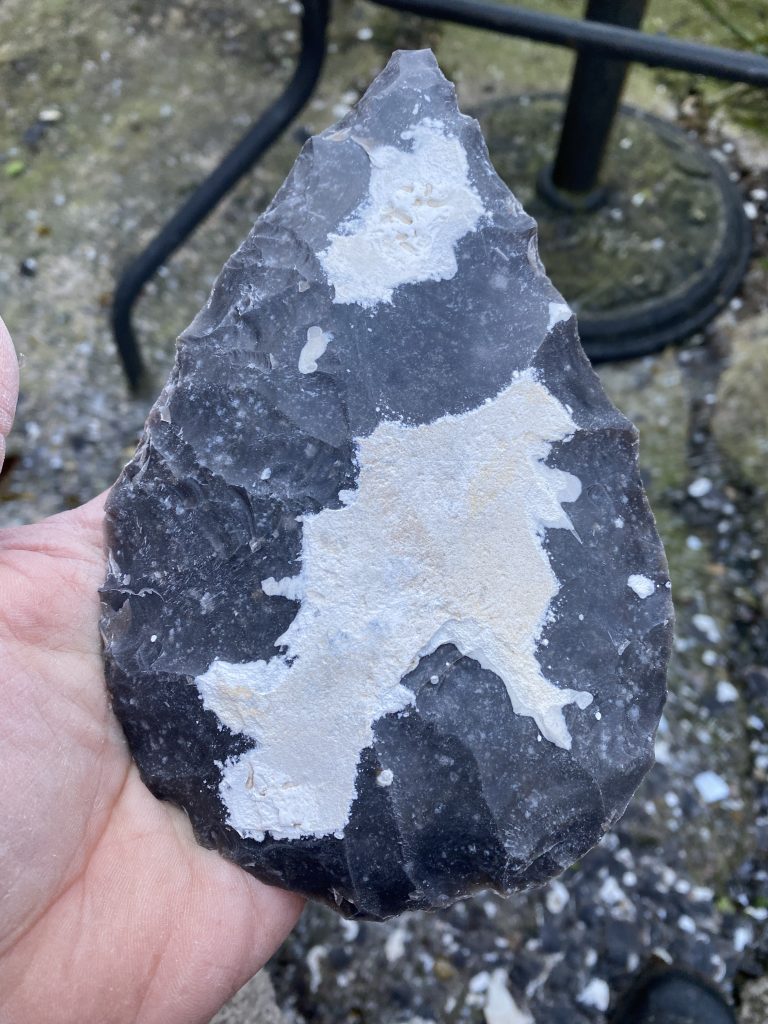
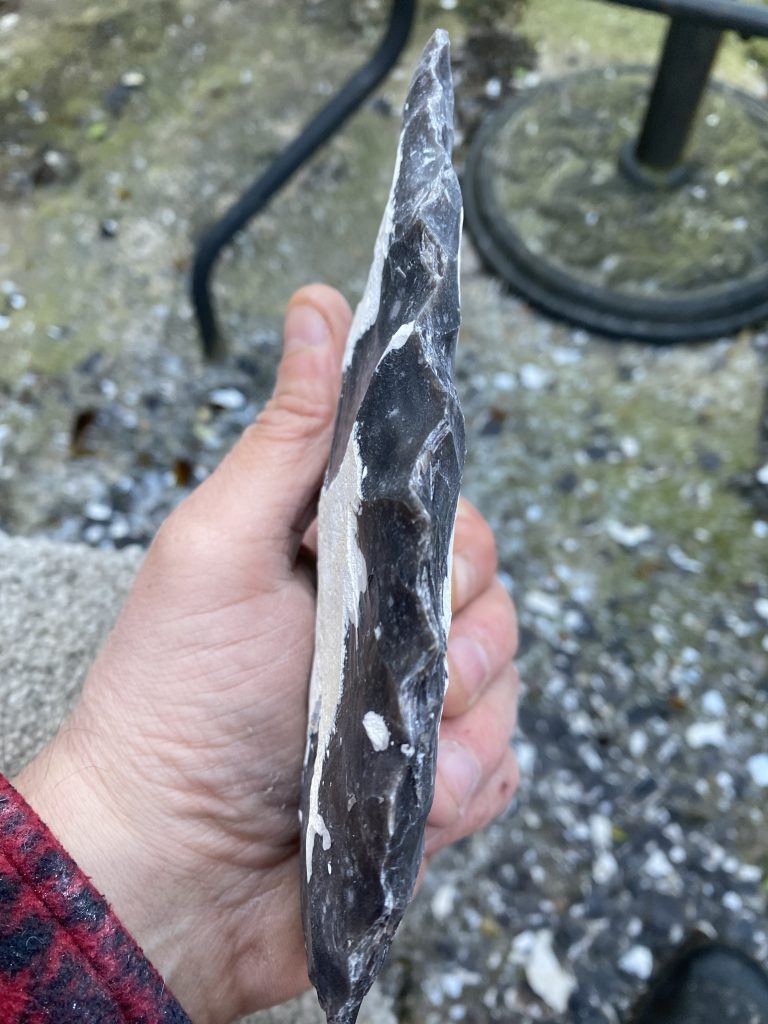
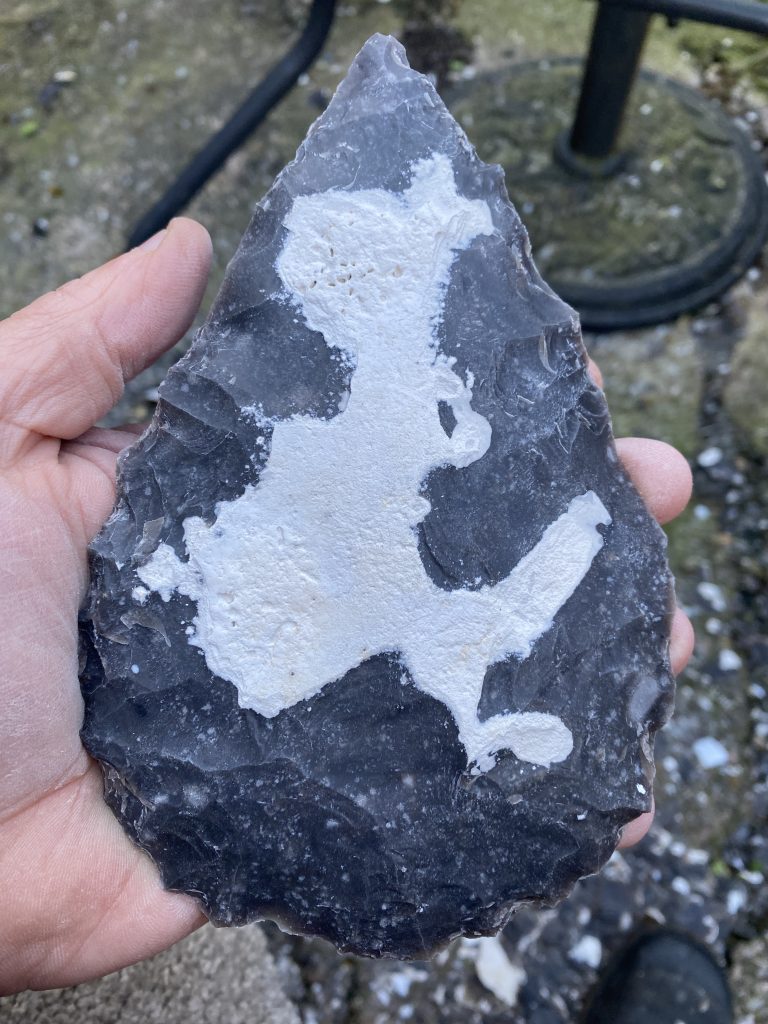
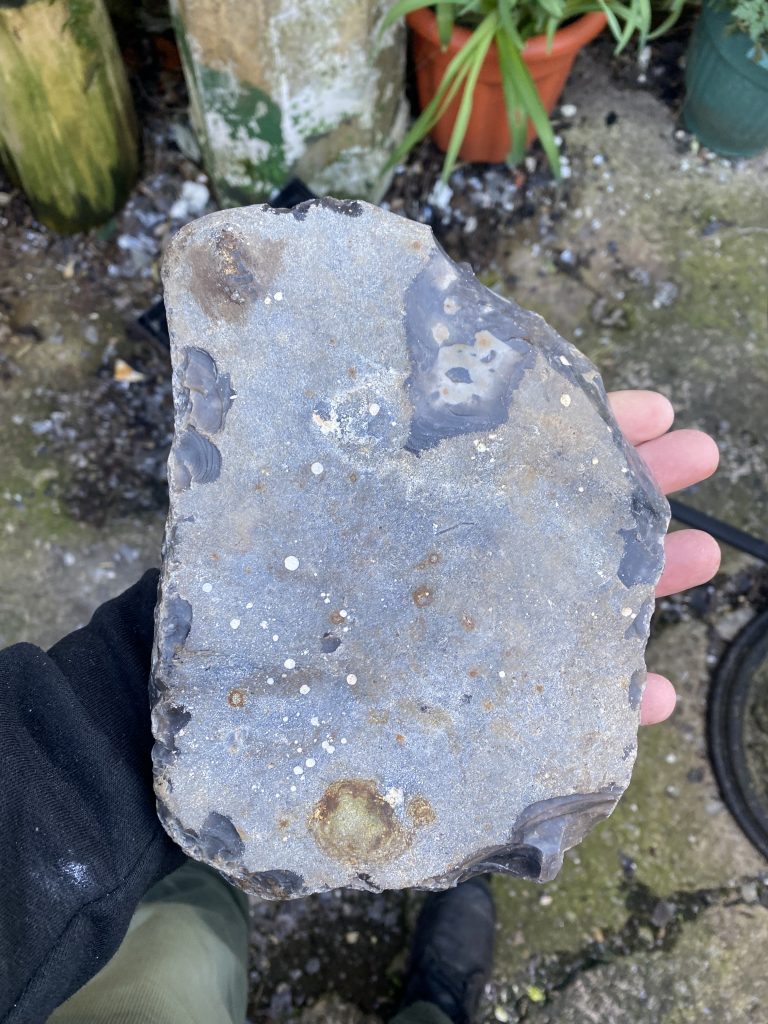
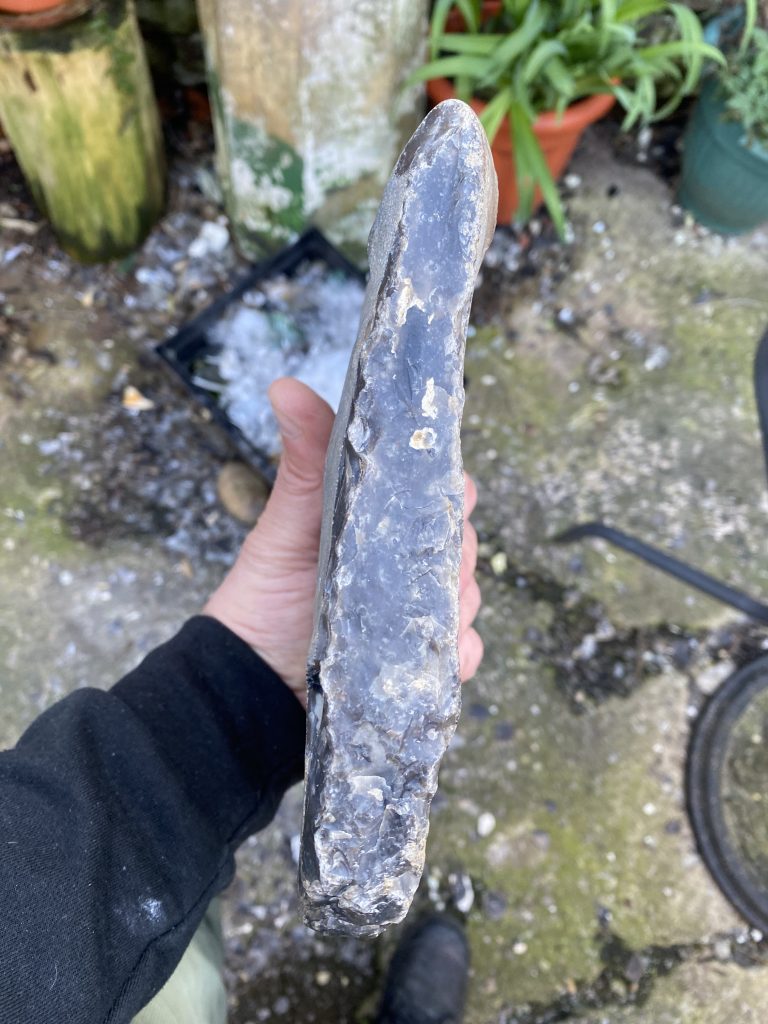
I have been off work for two weeks over Easter, and although I have had some work stuff to do, I also have lots of Barmston Beach flint tablets to play with!
From Barmston there does seem to be two different types of flint collected. One type, like the above thin tablet with chalky outer surface seems to be pretty undamaged and works well. This leads me to think the materials on the beach are from two different glacial events or perhaps accumulated from different geographical locations.
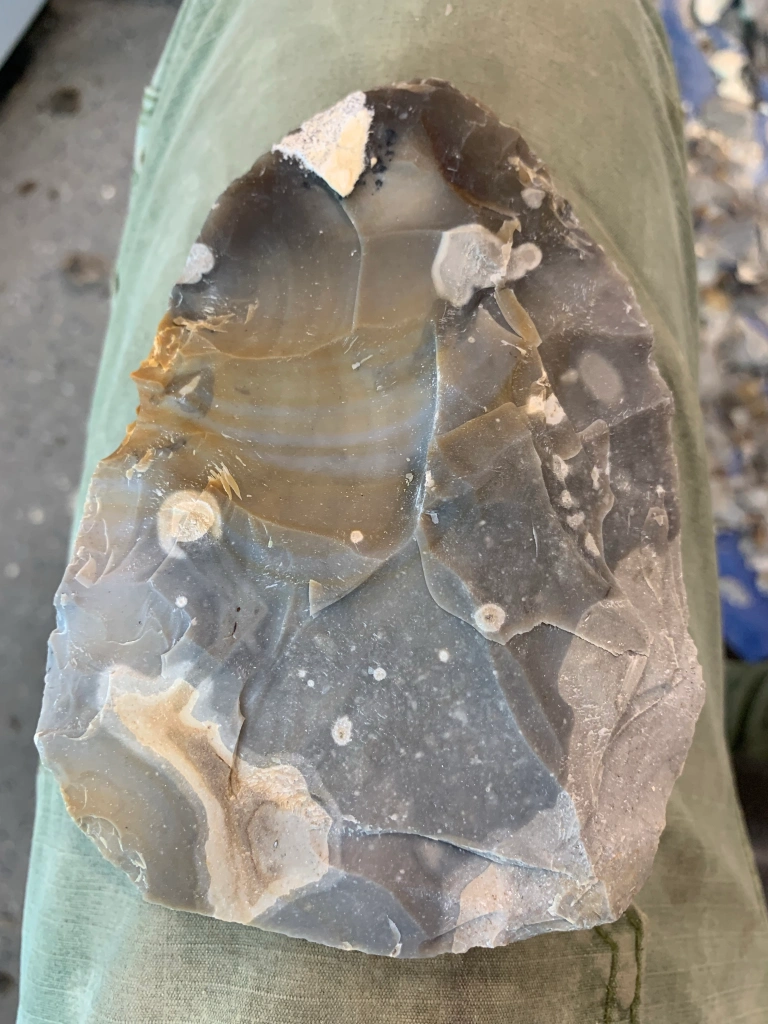
Anyway, this was a particularly thin tablet of flint and as such liable to break. As a strategy to avoid breakage I pressed the flint to my thigh. The idea being that this helps by adding my body mass to that of the flint.
Using this strategy the next step was to use a hard hammerstone to ‘turn’ the edge. This involved taking a flake off one face, then turning the tablet over and using the fresh flake scar as a way in to take a flake off the the opposite face.
The sound is really interesting as you can hear when the tablet is resisting the hard hammer blows. Rather than persist and risk endshock and breakage, I would simply go back a stage and made bigger the platform. This approach allowed me to work my way around the nodule turning the edge without any major issues.
I then shifted over to a heavy antler hammer and used the worked edge as a ‘way in’ to take off longer flakes. Because I was pressing the tablet of flint into my thigh I was effectively hitting my leg with the antler hammer, but on the way catching the edge of the tablet and pulling off a flake.
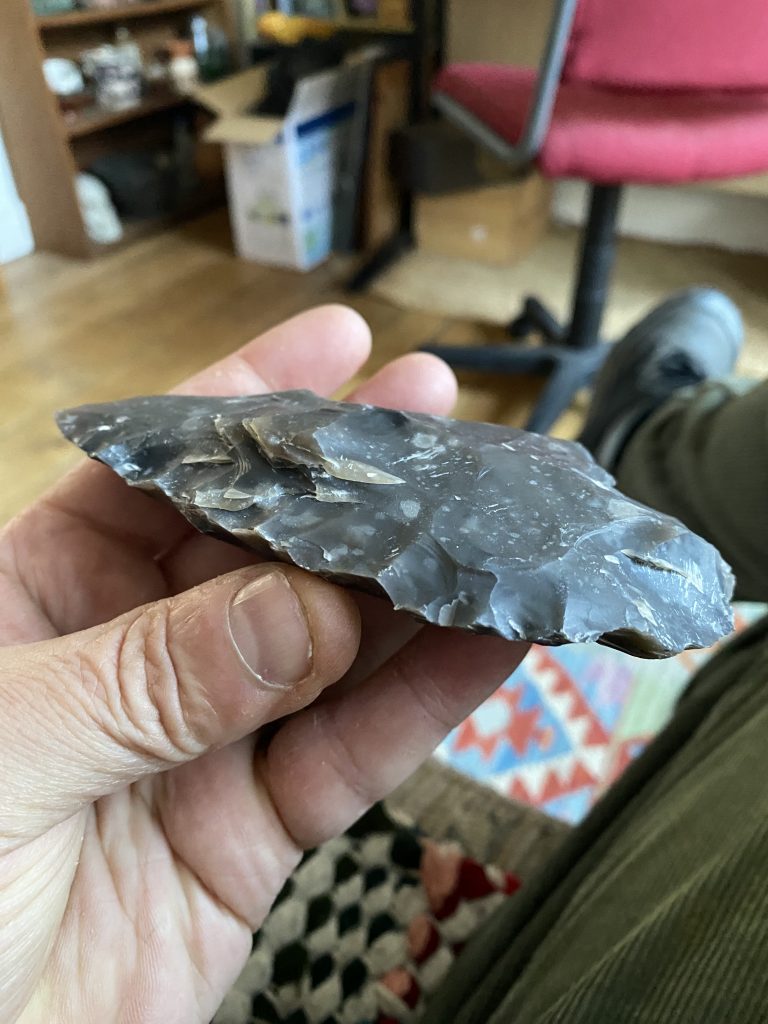
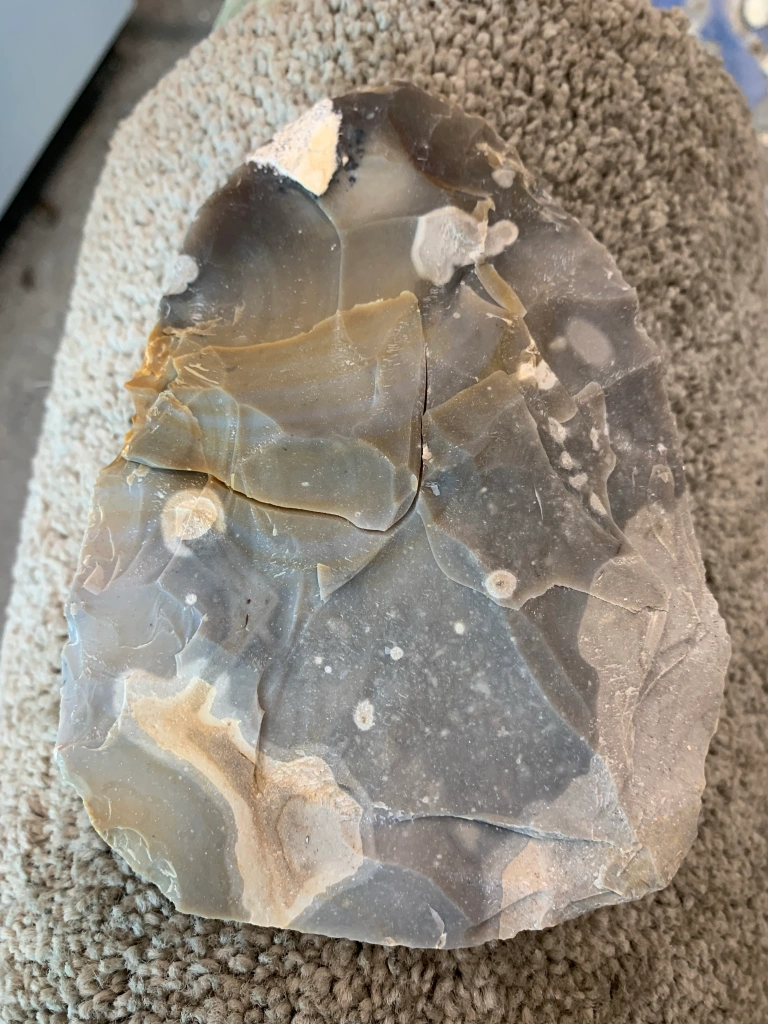
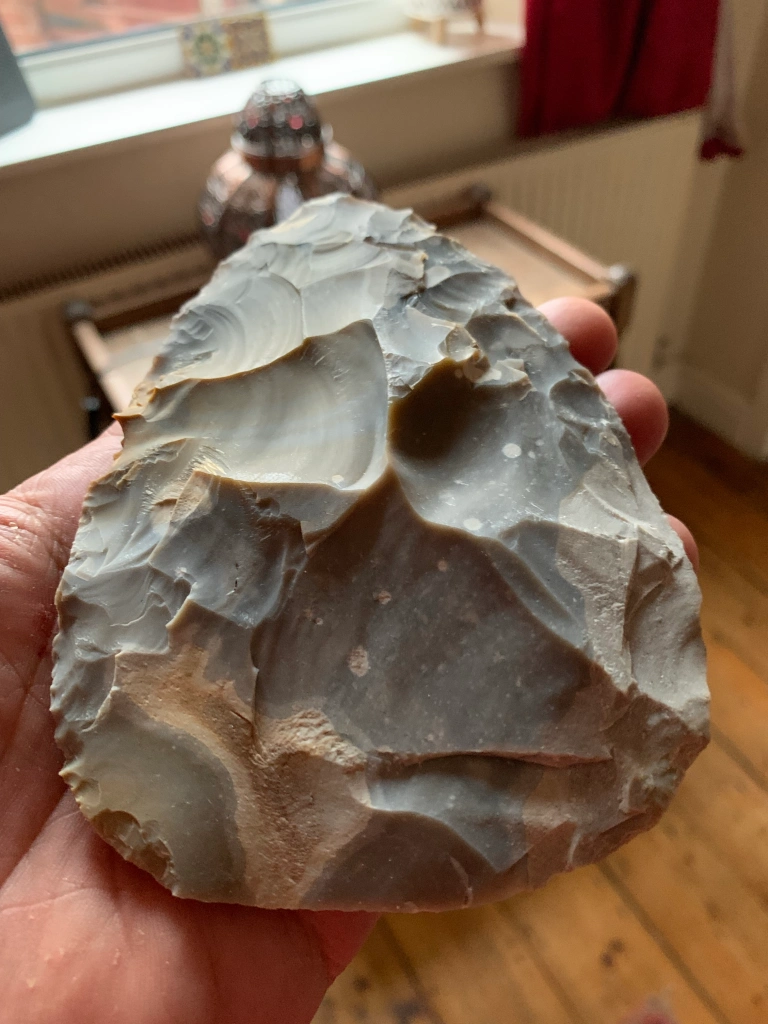
As you can see from each worked face, the longest flake removals are a pretty descent 5 cms or so, but because the tablet of flint was already relatively flat I was mainly creating a cutting edge.
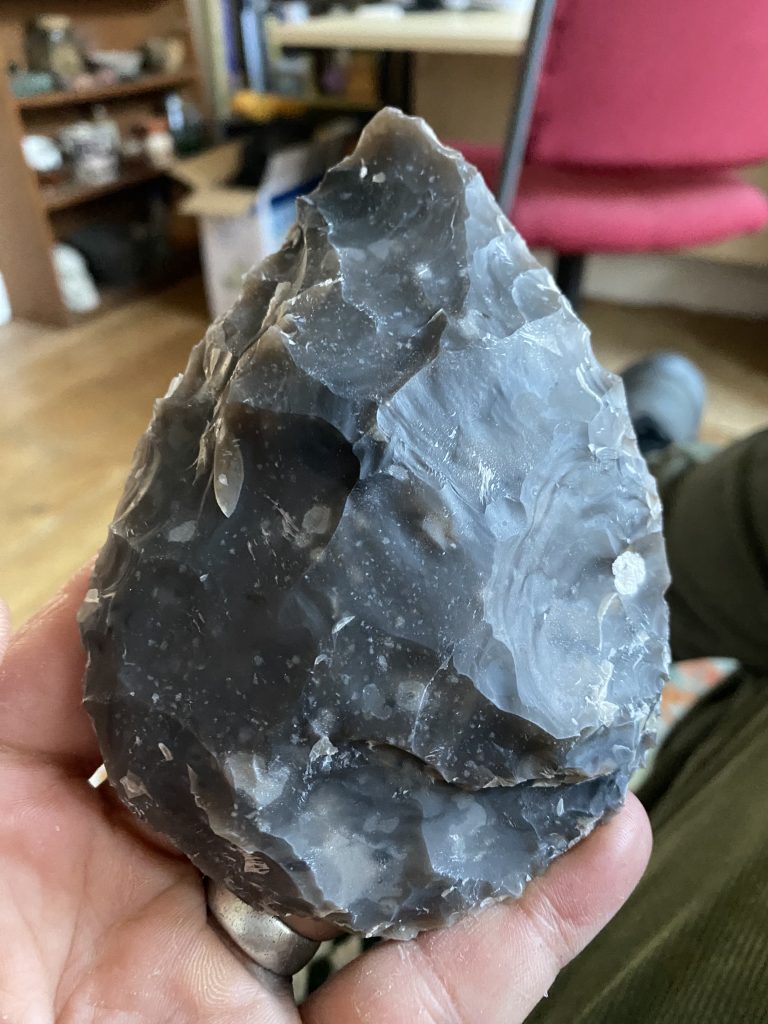
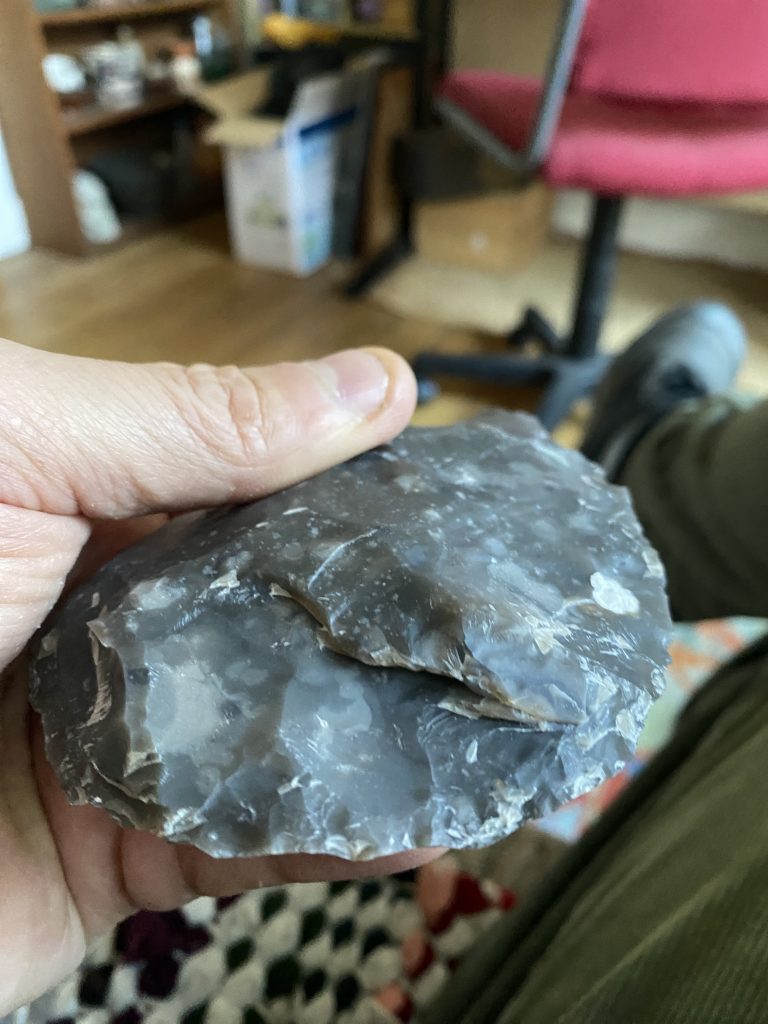
The two aspects I really like about this handaxe is the size (it is pretty big) and the symmetry. As I know how tricky it is to achieve these aspects I believe that this would have also held aesthetic value to a Palaeolithic handaxe maker.
So, the end result is one big, sharp and also aesthetic handaxe. Yesterday I destroyed one flat nodule and made two glass arrowheads as well as making this rascal. In relation to my performance here I think the correct term is that ‘I was cooking on gas!’
This afternoon I treated myself to two of the larger slabs brought back from Barmston. The flint isn’t as good as I remembered, or the pieces worked so far aren’t. The first one worked well with the hard hammer, but it had a very hard seam in the centre that disrupted the soft hammer blows. That one ended up in the waste flint pile.
The above two photos are of the second flat tablet, and it worked a lot better than the first. I was able to get a good rough out without any major endshock, all good.
And on this side that has worked. The flint fractured approximately according to plan, the edge is sharp and I am happy with the shape.
Flip it over and that’s when you spot the step fractures. That they are all on one side is, I think, something to do with how I work each surface differently, but I am not sure actually how I work it differently.
I think it may be to do with the initial turning of the edge, and by doing so I get a way in, but inevitably the angle is better on one side than the other.
Consequently I get to do all the nice stuff on the good angle side, and then have lots of step fracture action on the other when trying to bring the second face into line but without the suitable angles. That’s my current theory anyway, and fortunately I have quite a few blocks left to play with, and find out if I am right. Watch this space…
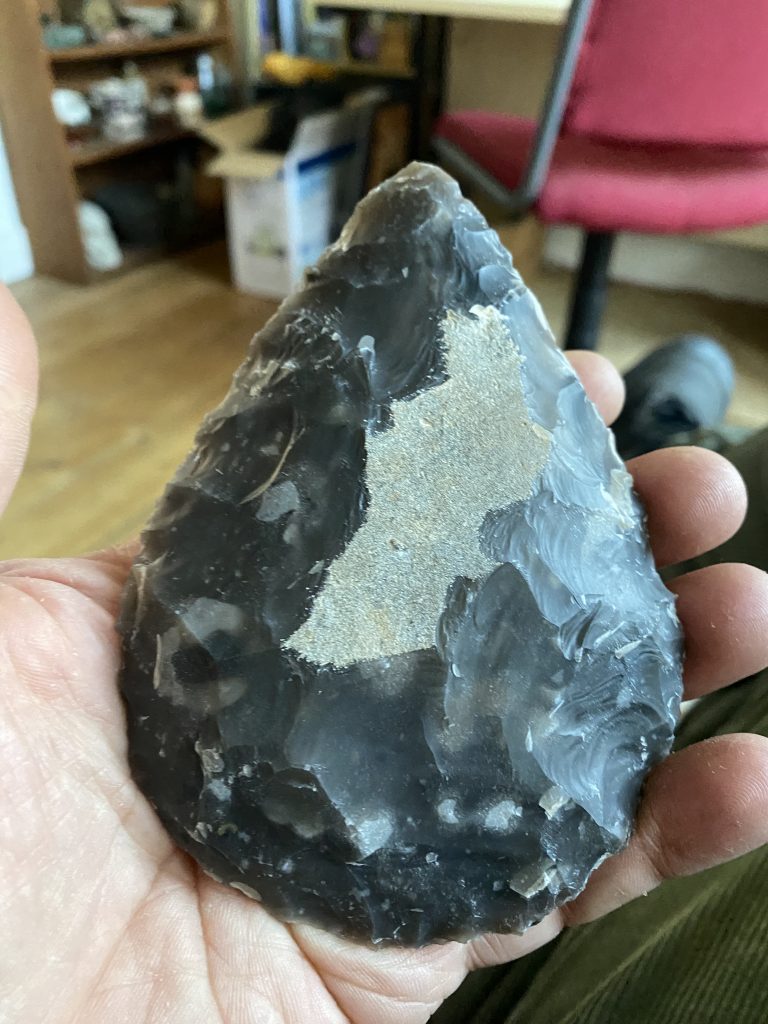
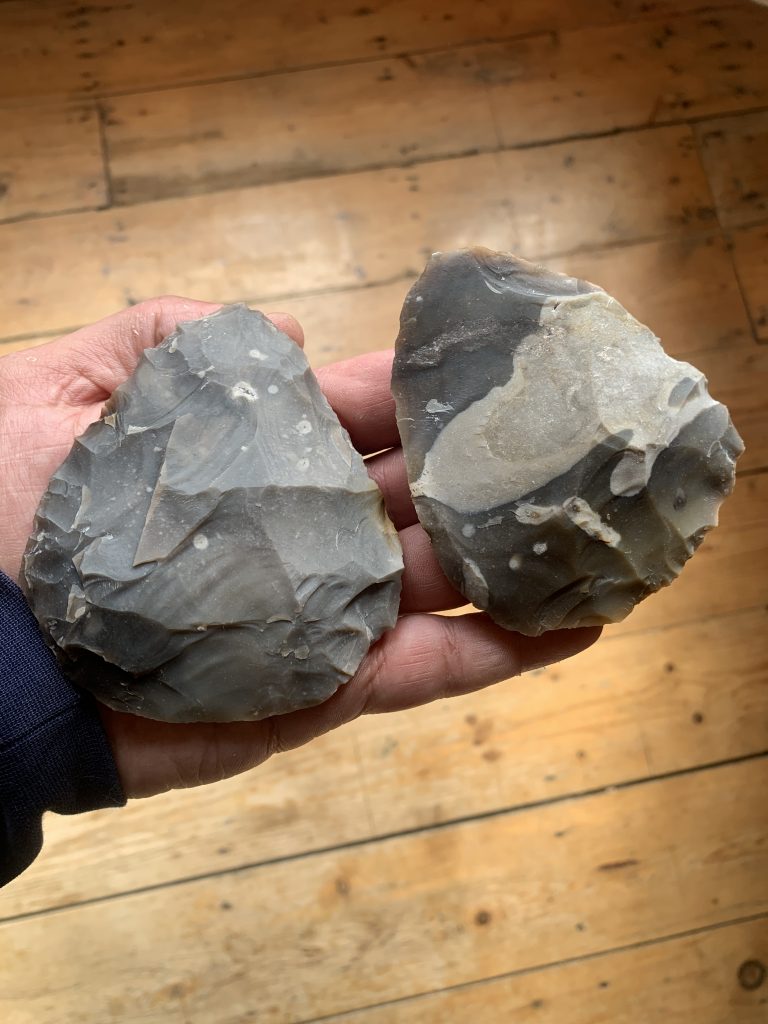
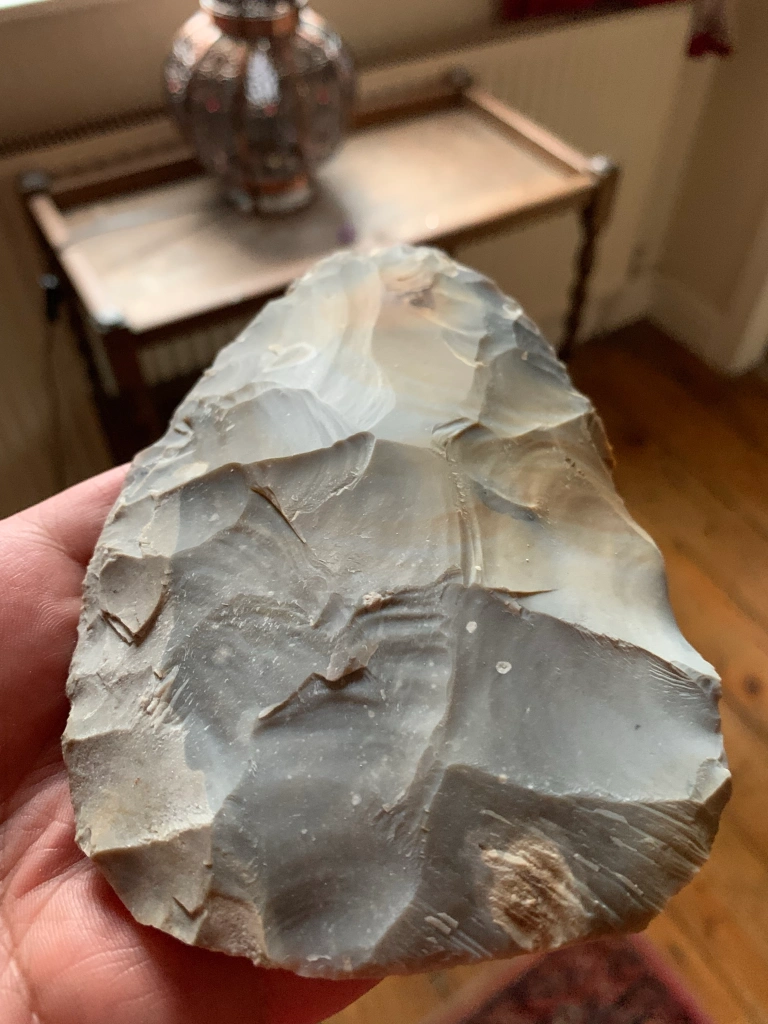
I have been making quite a few handaxes recently, but only just detected that I have a style. It occured to me when I saw these two next to each other and recognised how similar they are. Shape and size was an obvious similarity, and so these two can be recognised as the same ‘type’, and that would be cordate, or heart shaped.
However, it is the process, or ‘technology’ that is the real connector and this relates to how I get my initial flakes. We have very large and chalky nodules, as discussed here and these nodules need breaking down into flakes in order to make a handaxe. Flakes have a thick, bulbar ‘proximal’ end, and a thin and sharp ‘distal’ edge at the other. Intuitively, I seem to make my handaxes with a heavily thinned bulbar section on one side, and a minimally thinned distal edge on the other. This method has developed unconsciously, and I have only became aware of it with these two, and then looking at earlier examples.
In the above video you can first of all see the minimally worked ‘distal’ edge, then the more intensively worked bulbar section, and finally the ripples of percussion indicating this was originally the ventral face of the flake. I’m not sure why my body chooses to work the flakes in this way. I will have to make some more handaxes to find out!
I have been collecting glass from the bottle tip for our melting experiment, and along the way found some nice thick pieces.
I was in the lab Saturday working on flint, and so today (Monday) I had an hour or so working on this brown glass base.
It took a while to get into it, and once in I had to sacrifice size in order to get rid of some horrible step fractures.
I used stone, antler and finally a copper pressure flaker to finish it off. It flaked really well and I am happy with it. I also have a nice green piece so let’s see if I can find the time tomorrow as well.
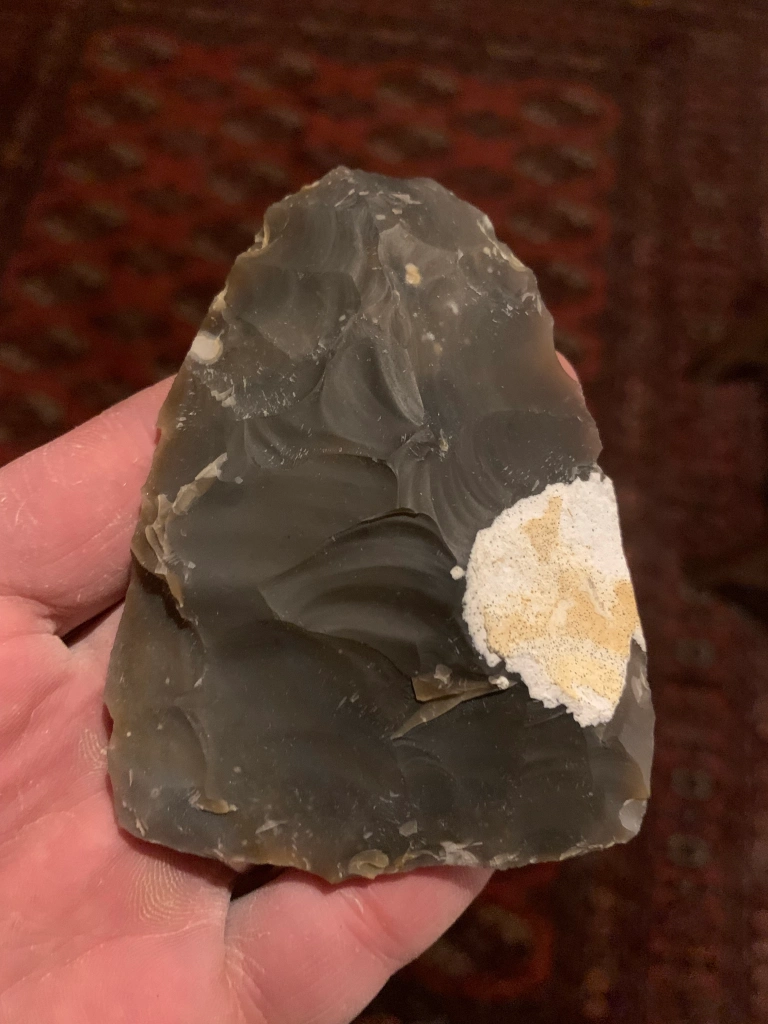
I destroyed two of the large flakes produced last week before I got to this with the third. It is a Neanderthal Bout Coupe, or flat based handaxe, and I like it.
I have had a bit of a ‘John day’ today. First thing I took Bella for a walk to the bottle dump. I found some blue glass fragments and a couple of interesting bottles, but no nice thick pieces.
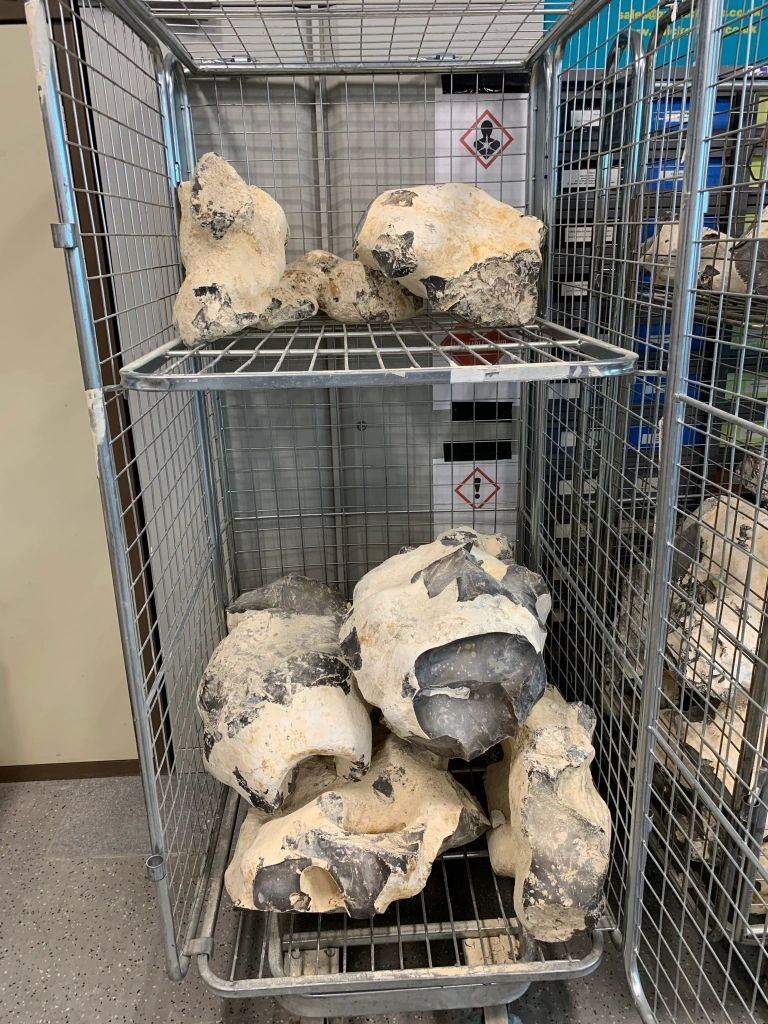
After a late breakfast of left over veggie Shepherds Pie I went into uni. As you can see, we have some very big nodules, inherited from Alice la Porta. When she was buying them I told her to specify big nodules, as our previous delivery had been largely small ones. I should have said medium size.
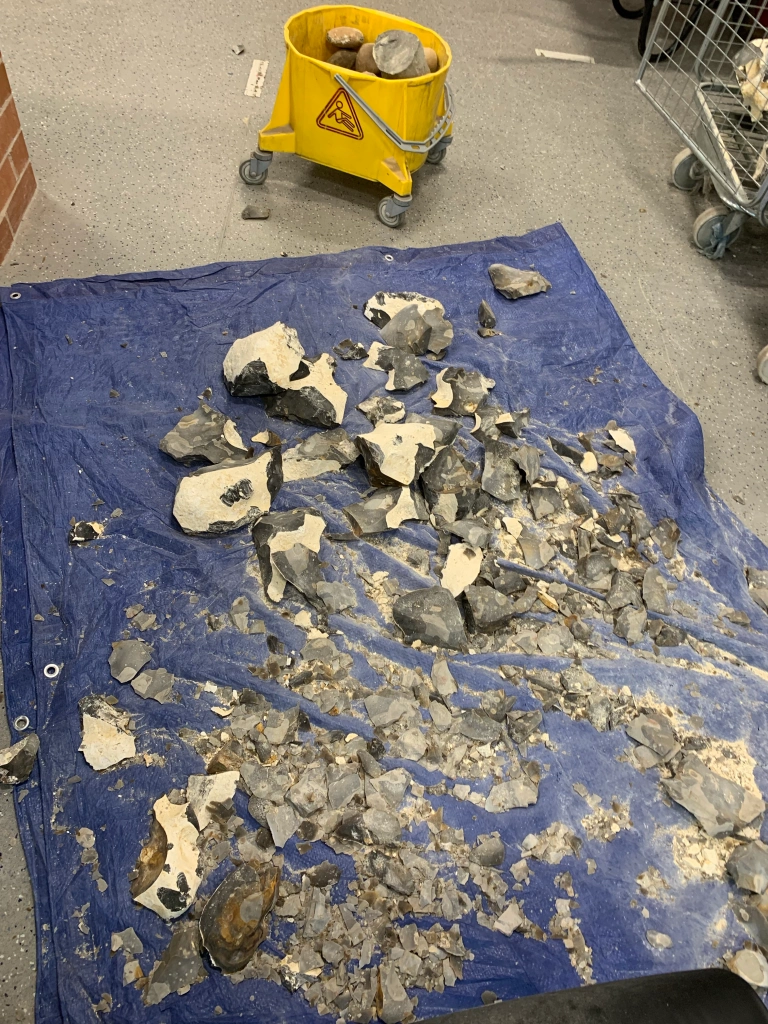
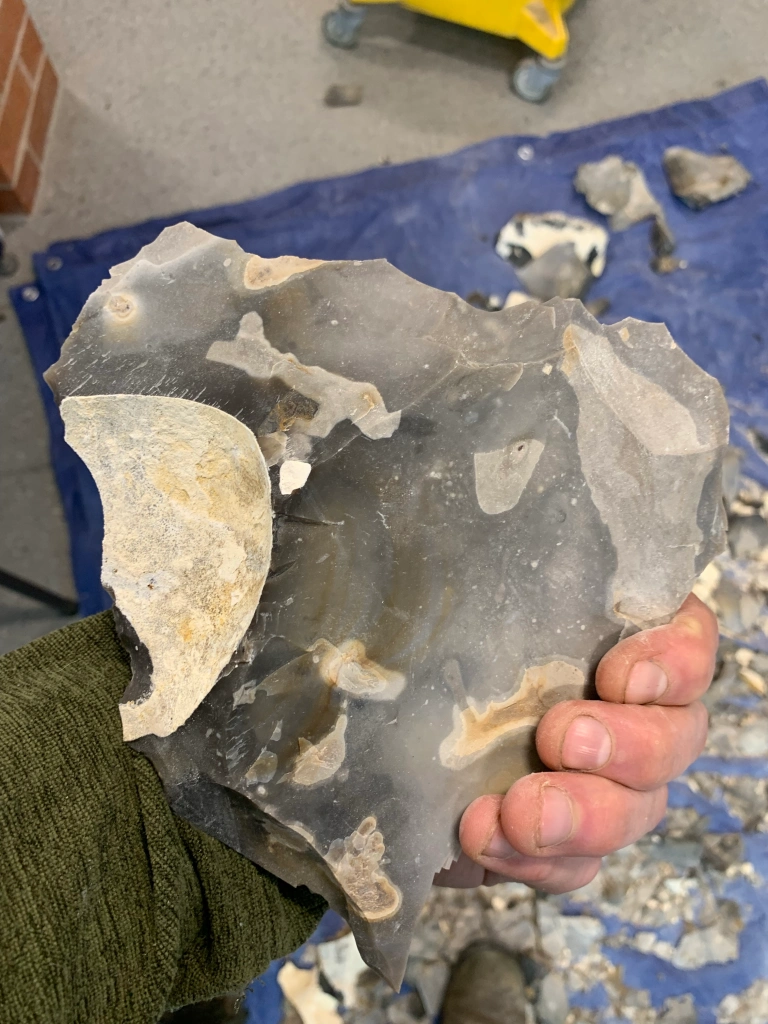
Anyway, today I wanted to try breaking one up to see how it would go. I chose what looked like the easiest nodule, with flat sections as ways in. I then proceeded to produce a series of large flakes, and a lot of small debris.
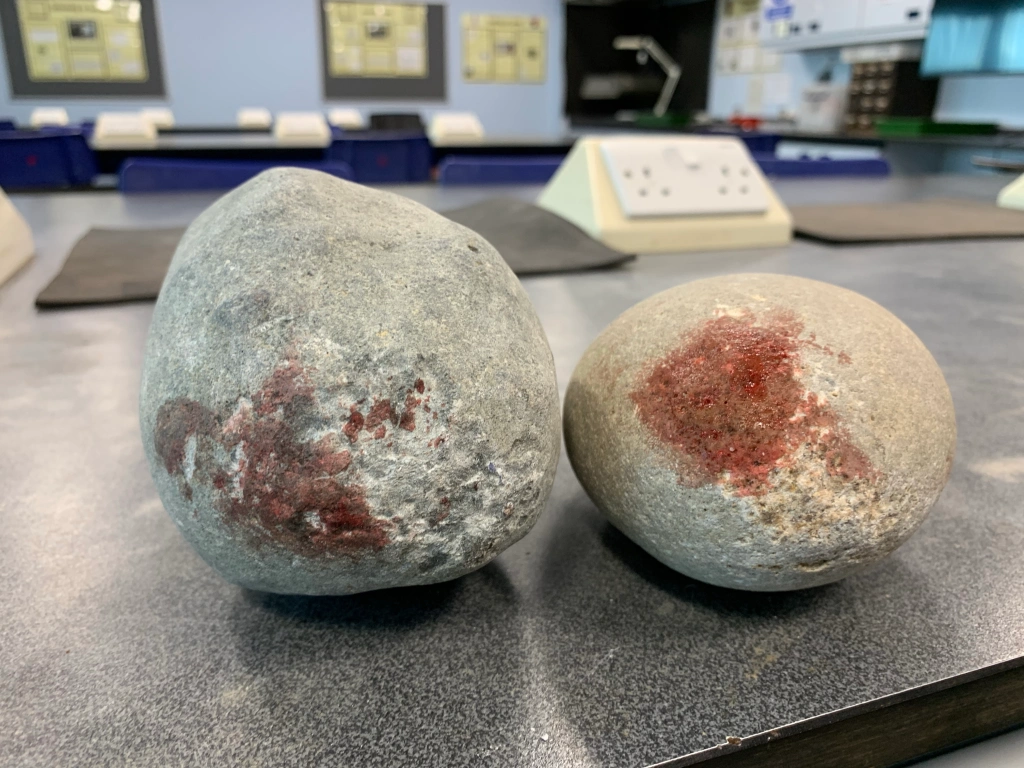
For the breaking up process I used these two hammer stones, and as you can see, I didn’t get off scott free. However, they did their job and I then wanted to make a handaxe from one of the flakes.
All together I had three goes and made two handaxes, and I really like the one made from this flake. I learned from the glass handaxe I made last week, and this time stayed focused on preparing platforms and getting long thin flakes off.
One of the transverse flakes came off nicely but stepped in the centre of the handaxe (see left hand side with brown stripes).
So I did one of my special techniques that I learned from a Bronze Age knapper, and fitted the flake back in. I then whacked it again and successfully removed the step.
If you look at the flake scar on the right hand side you can see the negative bulb of percussion in the centre of the handaxe illustrating the process.
I am very pleased with this one, it is large with nice long flat removals. I don’t know if a Homo heidelbergensis knapper would have been concerned about the step fracture, however that process was immensely satisfying for me and gives the handaxe some personality. Happy days.