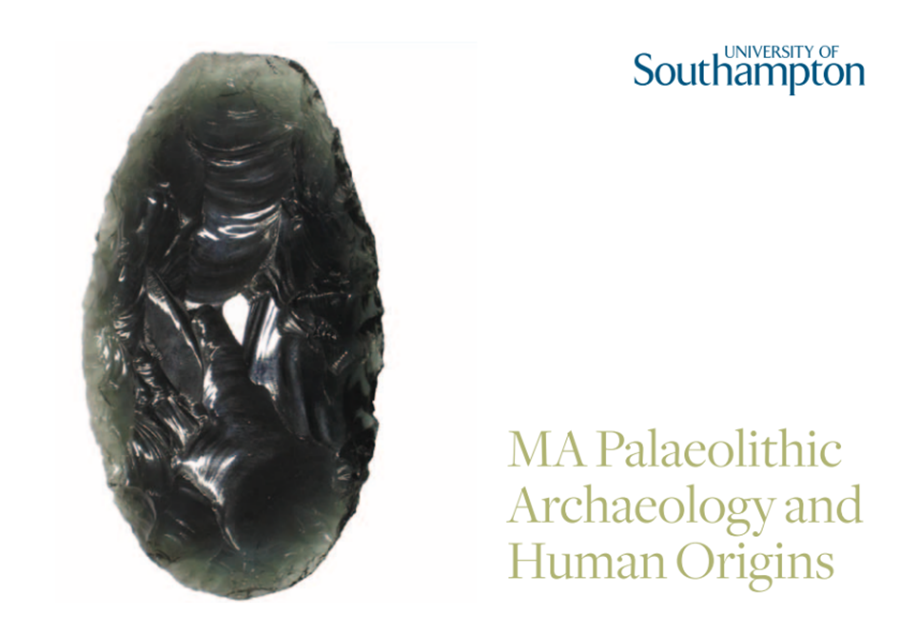
The image above is from a postcard I picked up in 2011 (I think) whilst at an archaeology conference at the University of Southampton. It has been framed and sat on my wall since then and I only recently found out the the glass replica of a Boxgrove handaxe featuring on the postcard was made by a knapper called Tim Ace. Tim’s handaxe inspired me then and has been instrumental in my enthusiasm for glass as a material to work with now.
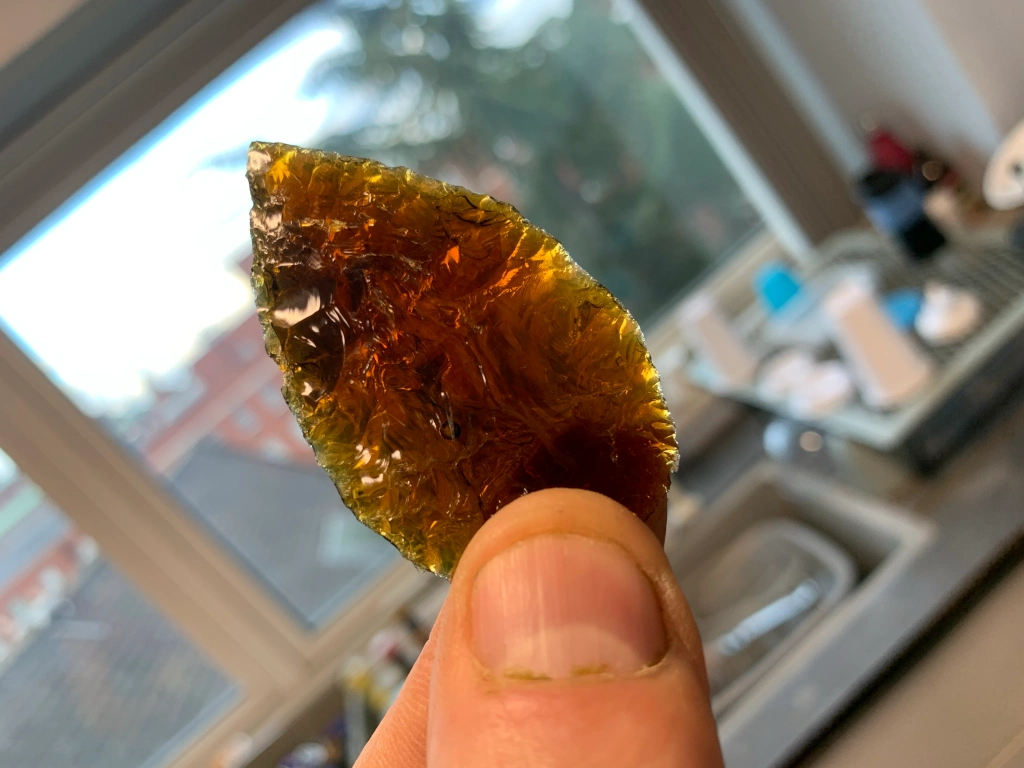
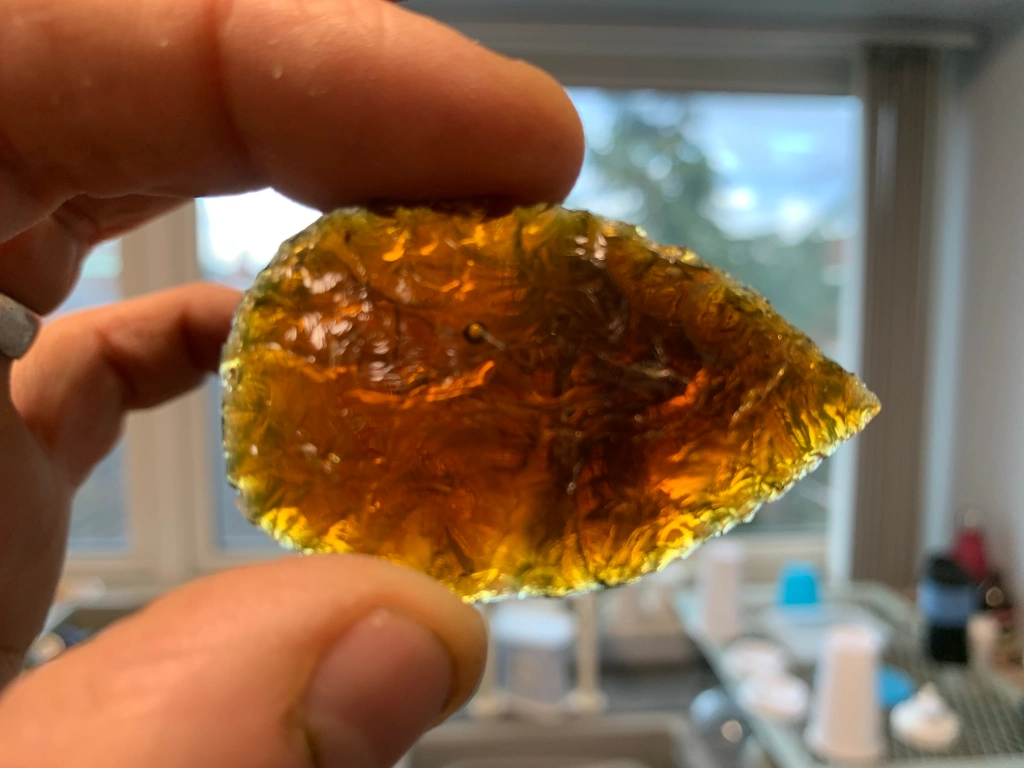
Fast forward to 2016 and I had finished my stone tool based PhD and found I had time to learn how to flintknap. This was something I had failed to do up to then, in spite of working closely with both John Lord and Karl Lee. The main issue was lack of practice due to a lack of access to flint in the north west of England where I live. The above video was really useful in reminding me of the value of using glass to practice, and it was this video that got me going with arrowheads.
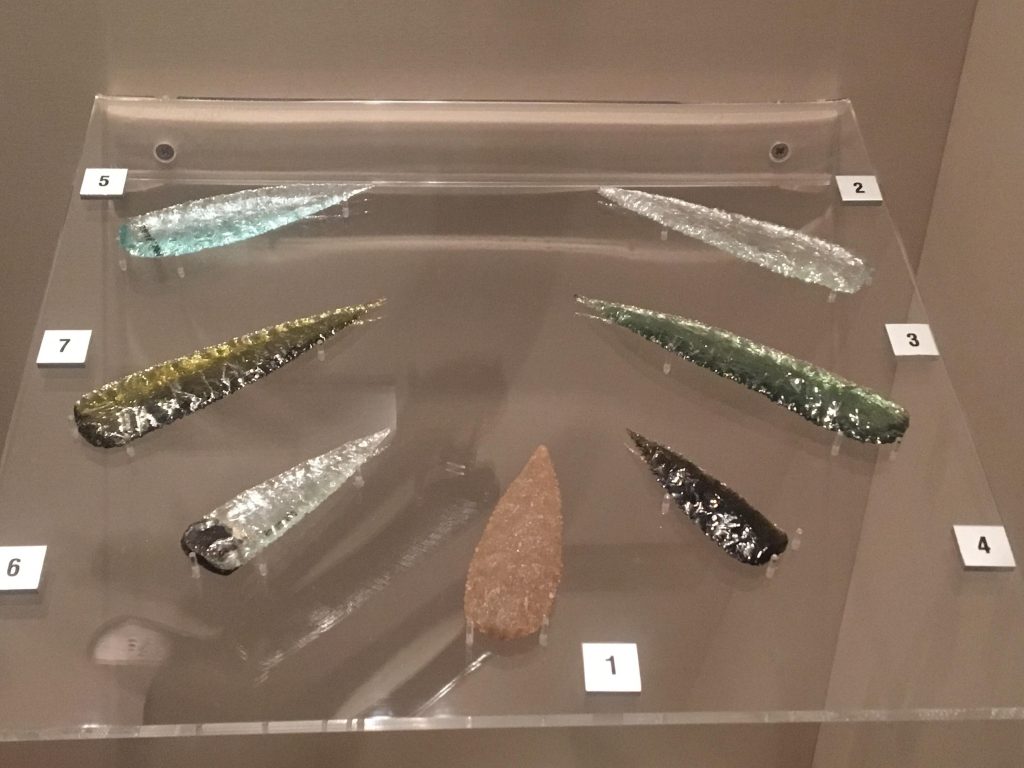
The above image was taken in the Liverpool World History Museum in 2017 (I think) and is of their collection of glass and stone Kimberley Points. When I realised Australian Aboriginals also used glass I became really excited about researching their points and methods. A number of people helped me on this learning journey as discussed here, but as well as helping me develop my pressure flaking skills, this journey provided me with a real insight into the social aspects of stone tools and their production.
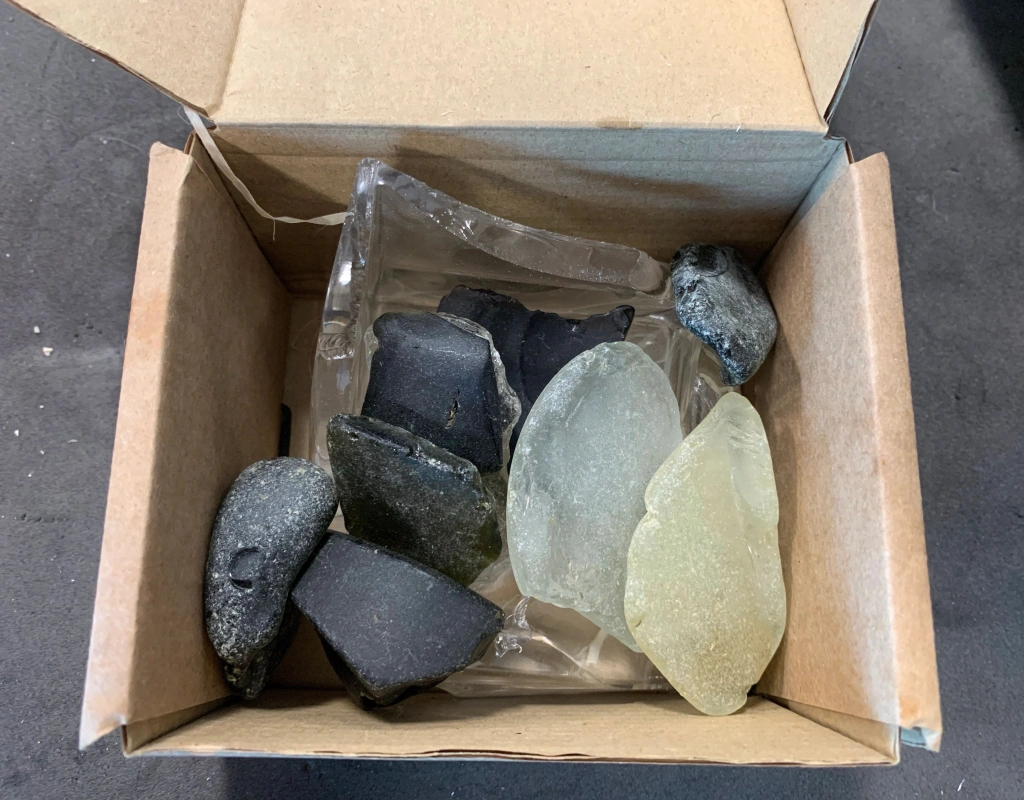
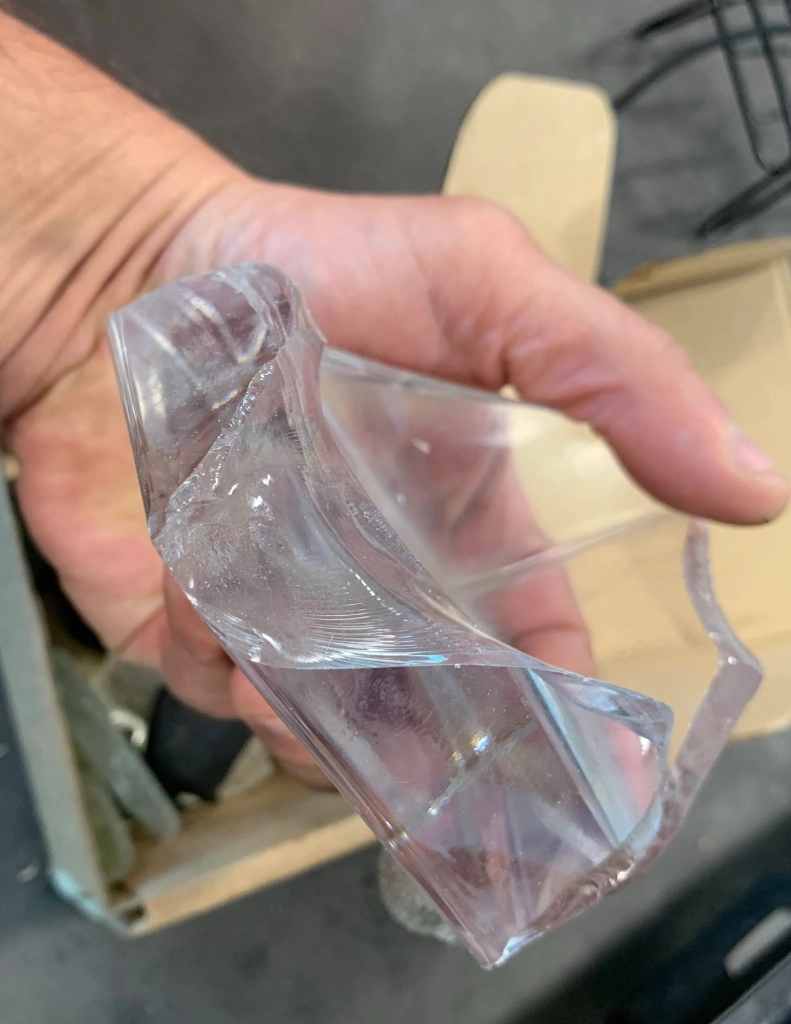
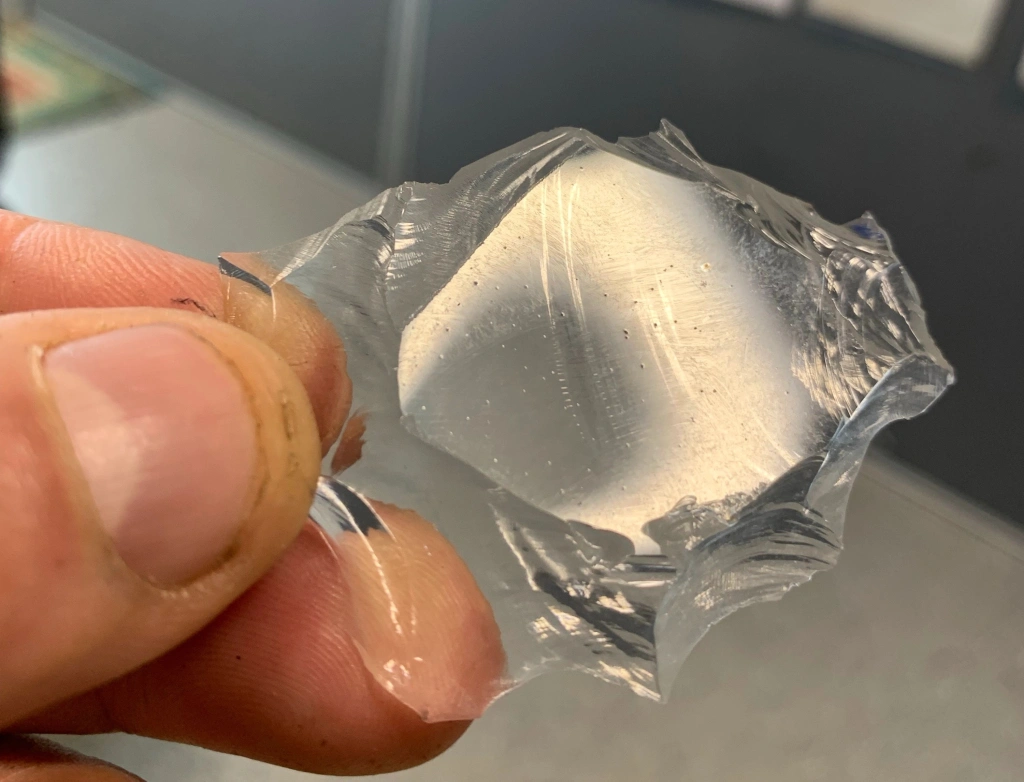
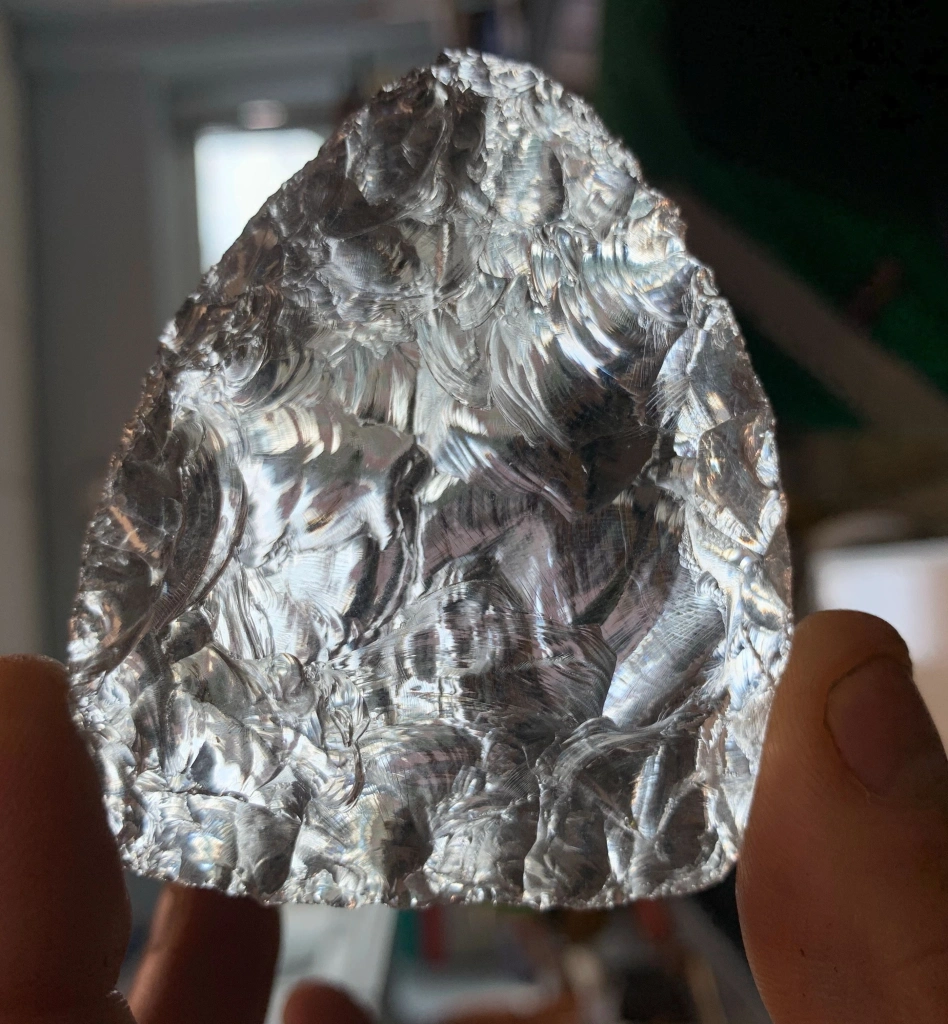
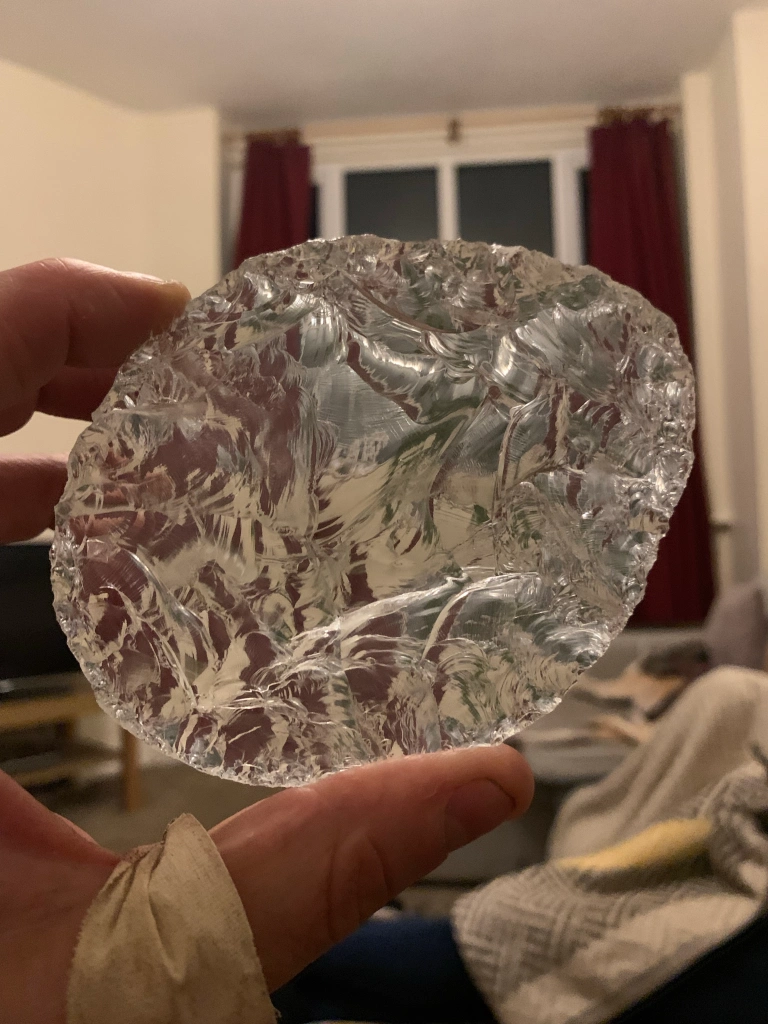
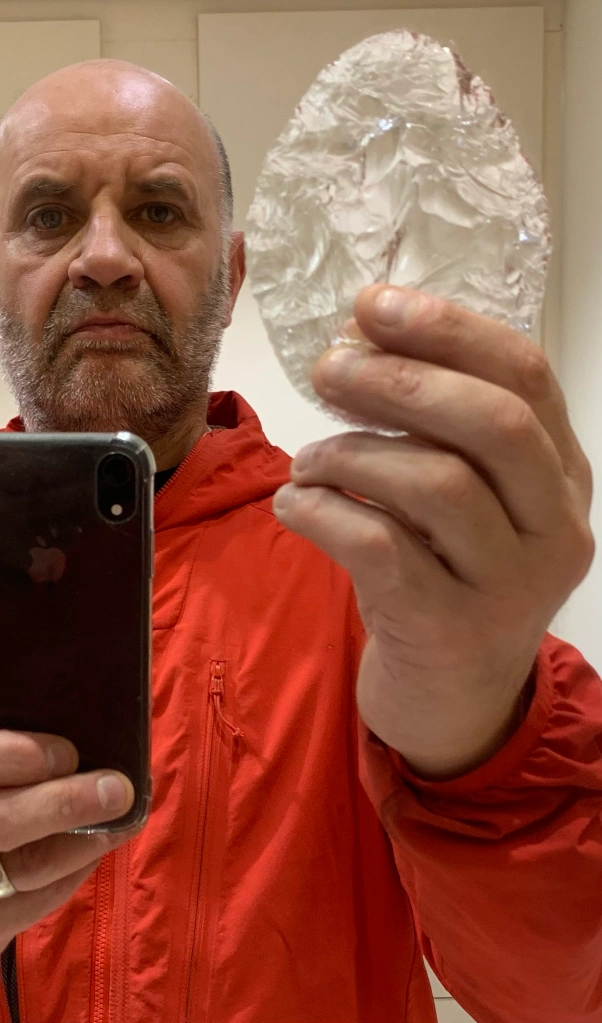
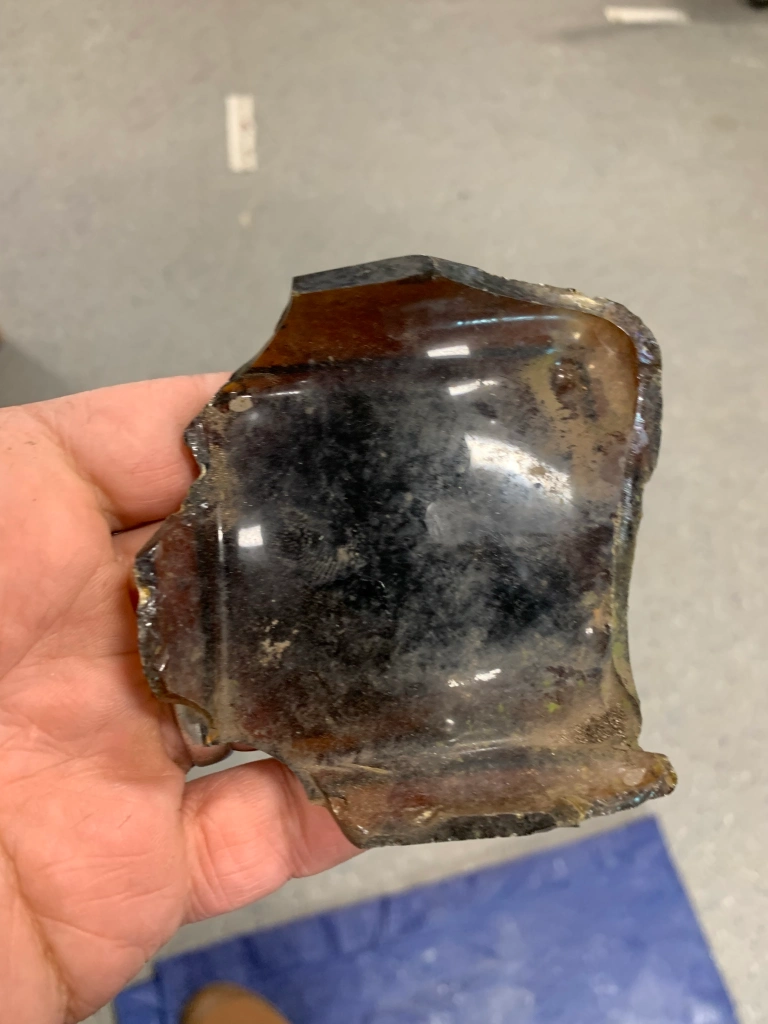
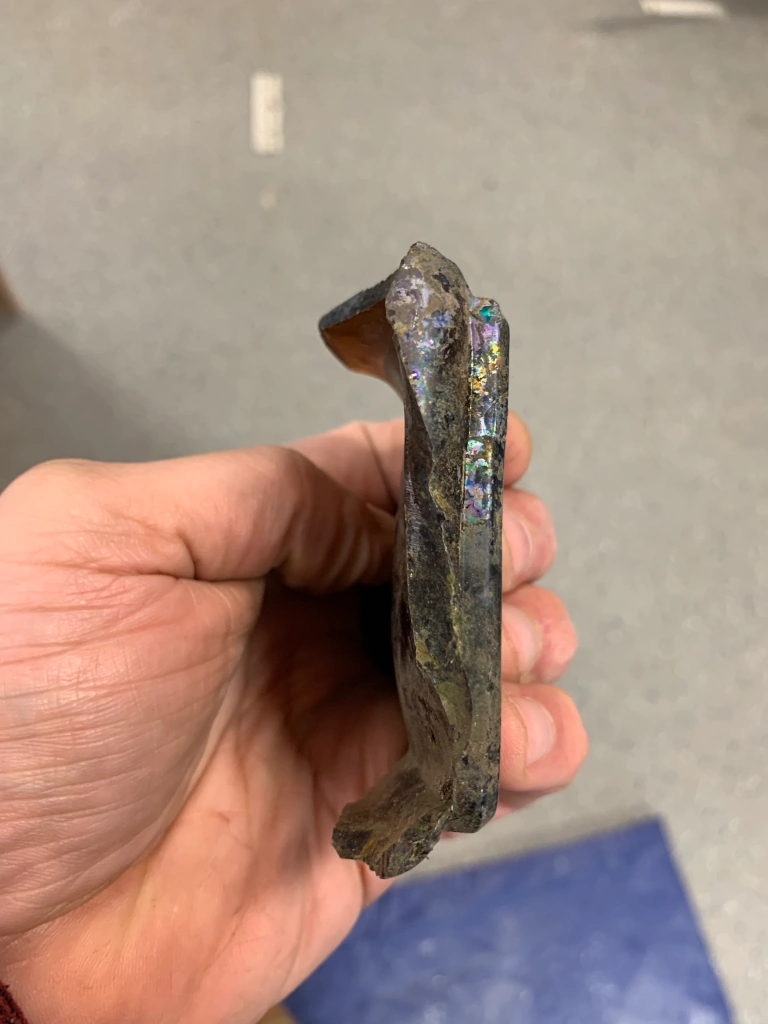
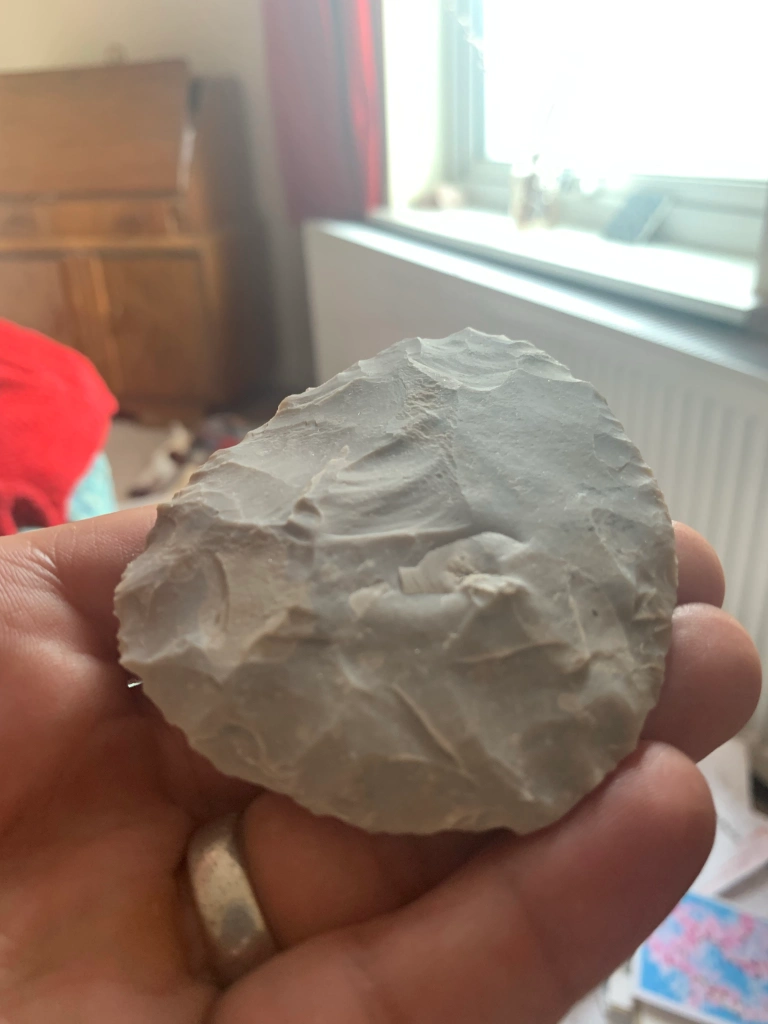
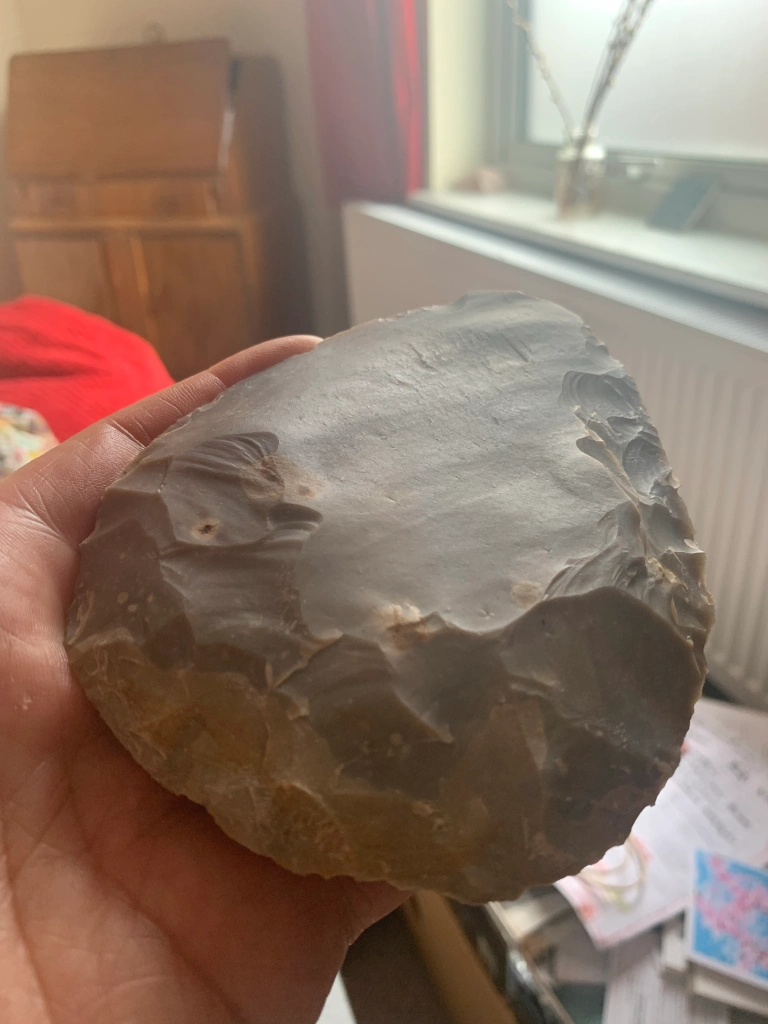
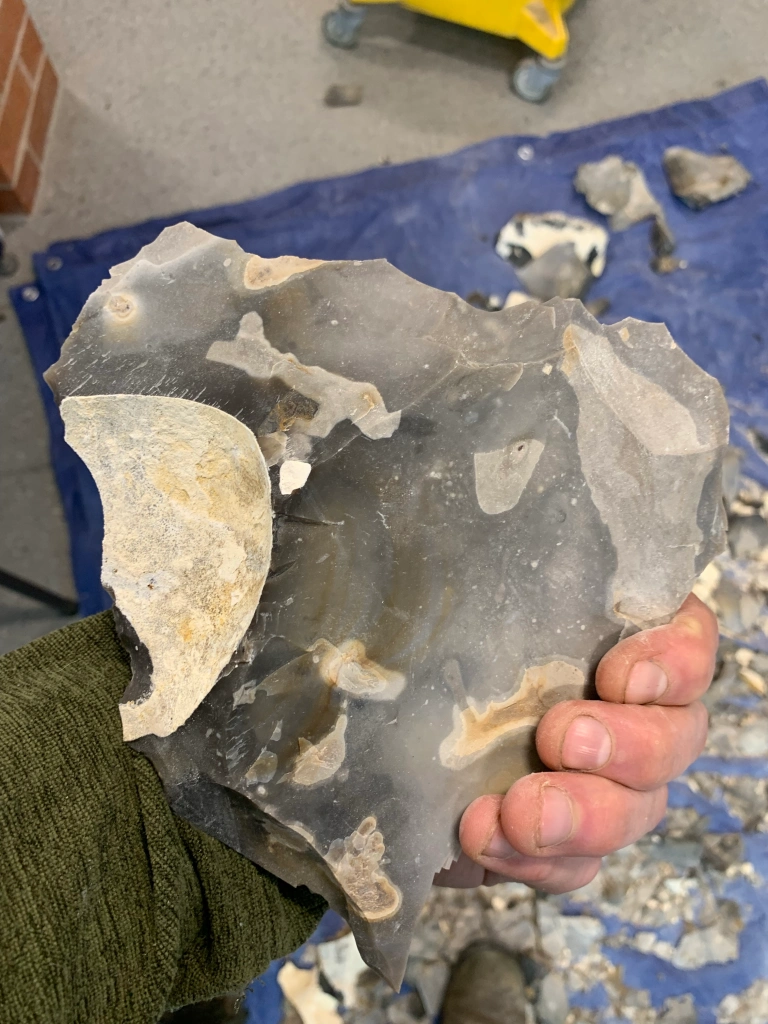
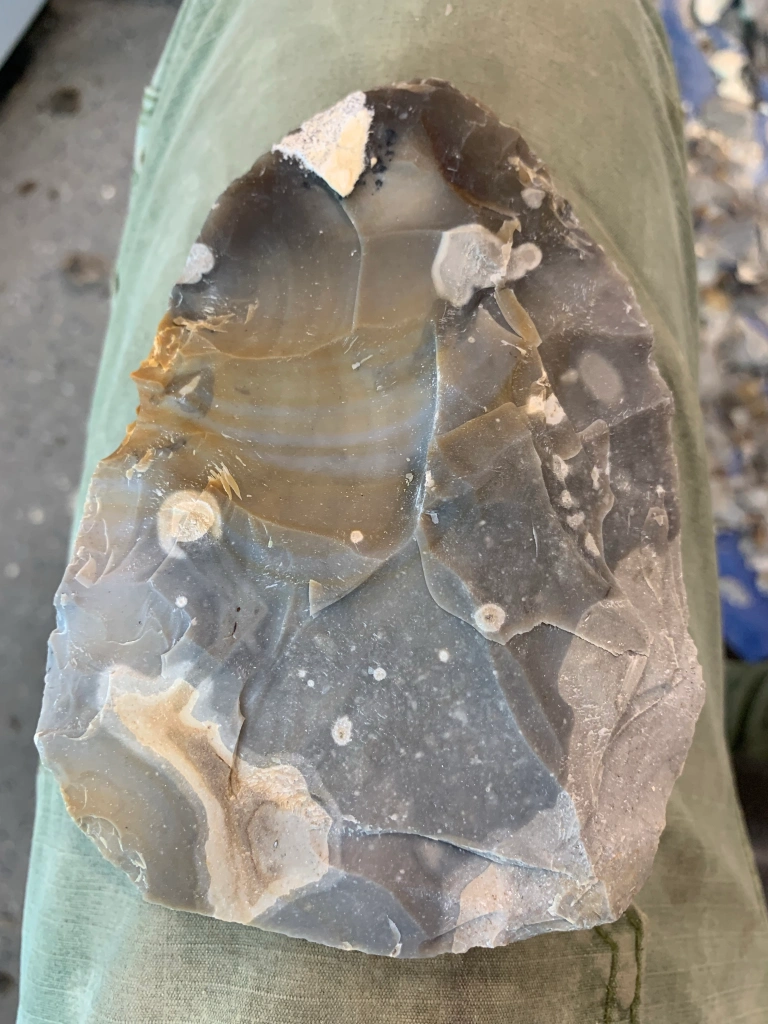
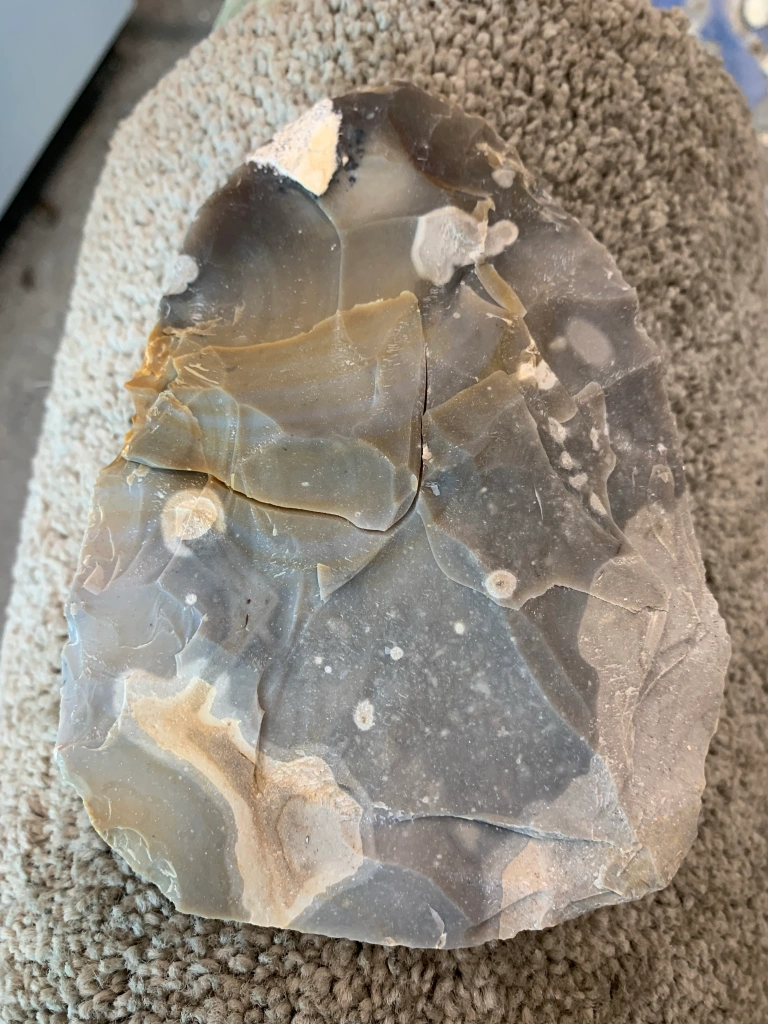
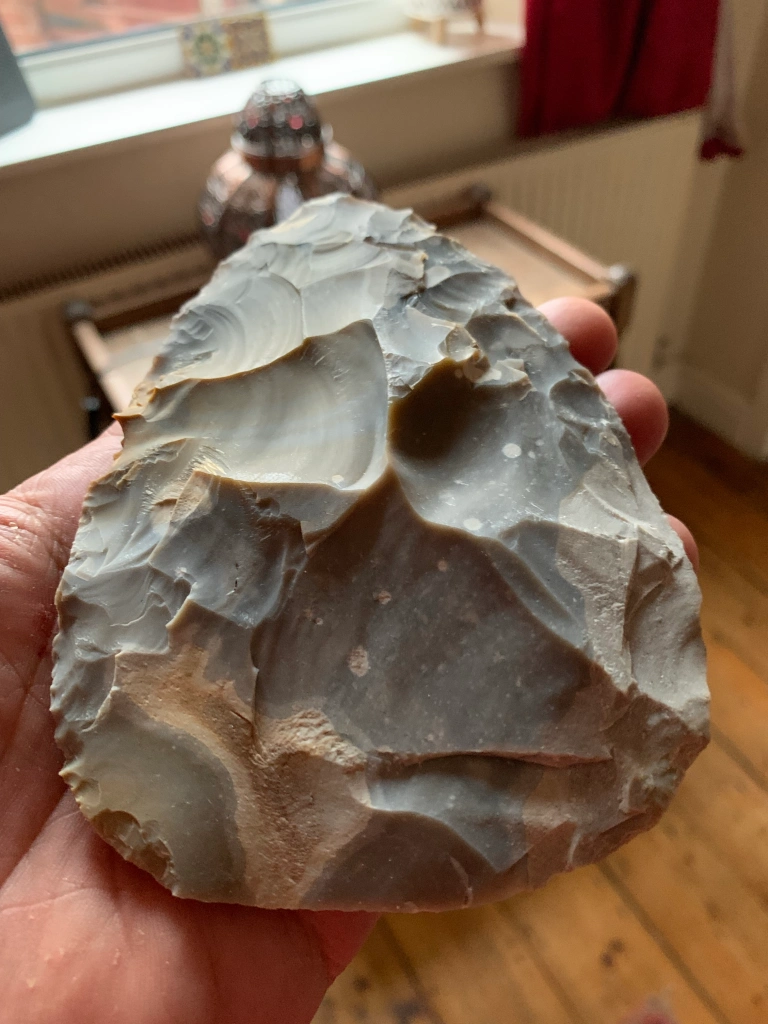
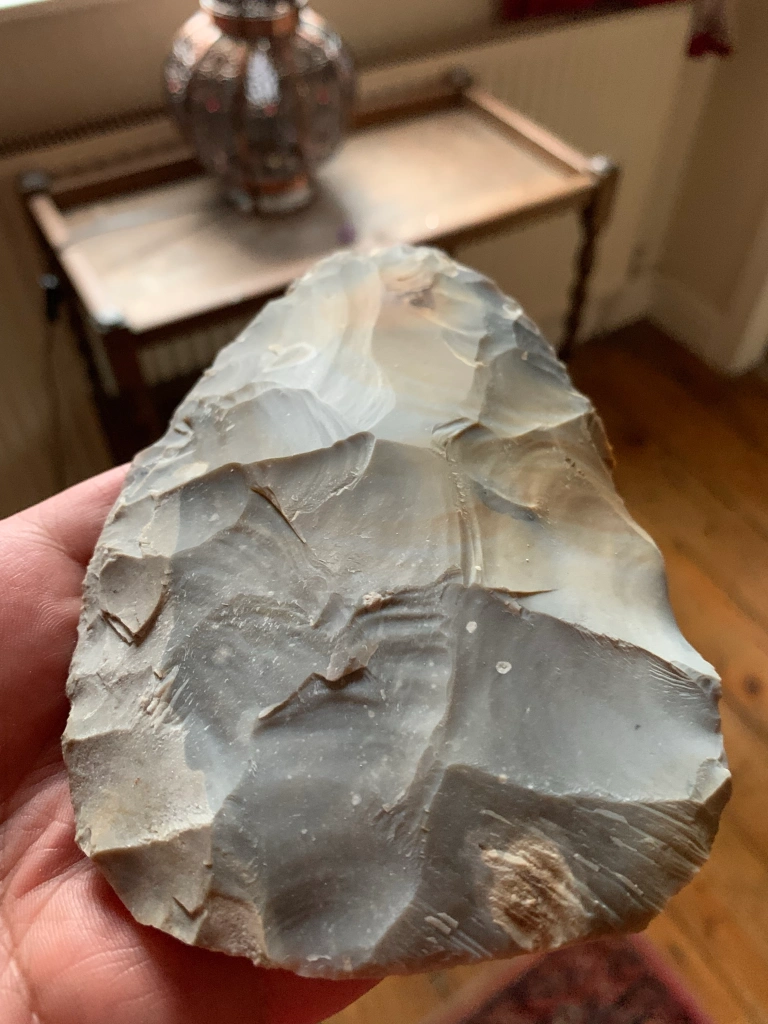
And now it is 2024, and after many years spent hunched over in my back yard, I sort of know what I am doing. The above was a big flat slab of good quality glass from the Didsbury Oxfam shop (£3) and it is now a large pointy handaxe. We are in the lovely Spanish city of Valencia at the moment, and today I came across a woman in her studio making glass to produce her own glass jewellery. That would be like a dream for me. Having my own small studio space in a lovely city like Valencia, and being able to knap beautiful glass handaxes all day, interrupted only by the occasional cafe con leche.