Last week Nacho, Howard and Jex made some time to record the smashing and melting processes for the glass collected from the bottle tip. Above you can see a birds eye view of Nacho’s home made kiln that we were using for the experiment.

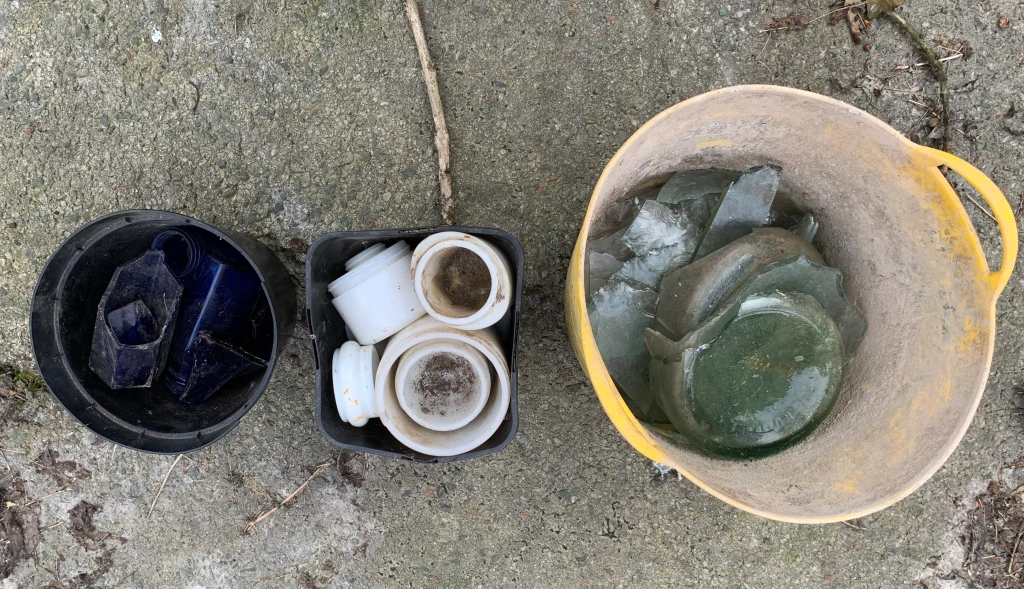
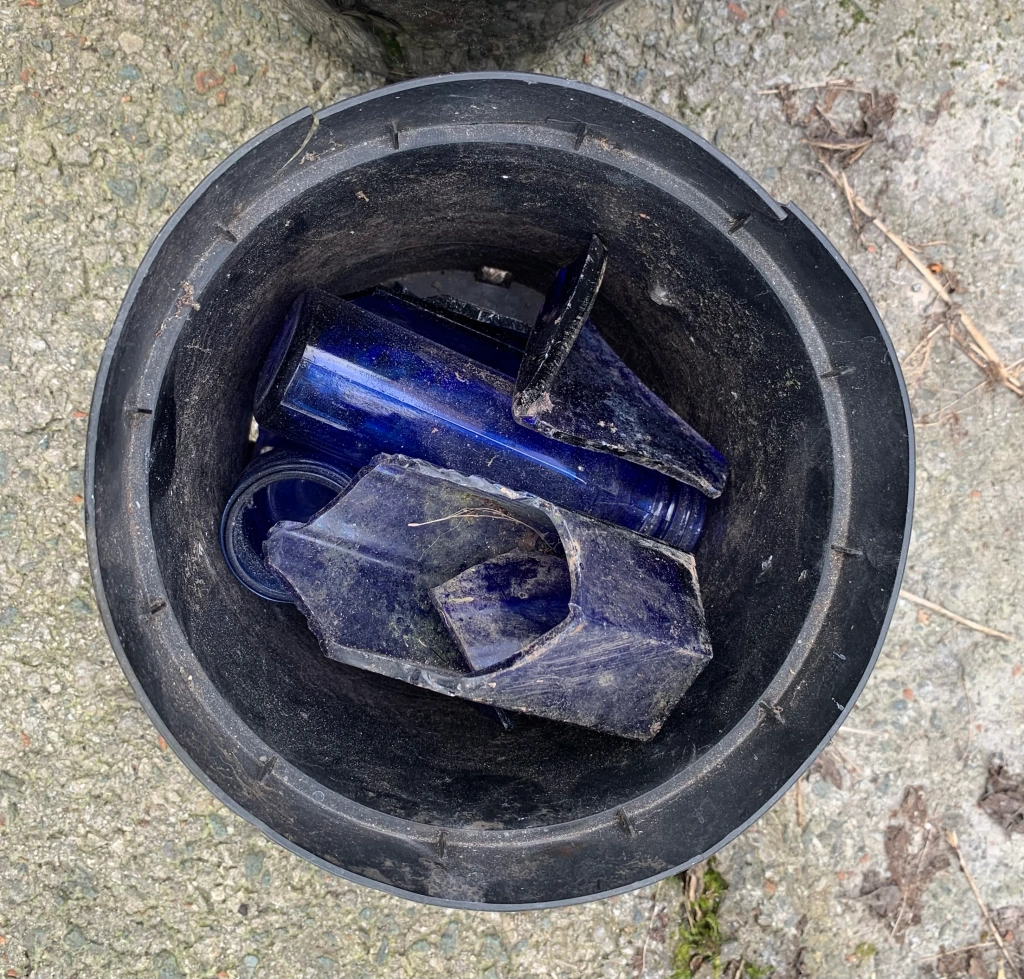
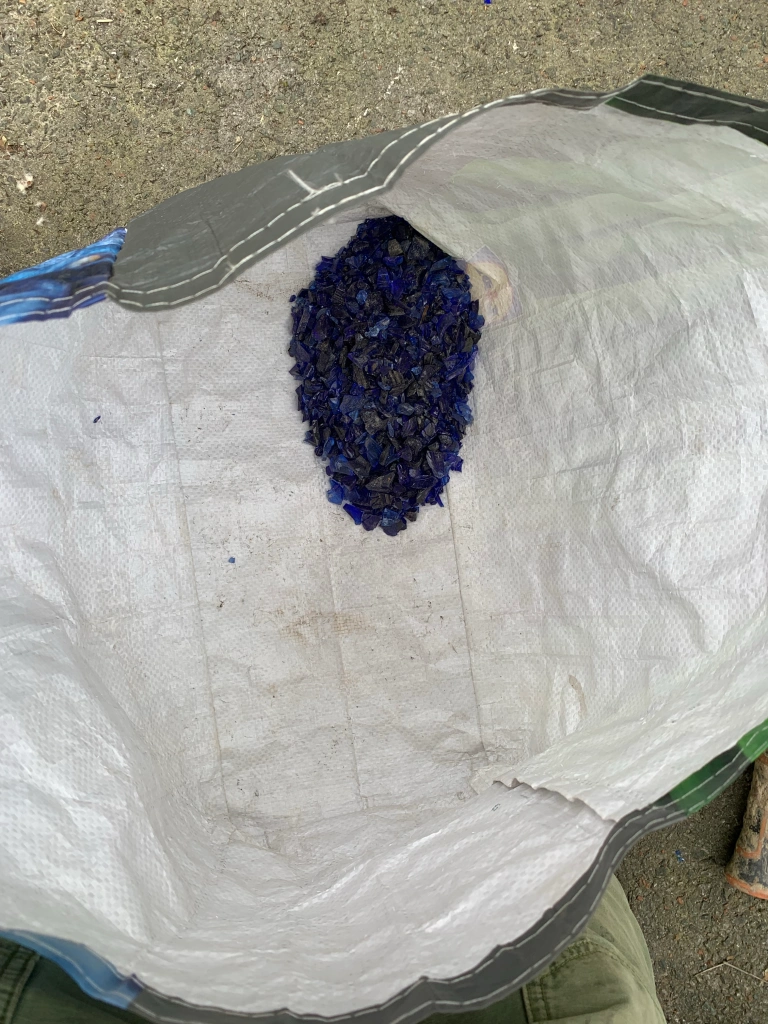
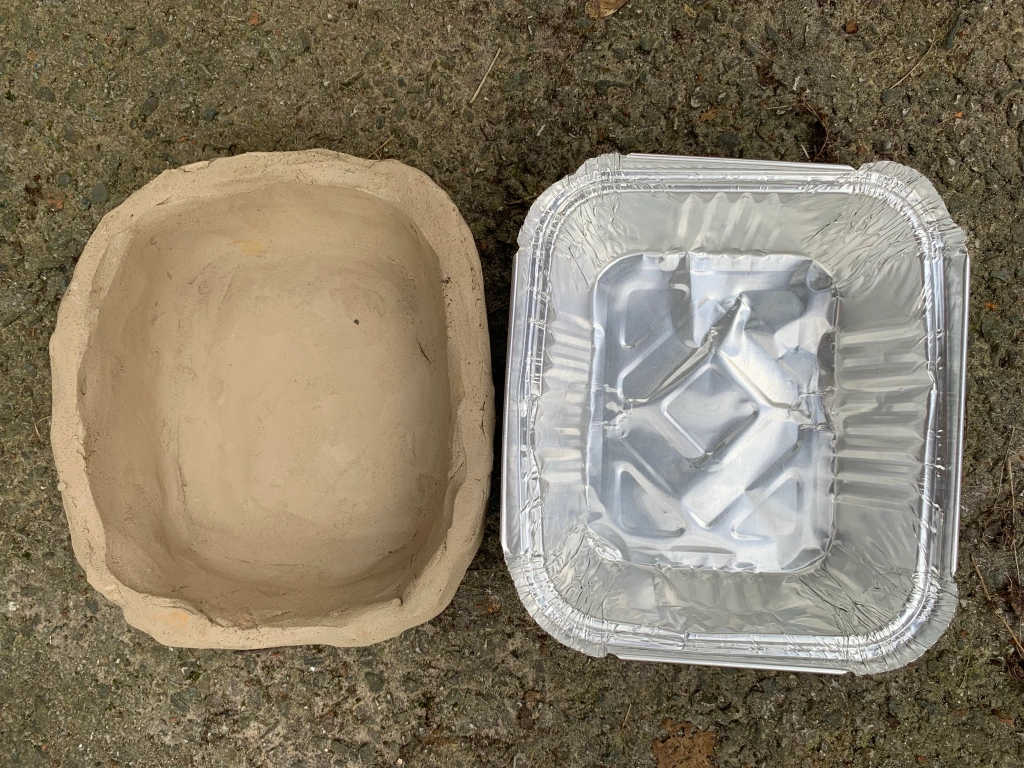
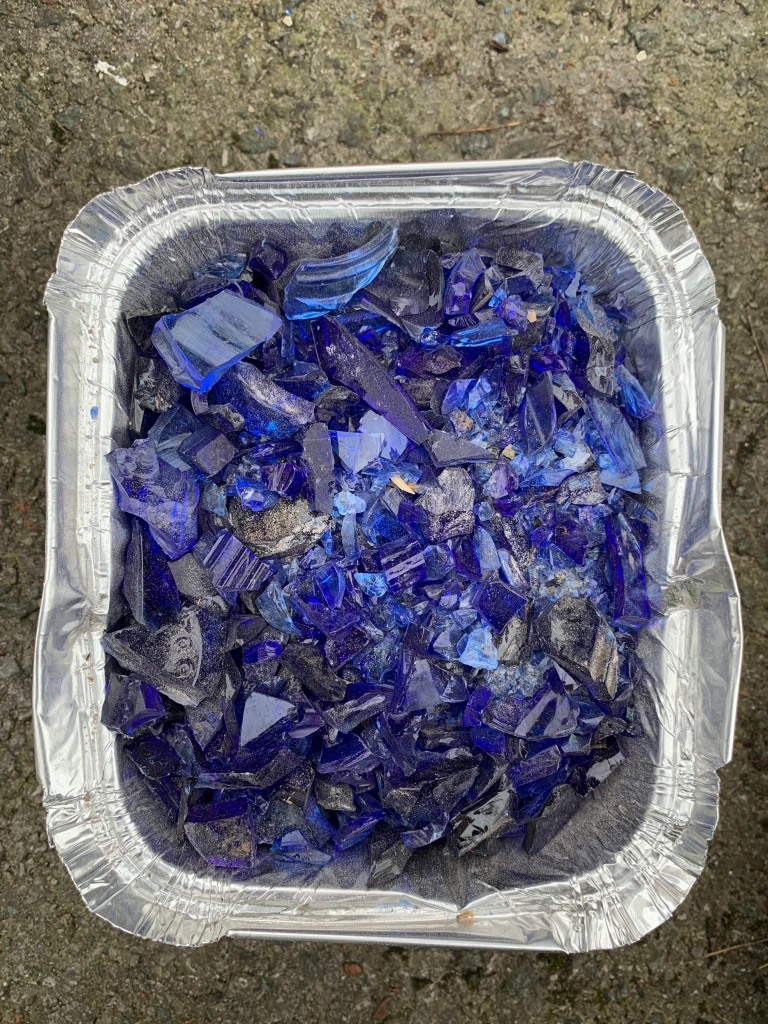
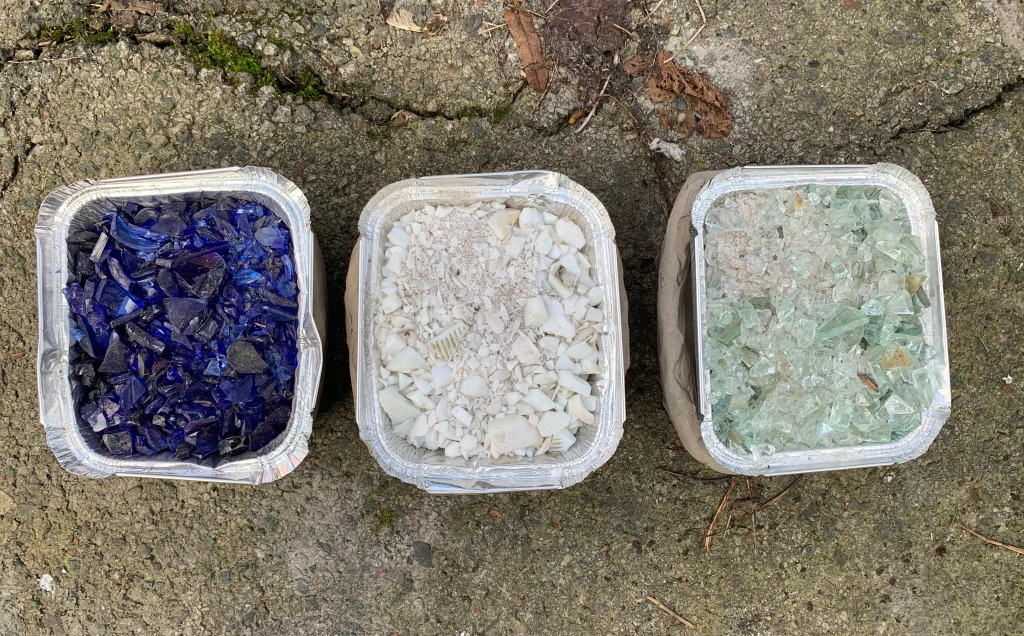
In total we had six clay moulds lined with aluminium takeaway containers. The take away containers function was to stop the melting glass adhering to the clay mould. In relation to the kiln we had an upper and lower section, and were interested to know if location within the kiln was going to be a factor. As you can see, we also had glass of different colours and Nacho thought the milk glass, based upon its density, would be the most difficult to melt.

The above photograph shows the kiln just as it reached 1000 degrees. I was told in Spain that glass melts at around 850 degrees, and so in theory 1000 degrees would be more than enough. However, it was possible to see into the kiln, and although the glass had adopted a sheen, it clearly had not yet liquified. So we carried on upping the temperature.

Above is the sample Nacho had made so that we could pull it out and see how things were progressing. When he pulled this out the glass was red hot, however, as it cooled it became apparent that the clear glass fragments had liquified whilst those of milk glass were still recognisable as fragments. The differing colours were indeed behaving differently.
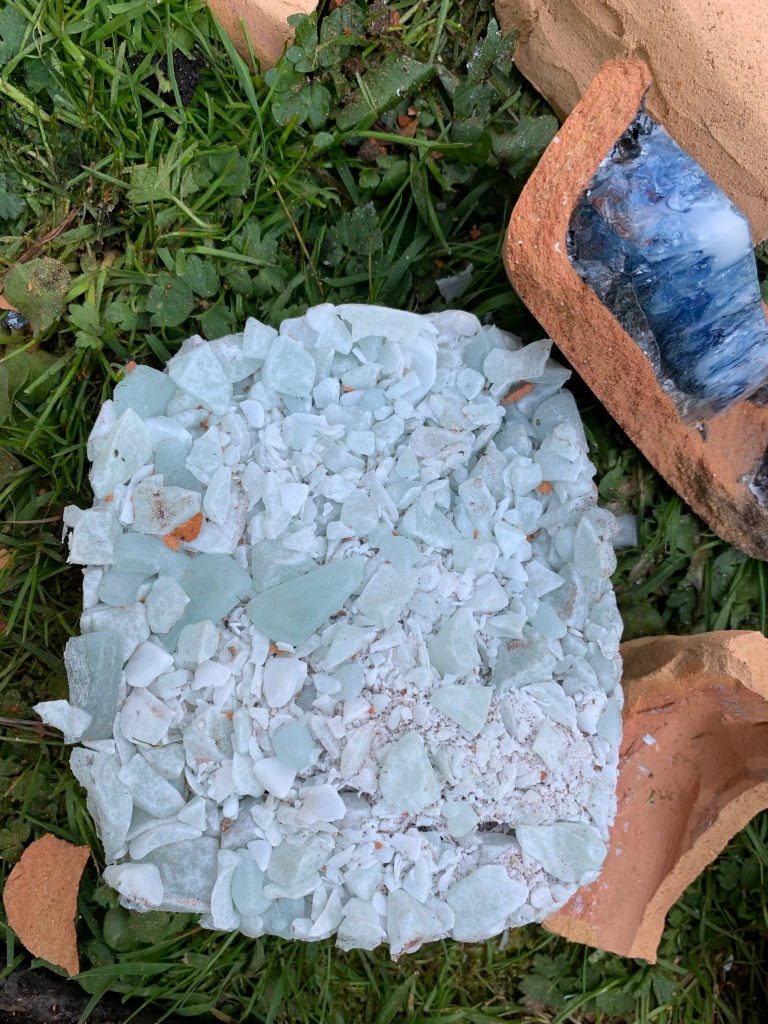
I had to be in university by 5pm and so at 4pm Nacho switched off the heat source and allowed the kiln to start the cooling process naturally. We could see that some of the glass had indeed melted, whilst other glass hadn’t. The mix above of clear and milk glass had the texture of a rice cake, rather than the smooth and solid block we were looking for. On the plus side, it did release from the clay mould easily, in spite of the fact that the aluminium tray had melted.

This blue example was perhaps exactly the opposite. It seemed to have melted well, although upon close inspection a crack could be see running diagonally across the block.
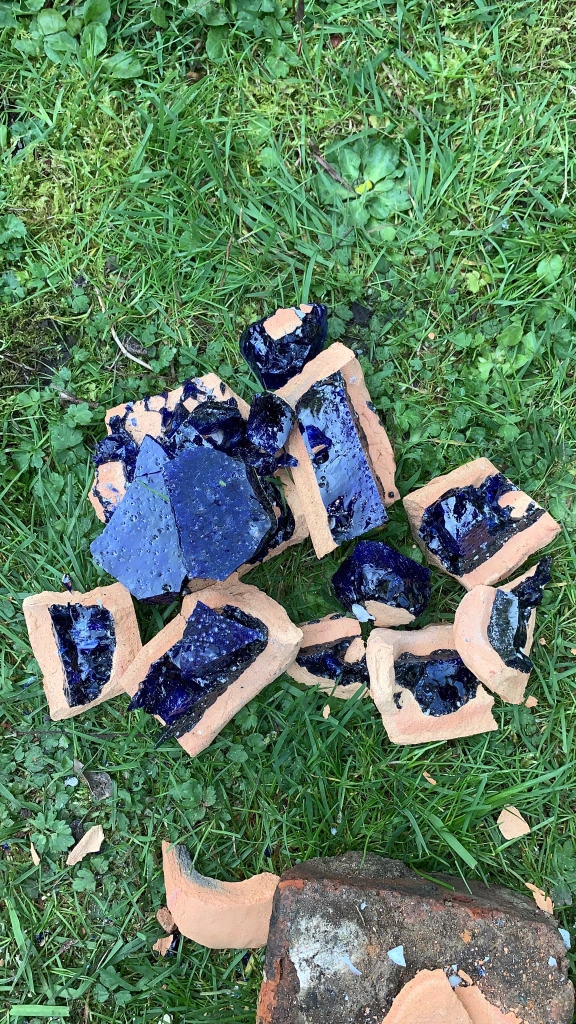
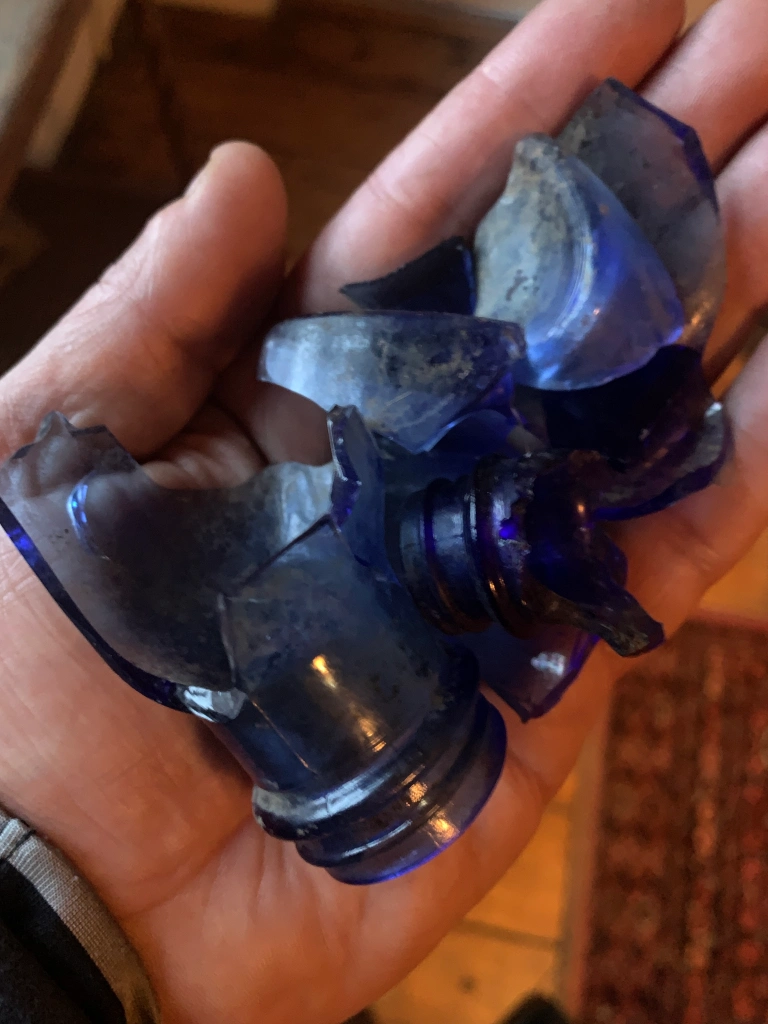
Because this looked like a promising candidate we tried to release it from the clay mould, but this one had attached itself to the clay, and you can see the results of our attempts.
This blackcurrant glass also looked promising, but the thing to note here is the bubbles. This must have cooled very (too) rapidly to capture the bubbles like this. Perhaps, if we don’t want bubbles then the heat should be turned down rather than turned off in order to make the cooling process more gradual.

This second blue one looked similar to the blackcurrant glass on the surface, however, when I tried to release it from the mould the internal structure was revealed, and that also contained bubbles. None of the six slabs were suitable for Knapping, so what did we do wrong?

I think we should have kept increasing the temperature to above the maximum of 1018 degrees that we got to on the day, in order to identify when the most difficult milk glass will melt. A second thing is to slow the cooling process so that bubbles have the chance to settle before the glass starts to solidify. We also need to consider alternative mould methods, as the aluminium takeaways, whilst not the main issue, didn’t help by melting.
We didn’t get what we wanted, but we did get plenty to think about!