Following on from the previous tools based post, this one is about stones useful as tools to a flintknapper: hammerstones and abrading stones

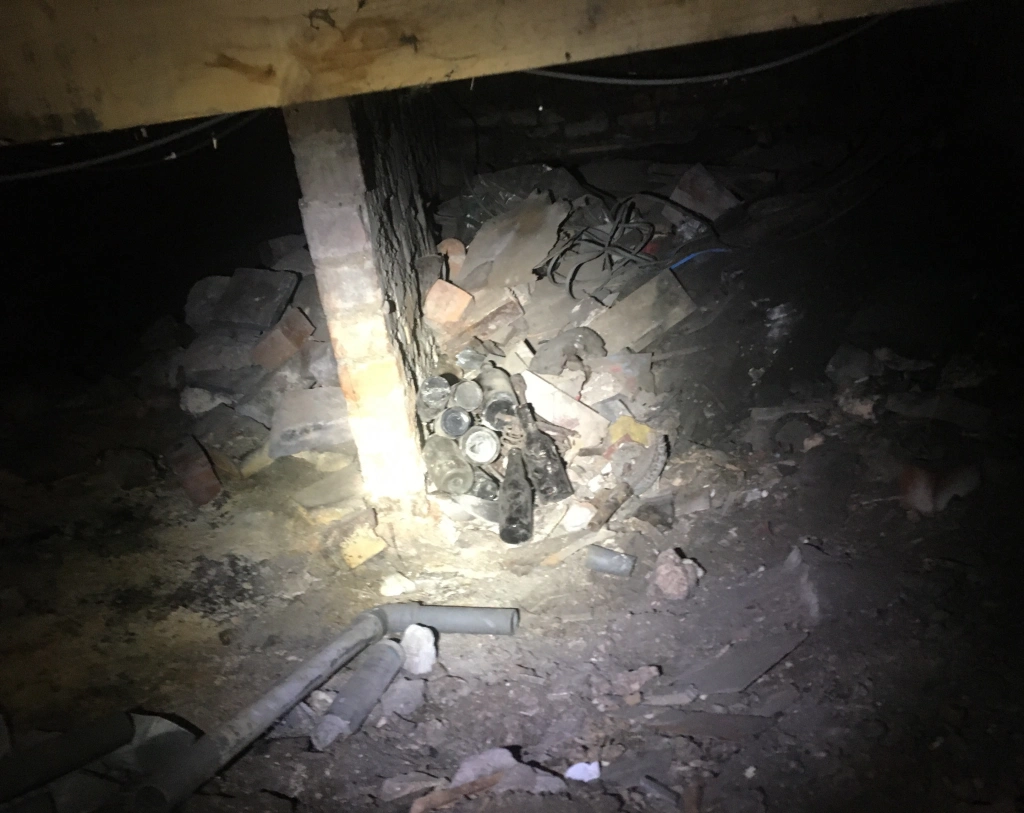
Last week we were in Pembrokeshire, in south Wales on a family holiday. It is no coincidence that Pembrokeshire has some lovely pebble beaches and that we were on holiday there. Karen loves travel, I love flintknapping and so pebble beaches are one of the areas where our family holiday Venn diagram overlaps. And to reiterate from the previous post, obtaining equipment shouldn’t be a limiting factor if you want to learn how to make stone tools. Just go on holiday! And as you can see below, you may not even have to go to on holiday! but I digress…

Hammerstones first. Not all beach pebbles are born equal. For an ideal hammerstone I look for three things. Firstly, its hardness. The black stone pictured below is an exemplar. I picked it up because it had a shiny smooth surface which suggested it was formed from a compact and dense material, and when handled it felt heavy for its size. I tested it out on the beach and it worked well on other materials and showed minimal damage. Within a few seconds I had identified it was a suitable hard stone.

Feeling heavy for its size is the second factor that is useful. As well as the actual material it is formed from, its shape also contributes to this quality. It is approximately globe shaped, and this provides the greatest mass of material for the minimum surface area. In other words, globe shaped pebbles cram in the most material for their shape and therefore size. So, bringing together a globular shape and a hard material means you are optimising the qualities you want from your hammerstone.
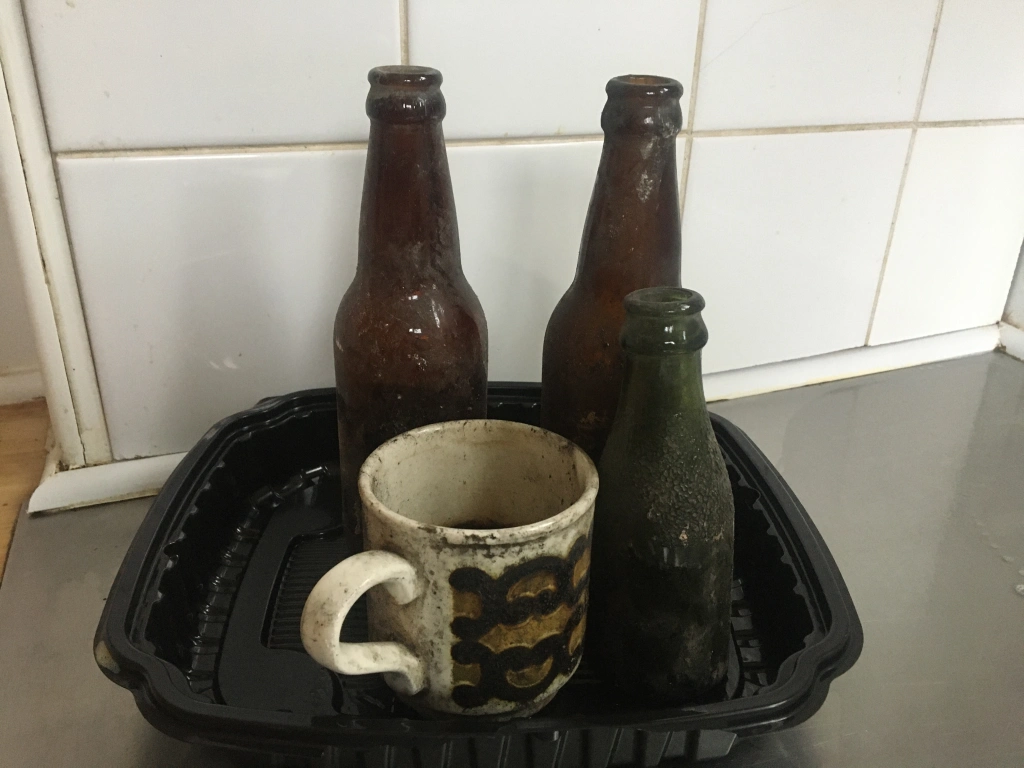
The third factor is more personal to me, how it fits and feels in my hand. Different size hammerstones are needed for different tasks. A small hard hammerstone is useful for tidying up bottle bases after they have been removed from the bottle. A large hard hammerstone is useful for breaking down large flint nodules into more useable flakes. I think this hammerstone sits somewhere in between and will be ideal for transforming large flint flakes into handaxes.
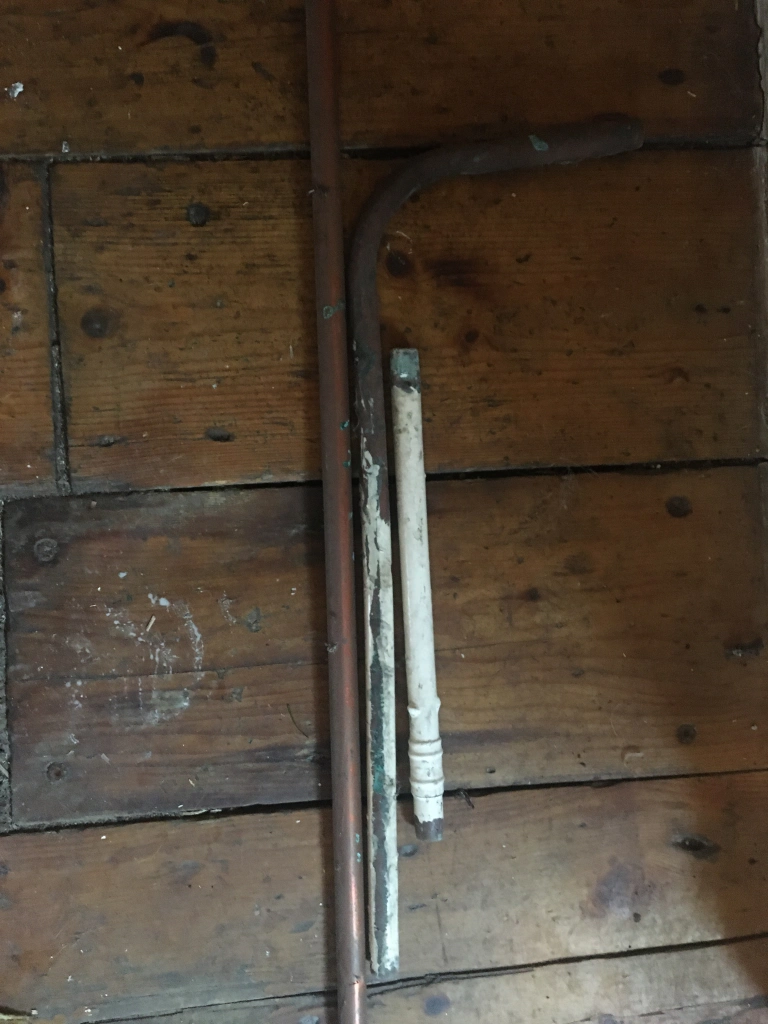
Next up, abrading stones. Most flintknappers will tell you that abrading a platform is very important. For me there are two important reasons: shaping the platform; and getting rid of sticky out bits. To achieve these outcomes I look for two main qualities in an abrading stone. Again, how it fits in the hand, but primarily it needs to have an abrasive surface. The one pictured below I have found ideal for shaping and abrading platforms on flint flakes.

Again, to reiterate from the previous post, it’s not complicated, that is more or less it. Once you start playing with the hammerstones and abrading stones collected you will develop your own criteria and ways of working with them, and that is the really interesting bit.