This website has been designed as a guide for the reader to learn how to make stone tools. It is based upon the premise that learning to flintknap is a practice, and in order to practice you need to have access to both tools and materials, as well as protective equipment to practice safely.

Figure 1. Small cordate, or heart shaped handaxe, made from the base of a 1950s vase found at the bottle tip in Stretford, Greater Manchester.
It took me a long time, many years, to learn how to flintknap. Living in Manchester meant that access to flint was intermittent, and consequently, so was my practice. However, once I rethought my ideas firstly about materials, then about tools I was able to learn very quickly. Access to materials and tools was the turning point for me and it is that process I am sharing here.

Figure 2. Solutrean point made from toilet cistern, or bathroom ceramic, rescued from the building I work in when the toilets were replaced.
To facilitate the learning process the website has a ‘Categories’ tab. There are a number of categories but four of them are fundamental for you to explore: Materials; Tools; Techniques; Protective Equipment. By clicking on each of the categories you will access blog posts that are more or less relevant to each category. ‘Materials’ for example will introduce you to a range of knappable materials, beyond flint, that I have recognised and successfully used.
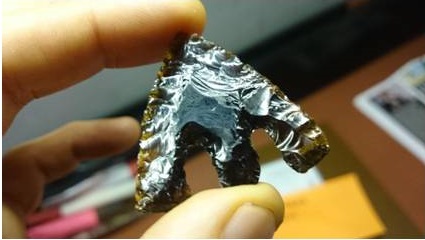
Figure 3. Glass barb and tang arrowhead made from a beer bottle base. I was particularly pleased with the depth of the notches.
If you click on the ‘Tools’ category it will take you to posts about…tools! Virtually all my toolkit is homemade. I have spent money on copper pressure flakers and bought antler hammers from flintknapping suppliers, but this was only because I wanted to see what they were like. Generally I find making my own tools very satisfying and obviously more economical. The above glass arrowhead is made from a beer bottle base and pressure flaked and notched using two different gauge copper pipe pressure flakers I made myself.
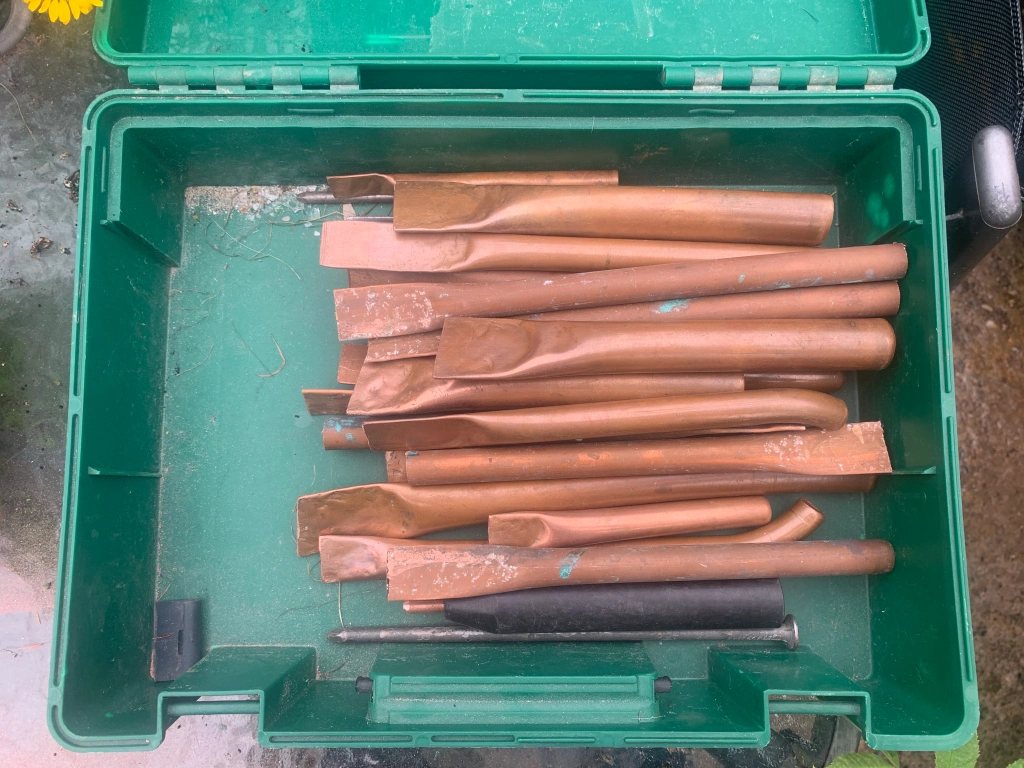
Figure 4. My box of copper pressure flakers. Copper pipe cut to length and then flattened and sharpened at one end. Sitting at the bottom you can see the one I bought.
The third key category is ‘Techniques’. Working with experienced flintknappers is ideal. Youtube videos are really useful, within this website I simply explain the techniques I use in order to provide another perspective. I am really interested in the bodily process of making and so this is a thing I think about a lot. Hopefully, some of the observations and explanations will be useful.
Figure 5. Video of me making and explaining the process of making a flint handaxe, in my back yard in Old Trafford, during lockdown. Produced for and by Andrew Irving.
The last but not least category is ‘Protective Equipment’. I run workshops and have to protect not just myself but also the people attending the workshop. The ‘Protective Equipment’ category provides a short summary to get you going safely.
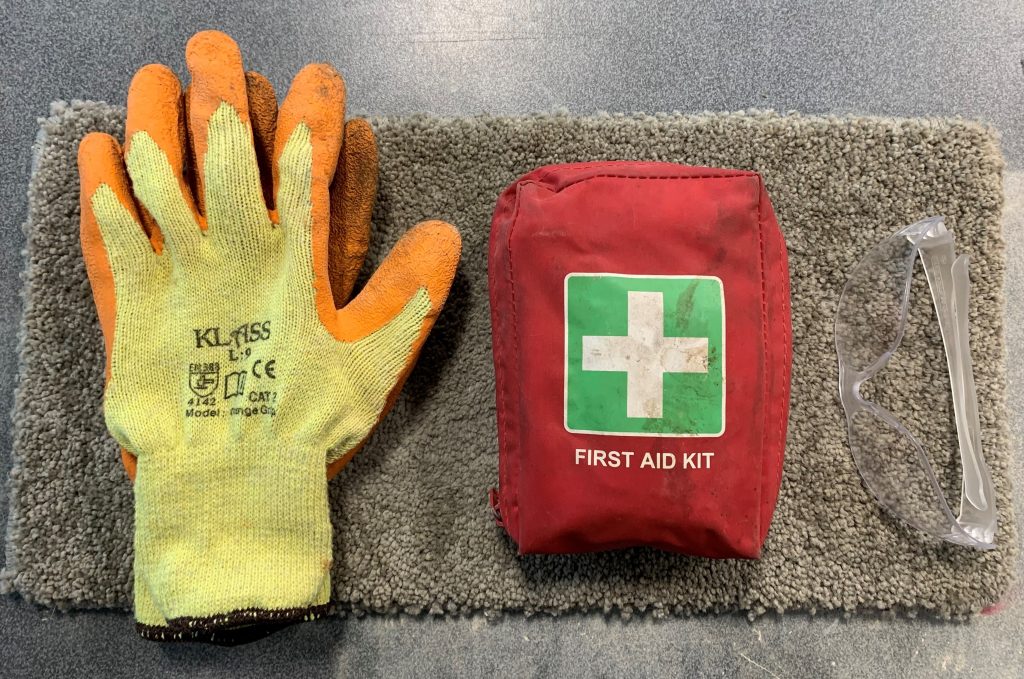
Figure 6. Click on the ‘Protective Equipment’ category for a summary of the necessaries.
So why all the pictures? I am glad you asked me that! An element we need to keep us going on our journey is inspiration. I really love making aesthetic objects, but it has taken me a long time to get there. I will sometimes destroy an object I am making by trying to get rid of what I perceive as a small imperfection. The stone tools you make at first will not be beautiful, but the process is the thing. Stick with it and value each learning experience and you will get there. Enjoy the journey!